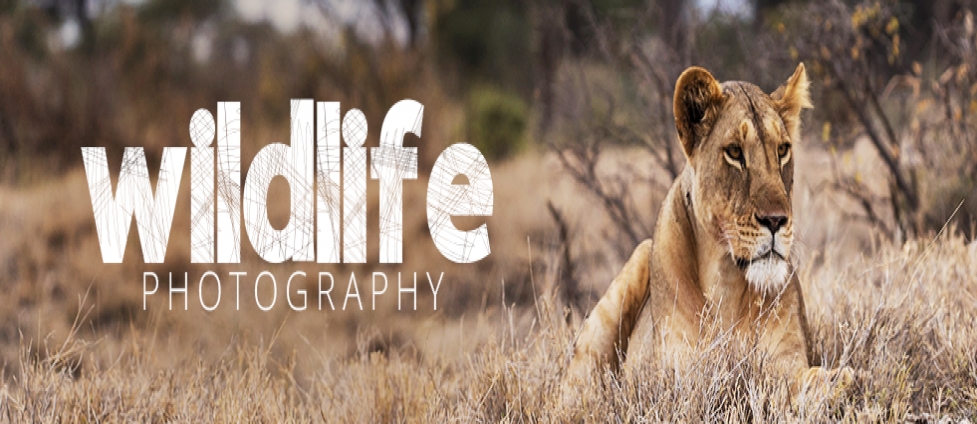
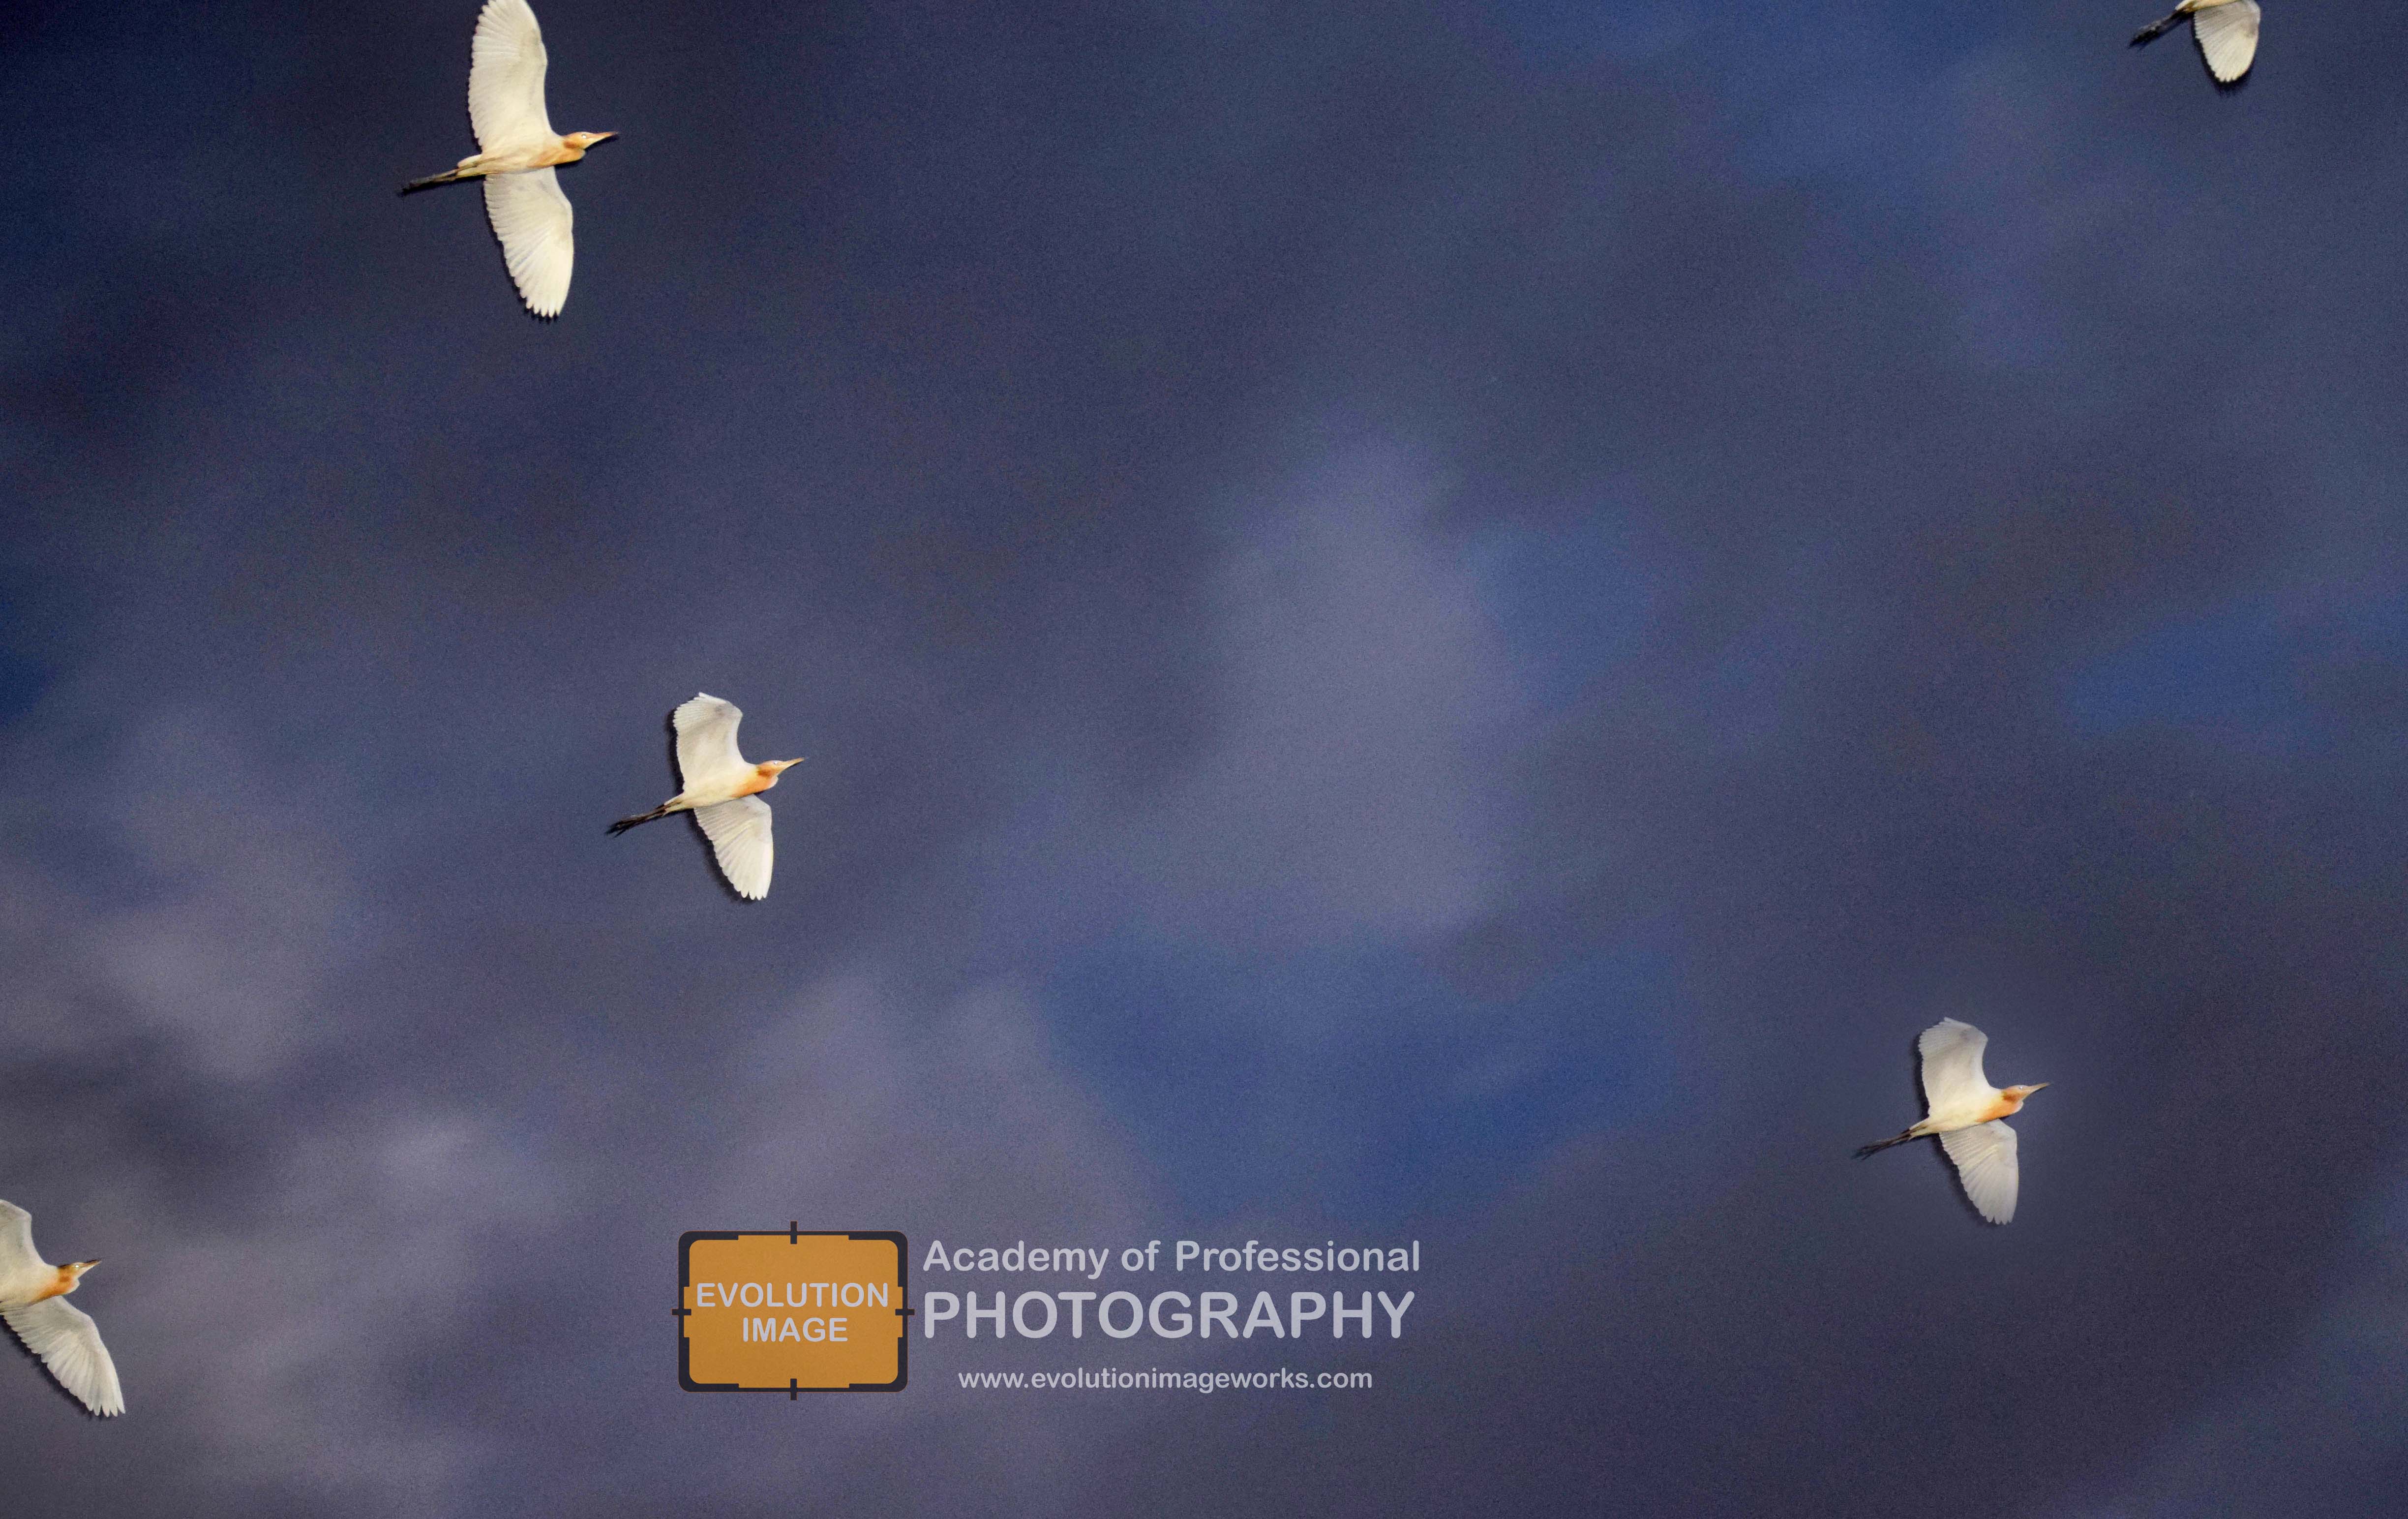
Wildlife photography is a genre of photography concerned with documenting various forms of wildlife in their natural habitat. As well as requiring photography skills,
wildlife photographers may need field craft skills.
Tips to Get Started in Wildlife Photography
Know your subject. Understanding your subject’s behavior is key to being a good photographer, especially when your subjects are wildlife. …
Know your gear. Don’t be discouraged by not having the most professional photography equipment. …
Get up early. …
Go Prone. …
Be Patient. …
Find your style. …
Be Considerate. …
Plan your shot.
What qualifications do you need to be a wildlife photographer?
A two or four year degree in photography should give aspiring wildlife photographers the ability to learn basic – as well as advanced – photography techniques necessary for a successful career. A degree in zoology with a minor in photography is also an excellent way to start a wildlife photography career.
How can I start a career in wildlife photography?
Here are the tips:
1. Learn Basic Photography. You need to be a photographer before you become a wildlife photographer. …
2. Assist Someone. The next step is to look for an expert and assist him or her. …
3. Look For Photogenic Environments: …
4. Start Off With Safe/Basic Species. …
5. Be Patient. …
6. Do Research And Carry Necessary Gear.
What are the best settings for wildlife photography?
CAMERA SETTINGS FOR THE WILDLIFE PHOTOGRAPHER
1. Camera shooting mode: Choose Aperture Priority mode when photographing animals at rest or Shutter Priority mode for animals on the move. …
2. ISO setting: Choose the lowest ISO setting for the available light.
3. Auto-focus point: When photographing wildlife, choose a single auto-focus point in the center of the frame.
things you can do right now to improve your wildlife…
1. Get low. A good wildlife photograph is rarely taken looking down at the subject. …
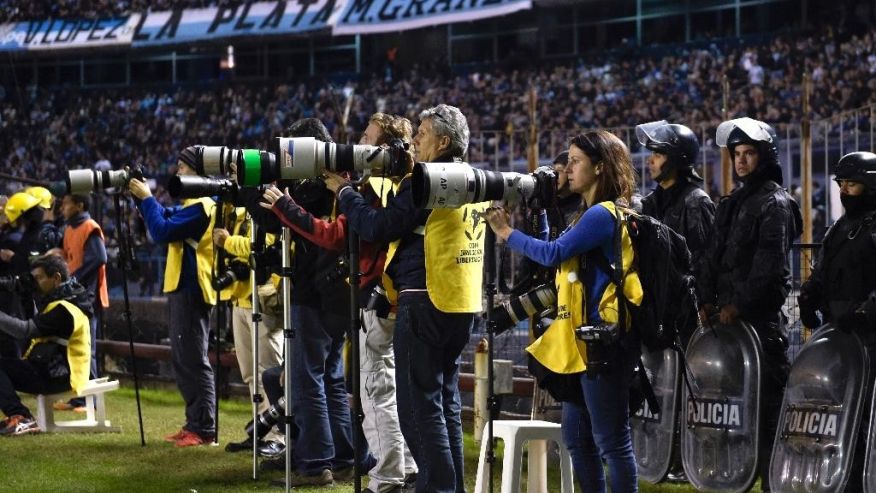
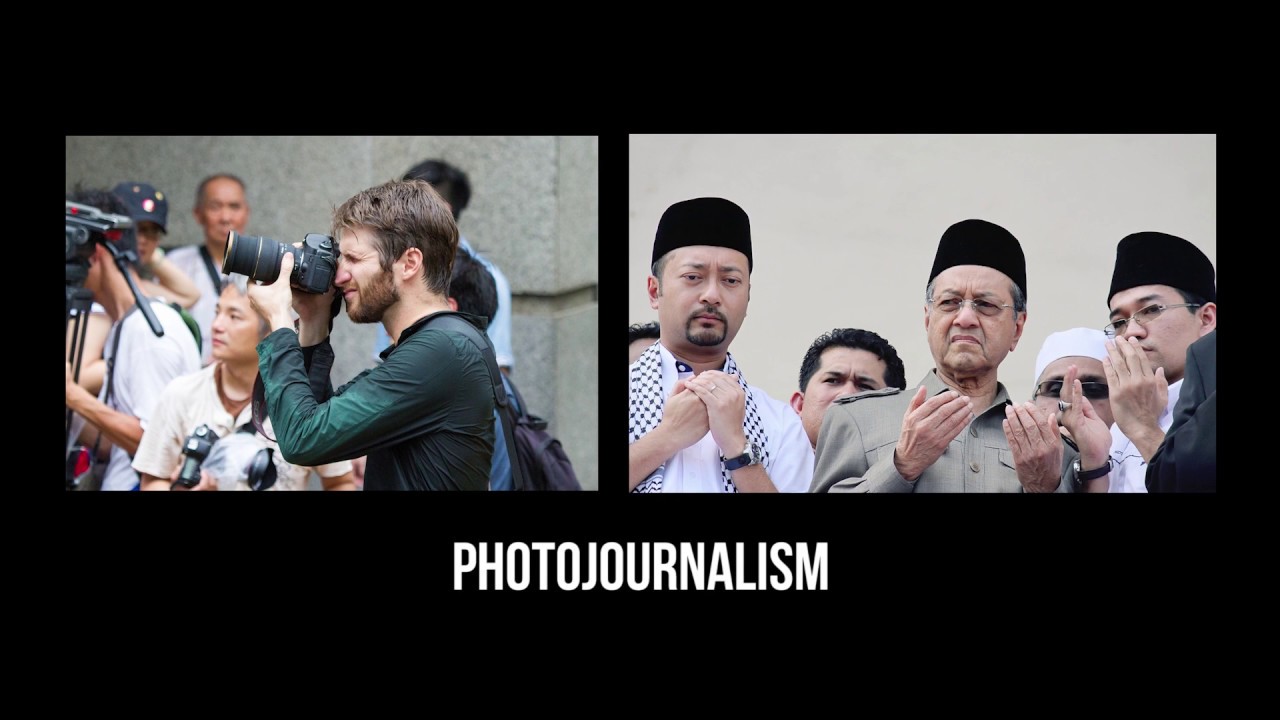
Photojournalism is a particular form of journalism (the collecting, editing, and presenting of news material for publication or broadcast) that employs images in order to tell a news story. … Photojournalists create pictures that contribute to the news media, and help communities connect with one other.
What is the role of photojournalism?
The function of photojournalism is to provide another layer of storytelling as unedited, RAW truth. … Simply put, a photojournalist chronicles a story with words and photos, a great advantage over just one or the other. The same mind using two tools to tell a story can usually tell a more complete, often complex story.
Where do photojournalists work?
The majority of photojournalists work as freelancers….. These professionals travel from place to place and attempt to capture shocking pictures of newsworthy events, which they then attempt to sell to media outlets, such as magazines and newspapers.
What’s the difference between photography and photojournalism?
Photographers and photojournalist both are same. … But one difference is that photo journalist capture images and edit images for news agencies and submit to them , whereas photographers capture images of different events such as wedding, parties, natural photography, family photography etc., and earn money.
What degree do you need for photojournalism?
A bachelor’s degree in journalism, visual communications or photography is usually required in order to become a photojournalist. Having an extensive portfolio of one’s work is important for seeking employment.
What are the characteristics of photojournalism?
Characteristics of Photojournalism
Photojournalism is relevant. The main objective of photojournalism is to tell a story better than the text or write-up that usually accompanies the photos.
Photojournalism is timely. …
Photojournalism is objective. …
Photojournalism is narrative. …
Aesthetically Interesting .
What are the types of photojournalism?
Types of Photojournalism
Feature photojournalism involves in human interest activities like art exhibitions, movies, business news, science and technology etc. …
Sports Photojournalism is very interesting field which is all about losses and wins. .
Environmental portraits capture the essence of subject.
How do I start photojournalism ?
Steps
Focus on people. Those trying to make a leap into the profession can start by shooting photos of people. …
Go out on foot patrol. When you’re out shooting photographs, get out of your car and walk. …
Be a copycat. …
Concentrate on writing good captions. …
Hand over those photos. …
Create a personal website. …
Stay persistent.
What does a news photographer do?
News photographers, also known as photojournalists, capture snapshots of live events with the use of high-tech cameras. By taking these images, a news photographer is able to capture the feel and moment of an event for audiences reading journals, magazines or newspapers.
Do photojournalists write?
Photojournalists also work with video shooting and editing to help tell the stories as well. Writing is a big part of photojournalism. While a photojournalist is not expected to write 600 words about the subject matter of their photos, most photojournalists are tasked with writing captions for each photo.
What kind of jobs can you get with a photojournalism degree?
Jobs directly related to your degree include:
Graphic designer
Graphic designers create visual concepts, using computer software or by hand, to communicate ideas that inspire, inform, and captivate consumers. They develop the overall layout and production design for applications such as advertisements, brochures, magazines, and reports.
Magazine features editor
Magazine features editors are responsible for overseeing the content and quality of magazine publications and for ensuring that features are topical, interesting and informative. They plan the features section of the magazine, supervise writers and set deadline
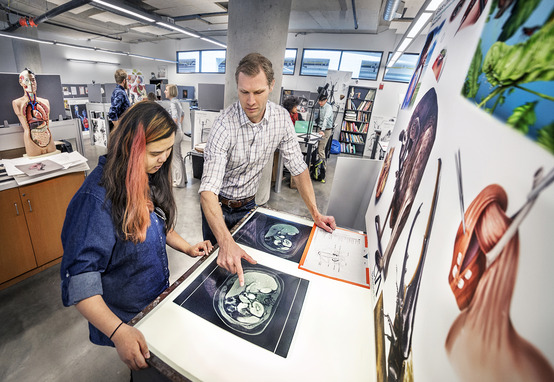
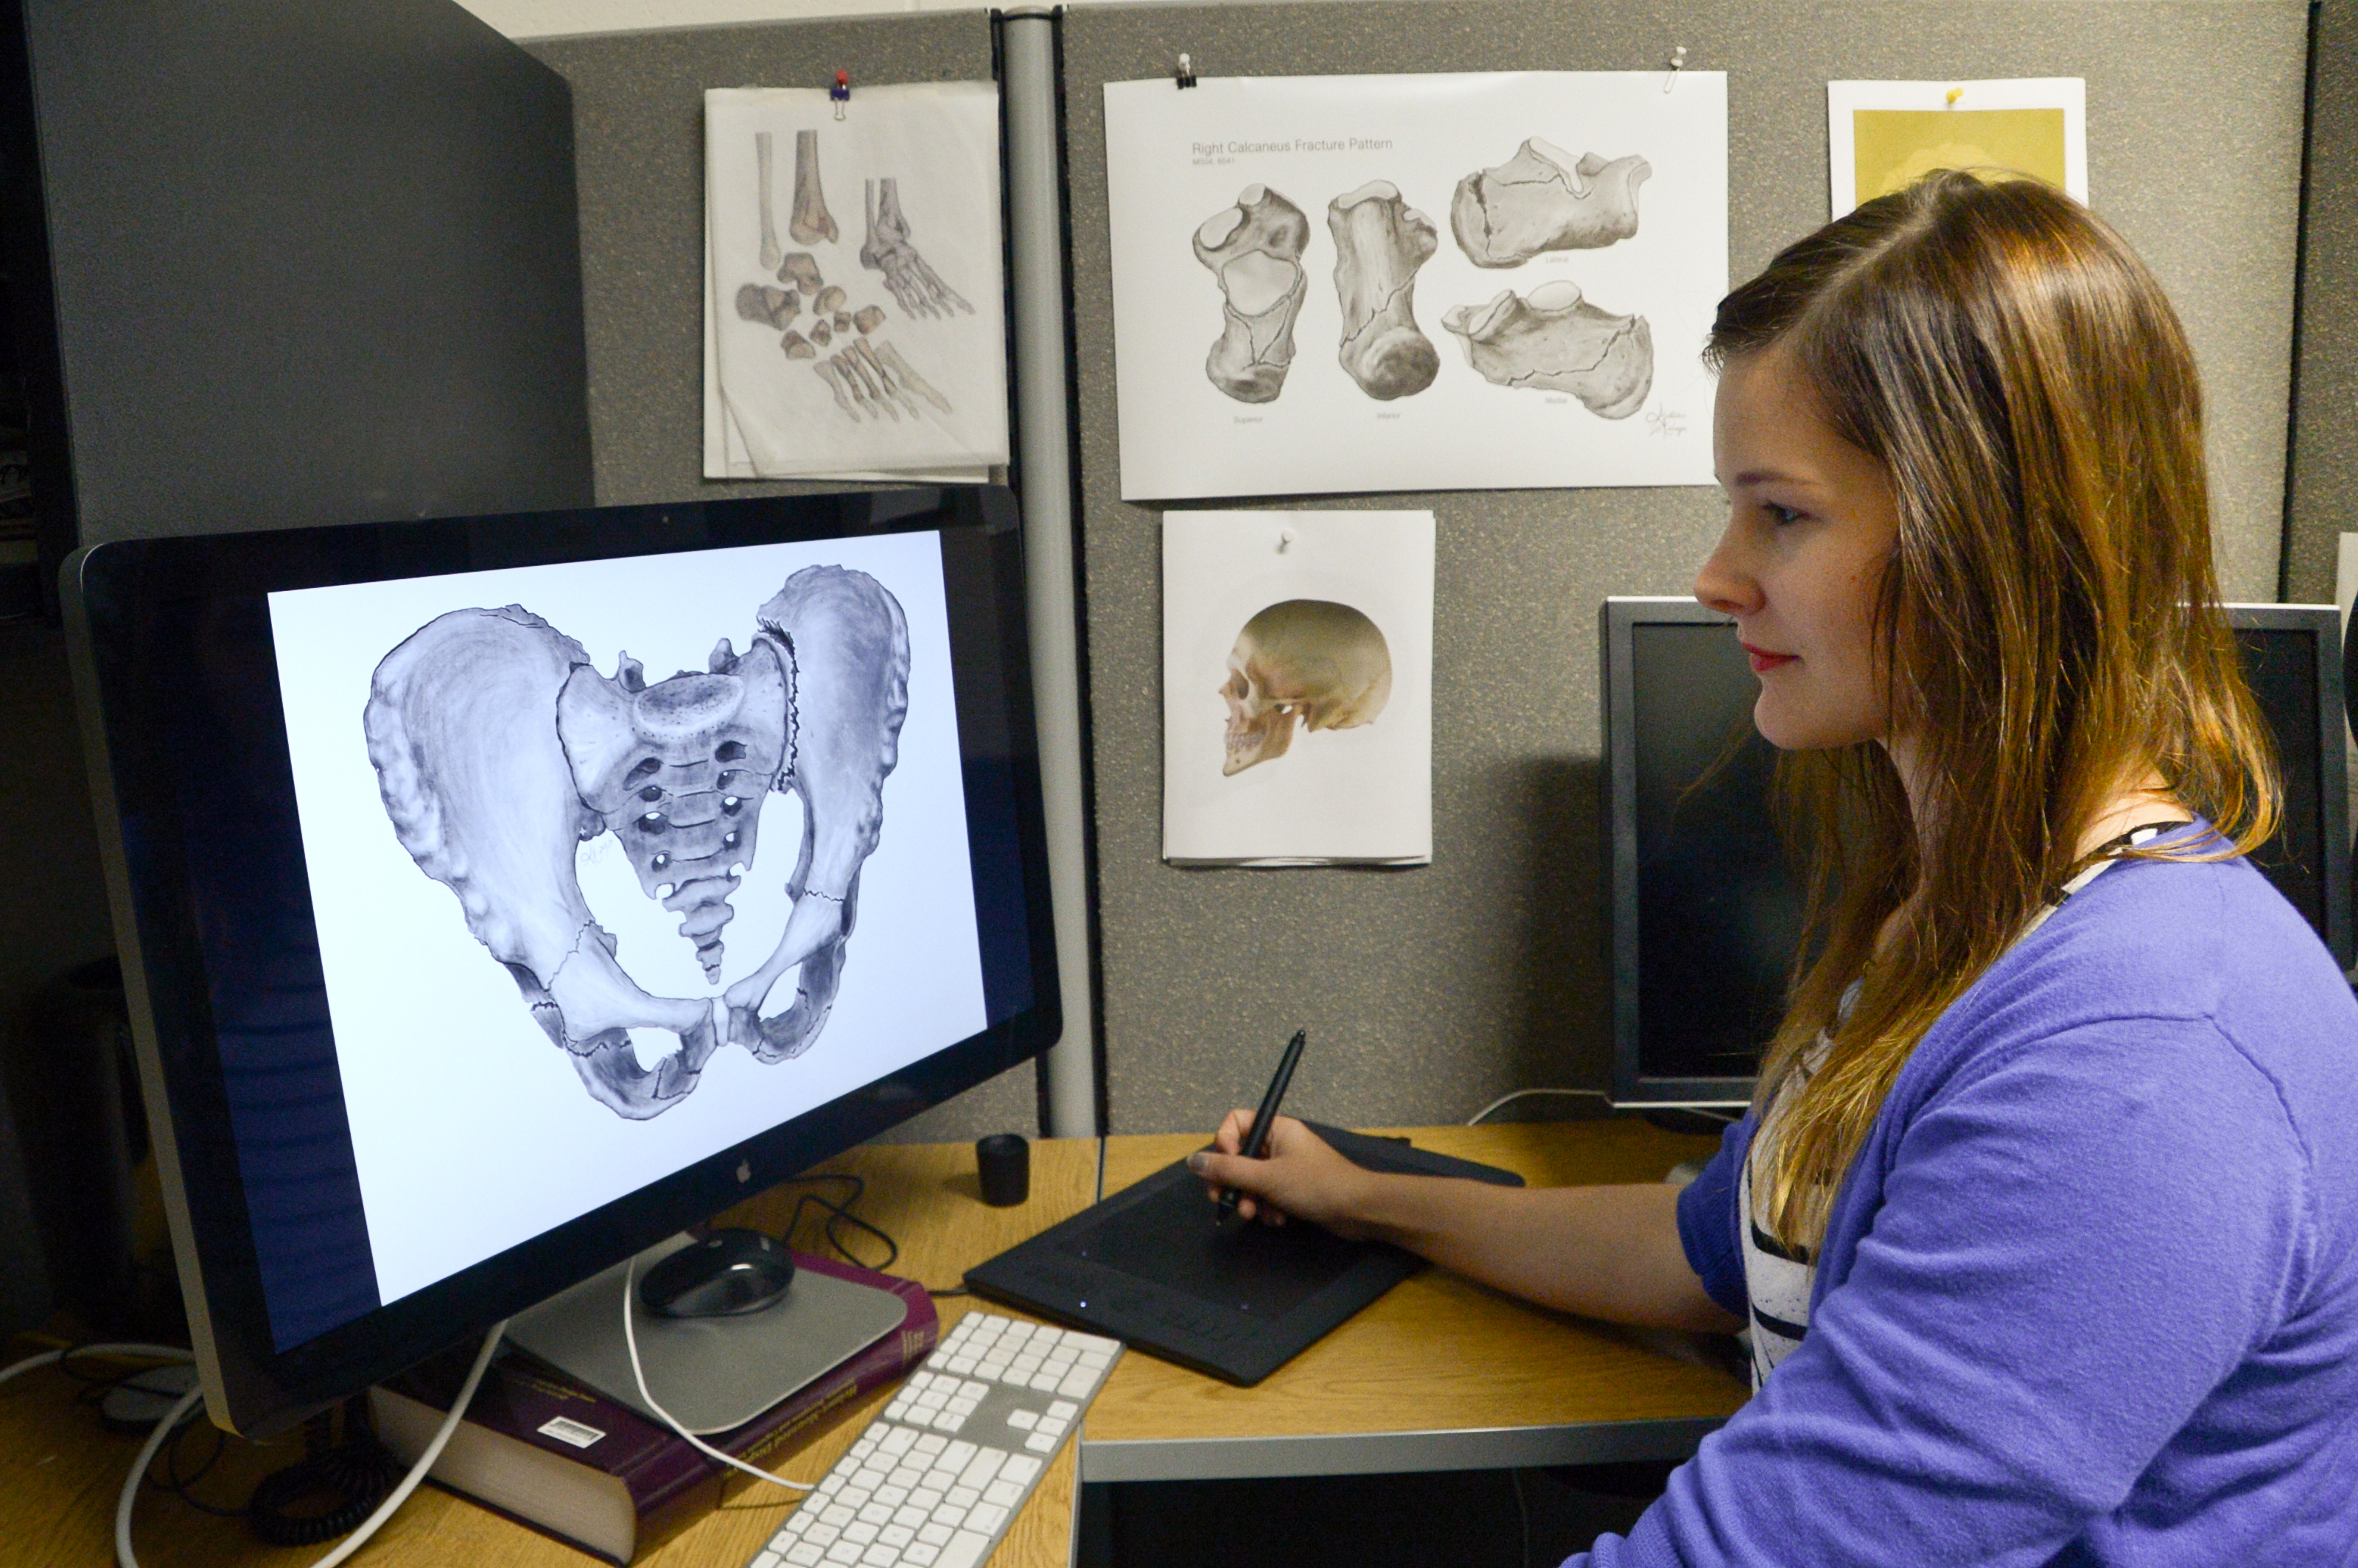
Medical illustrator
A medical illustrator is a professional artist with advanced education in both the life sciences and visual communication. Collaborating with scientists, physicians, and other specialists, medical illustrators transform complex information into visual images that have the potential to communicate to broad audiences.
Photographer
Photographers are artists with the camera, using a blend of technical skills and an artistic eye to take pictures of people, places, landscapes, food, you name it. Photographers can work as fine artists, wedding and event photographers, or sell their photos to commercial clients.
Man Photographer Taking Pictures Silhouette Concept; Shutterstock ID 331505345
Press photographer
Press photographers take photographs to record news, current events and lifestyle stories. They aim to capture the best images to document an event, tell a story or convey a message and support the printed word. The pictures are then reproduced in newspapers, magazines and online.
Television camera operator
Television camera operators work in broadcasting and follow directions as part of an ensemble production. They film their subjects from a fixed position. Cinematographers film motion pictures. They determine the angles, lighting, and types of equipment that will best capture a shot.
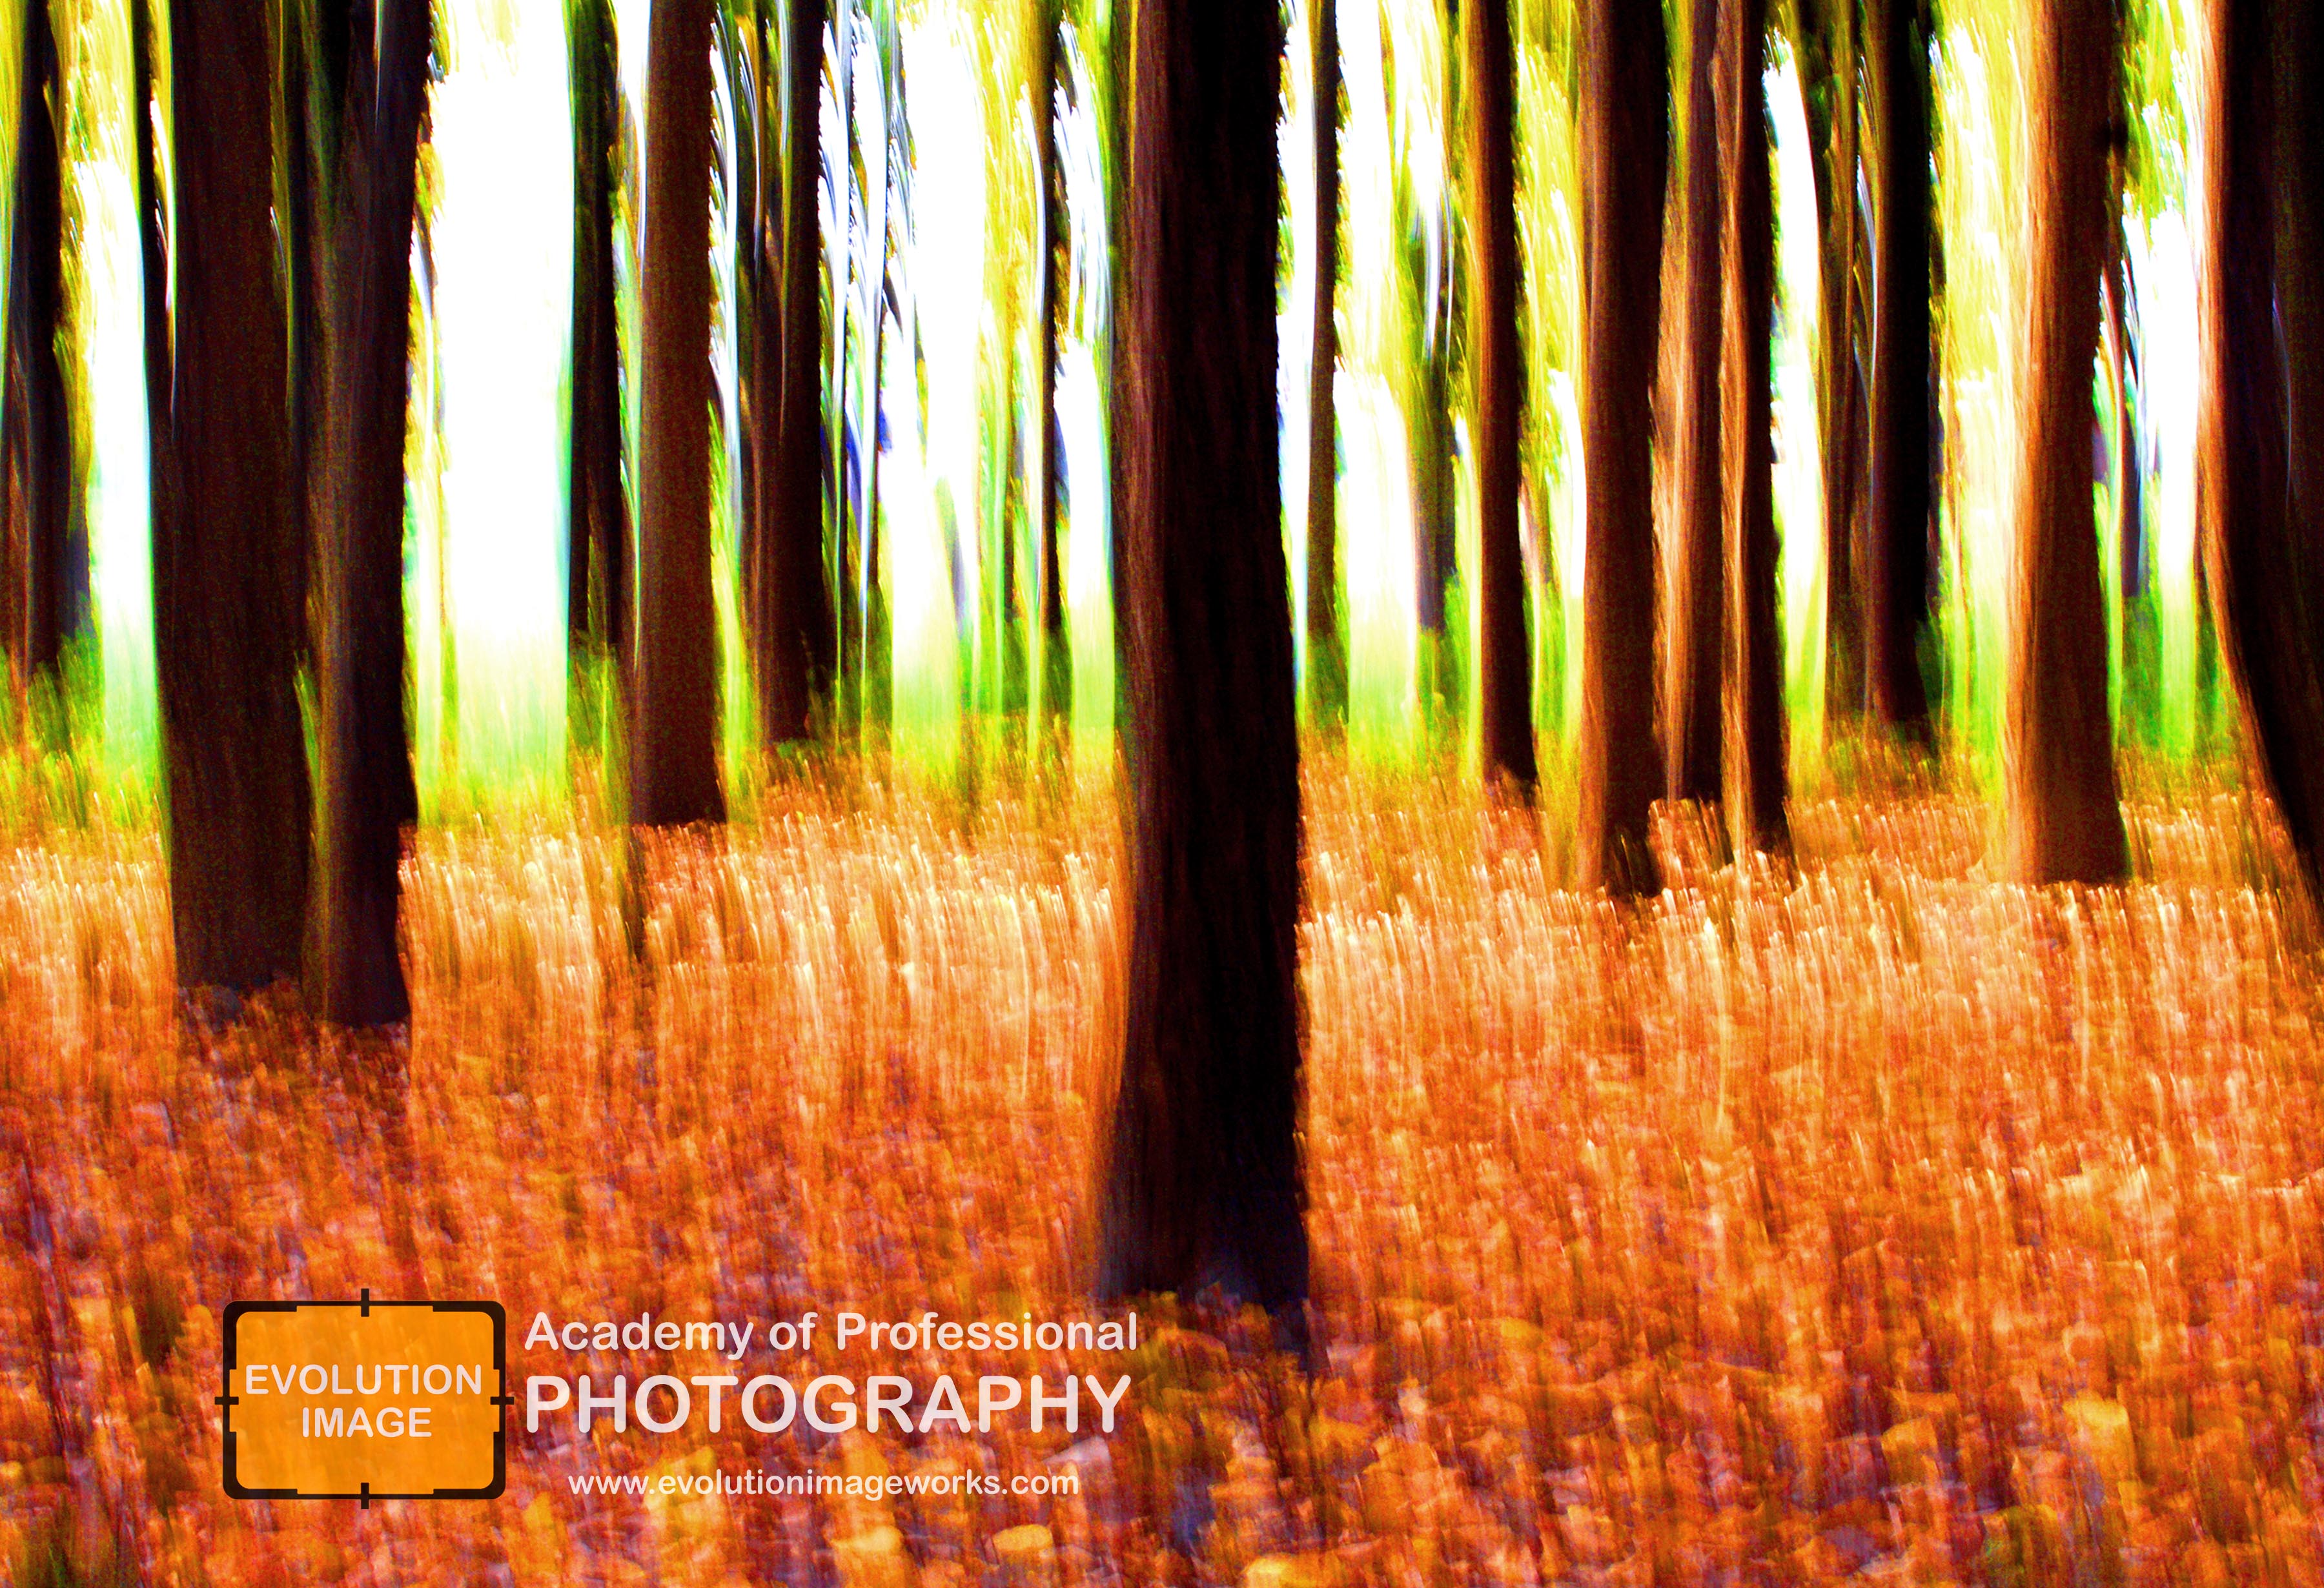
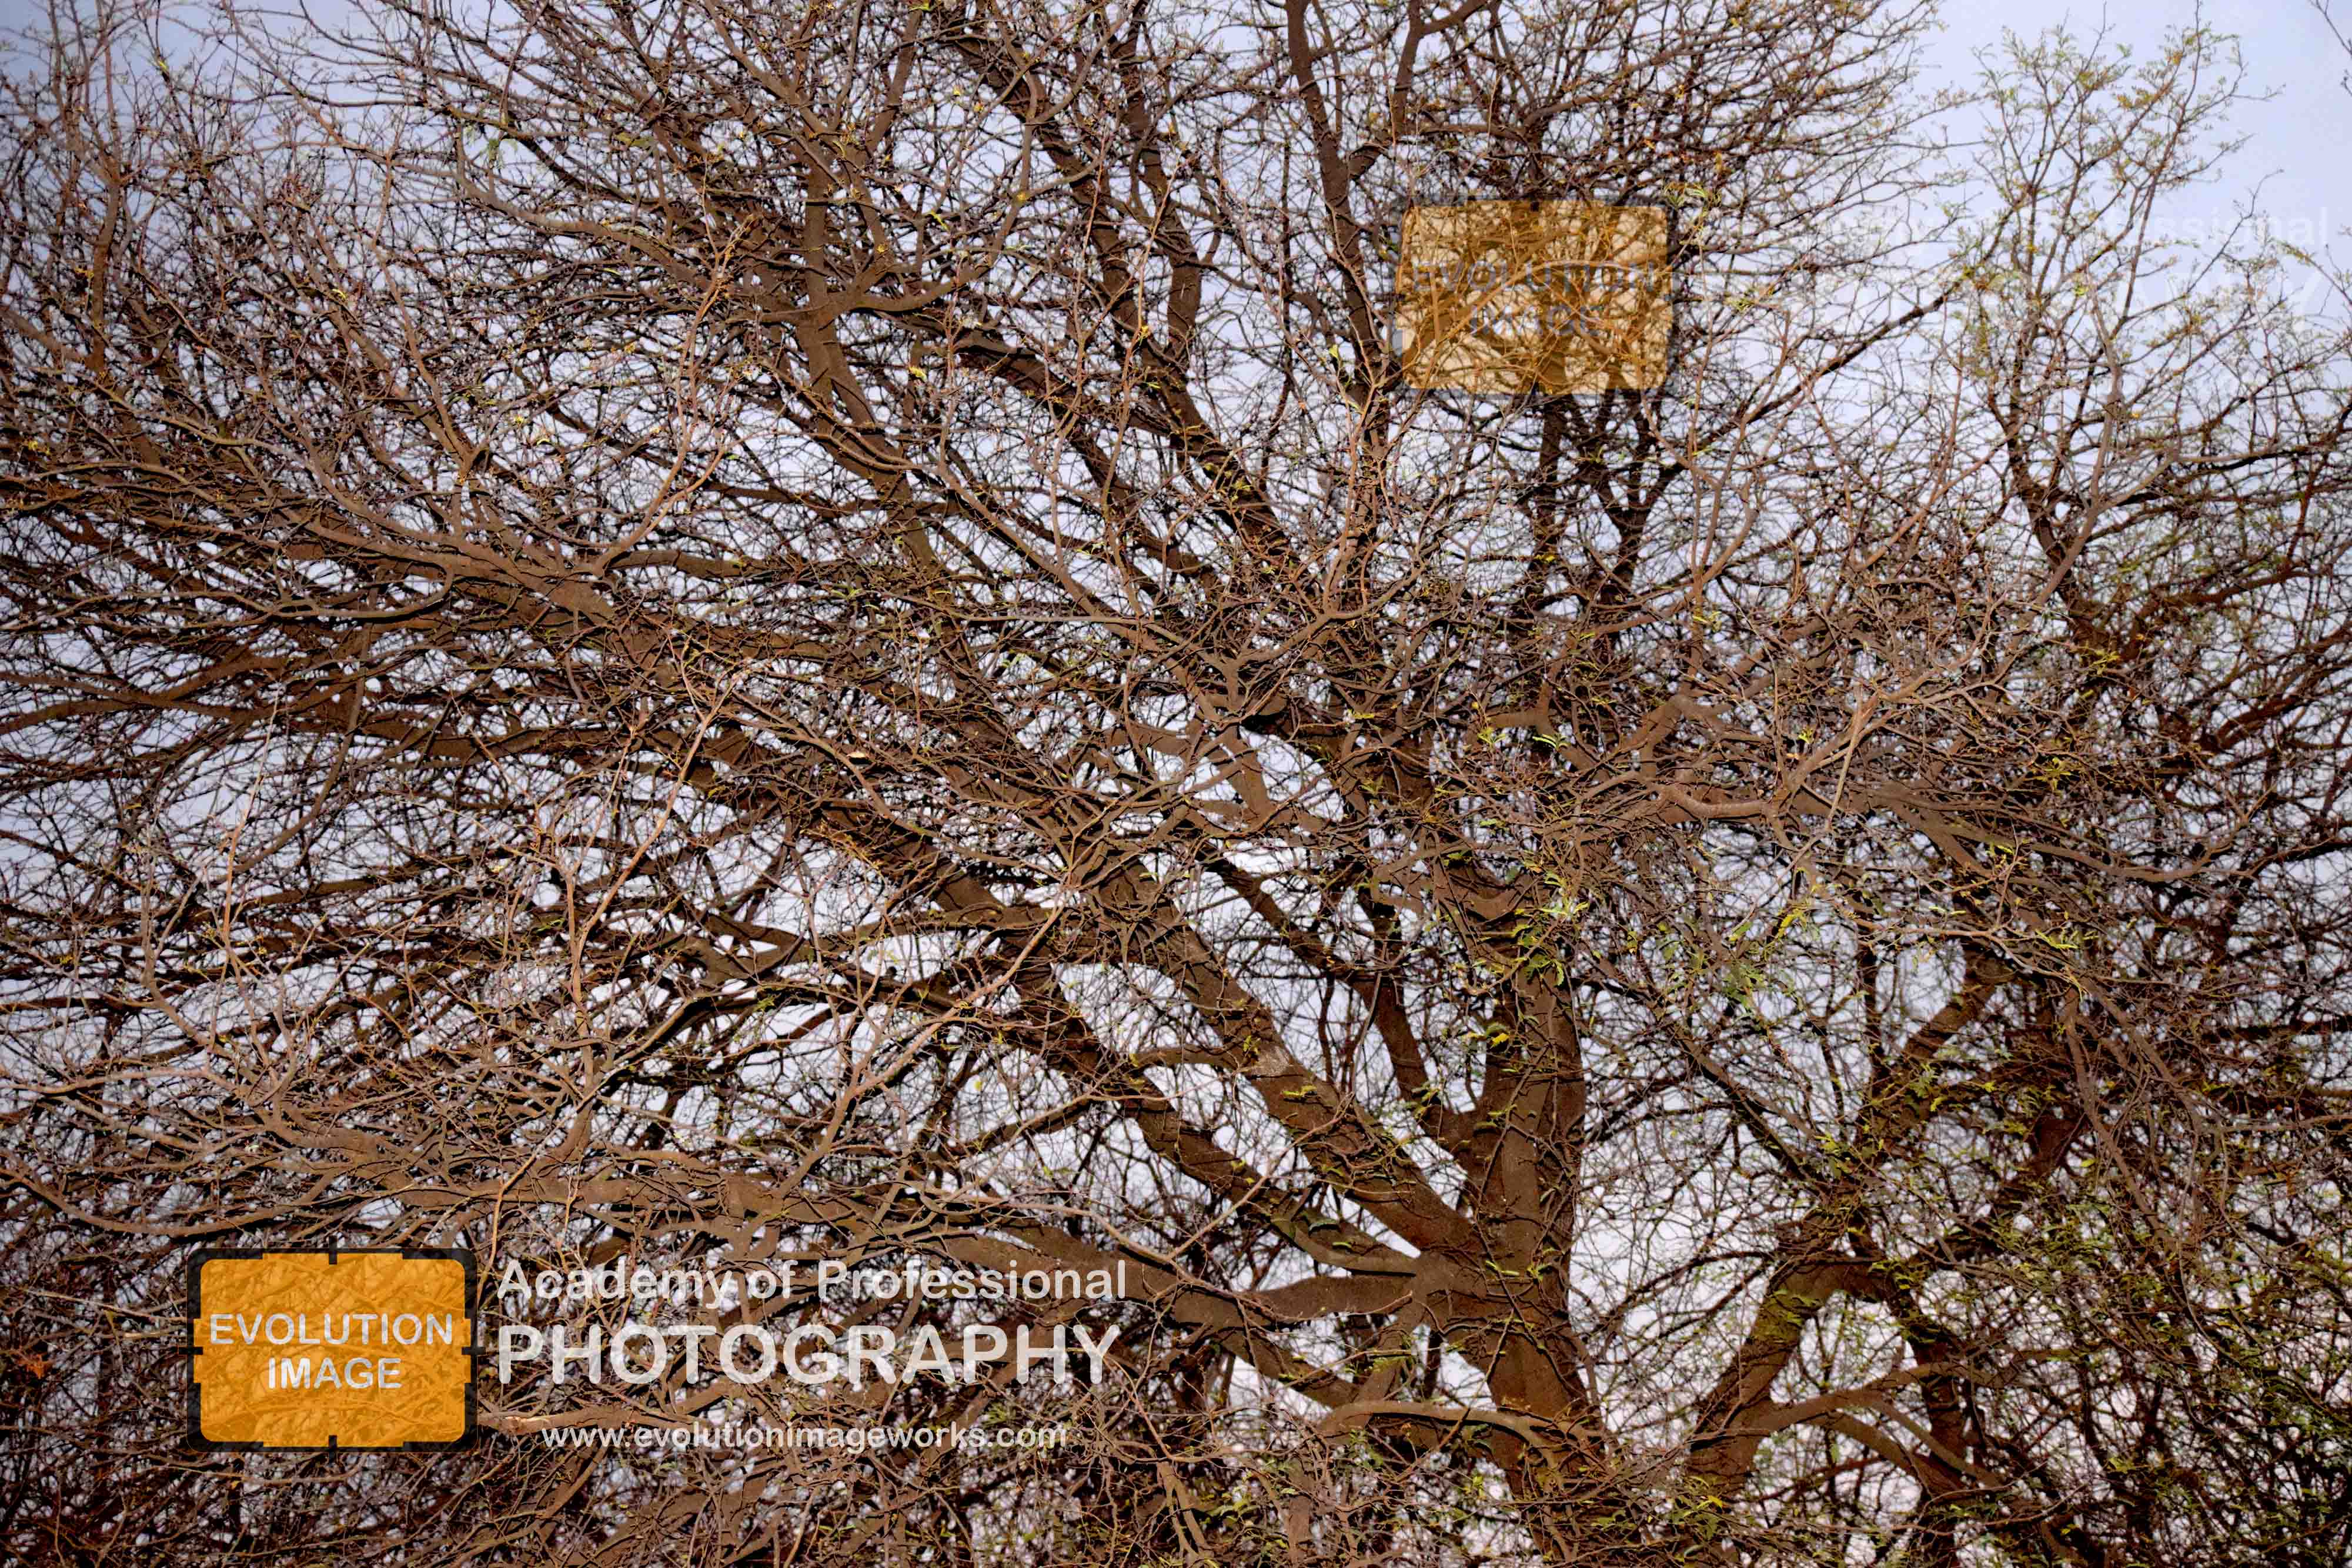
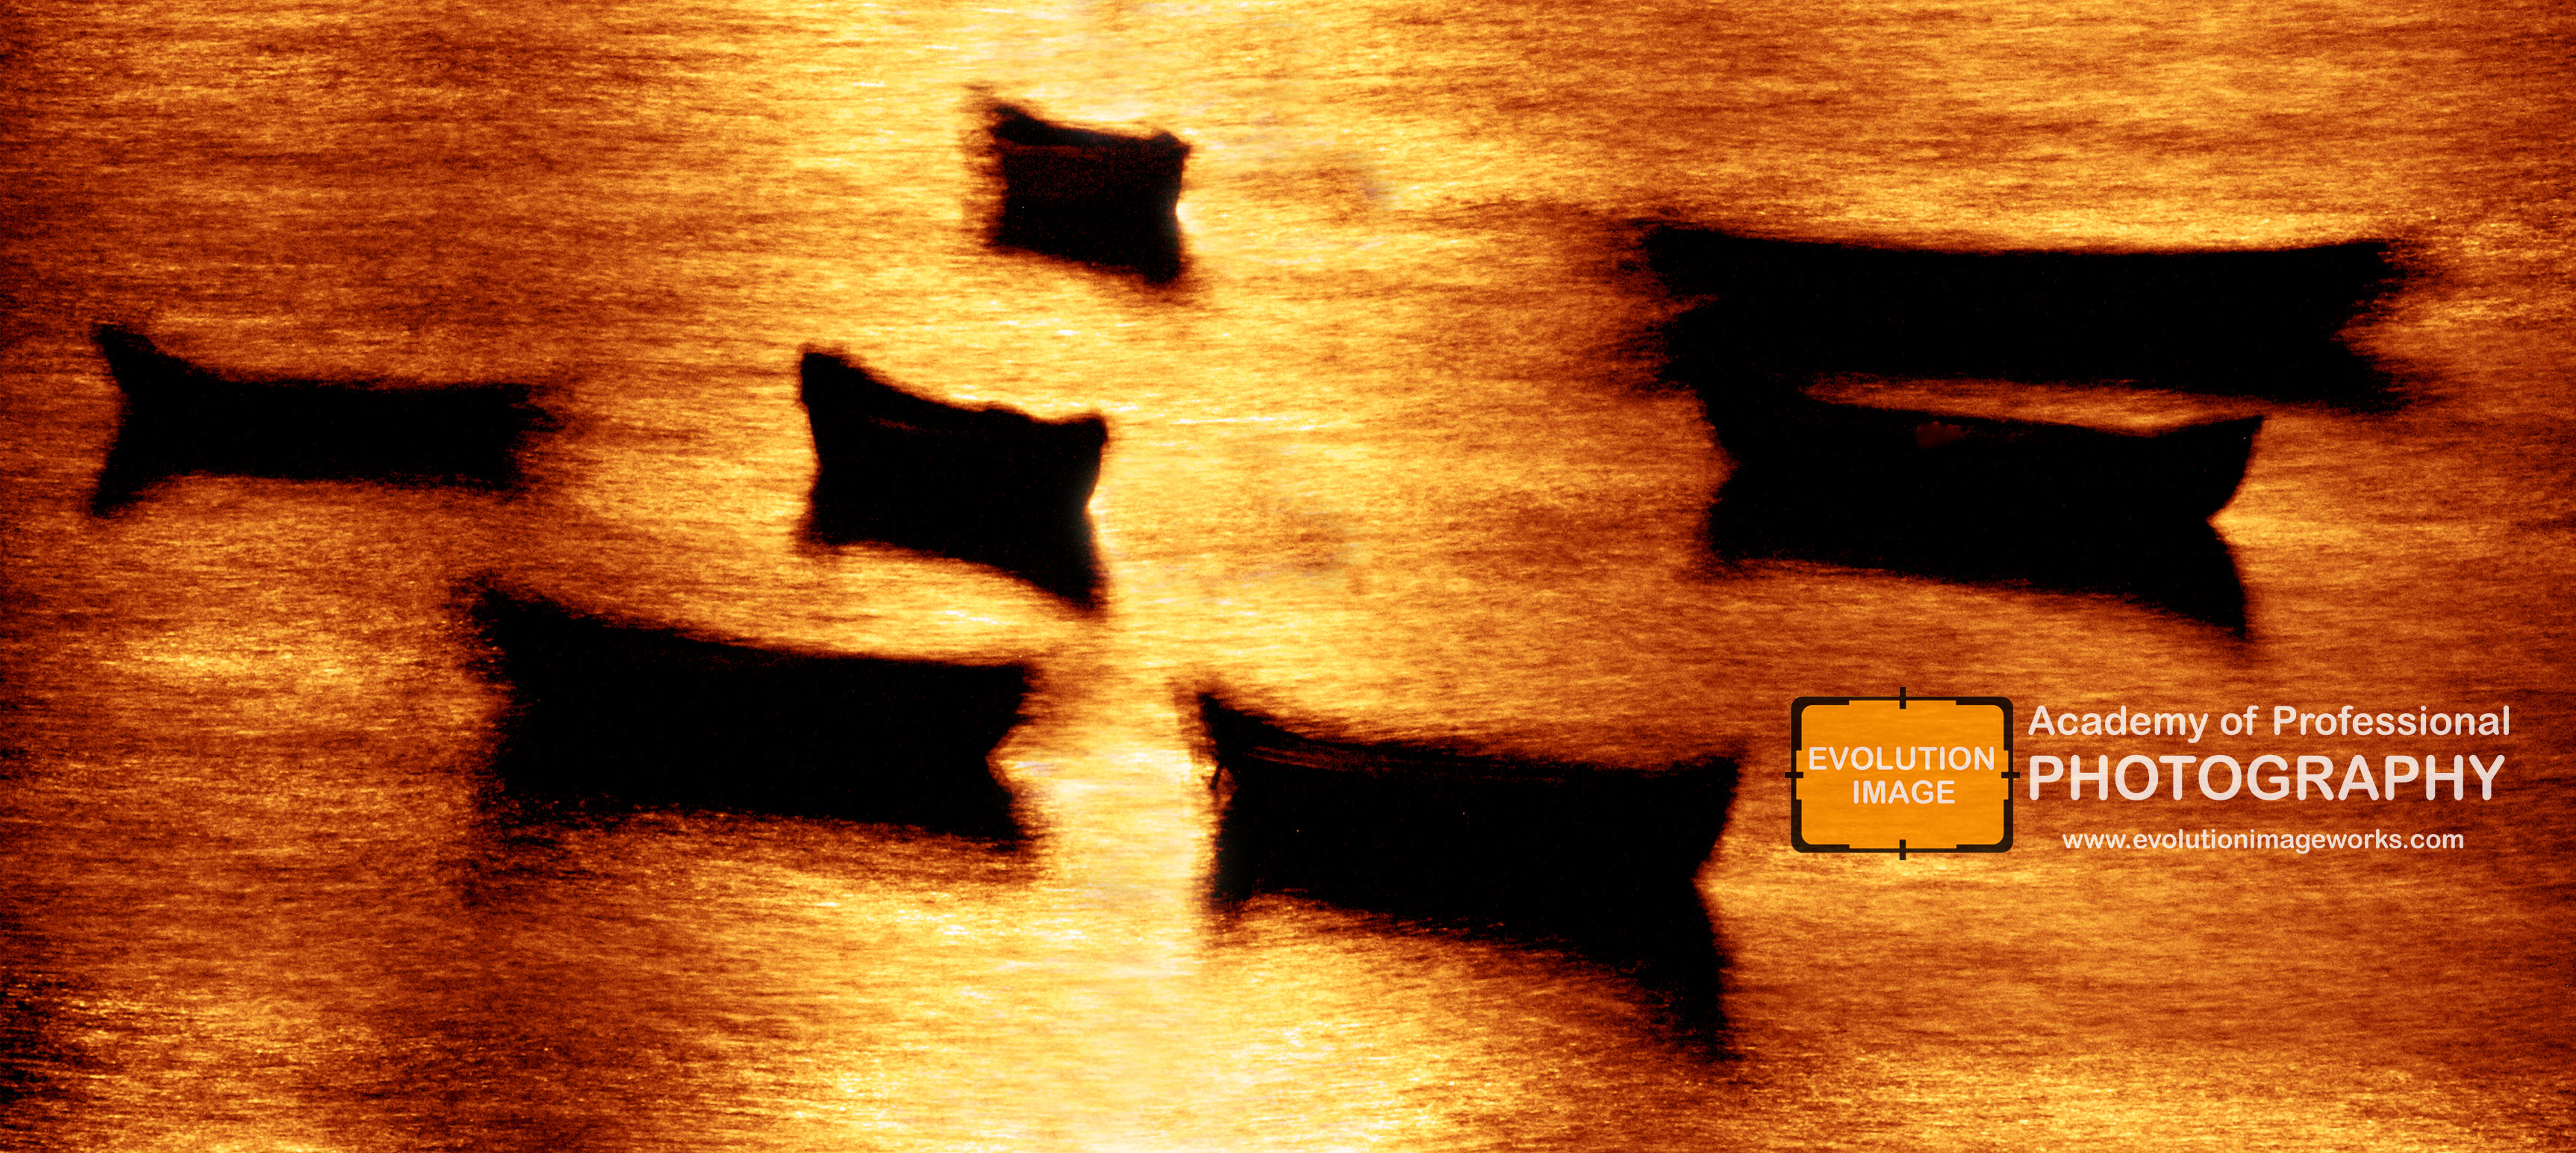
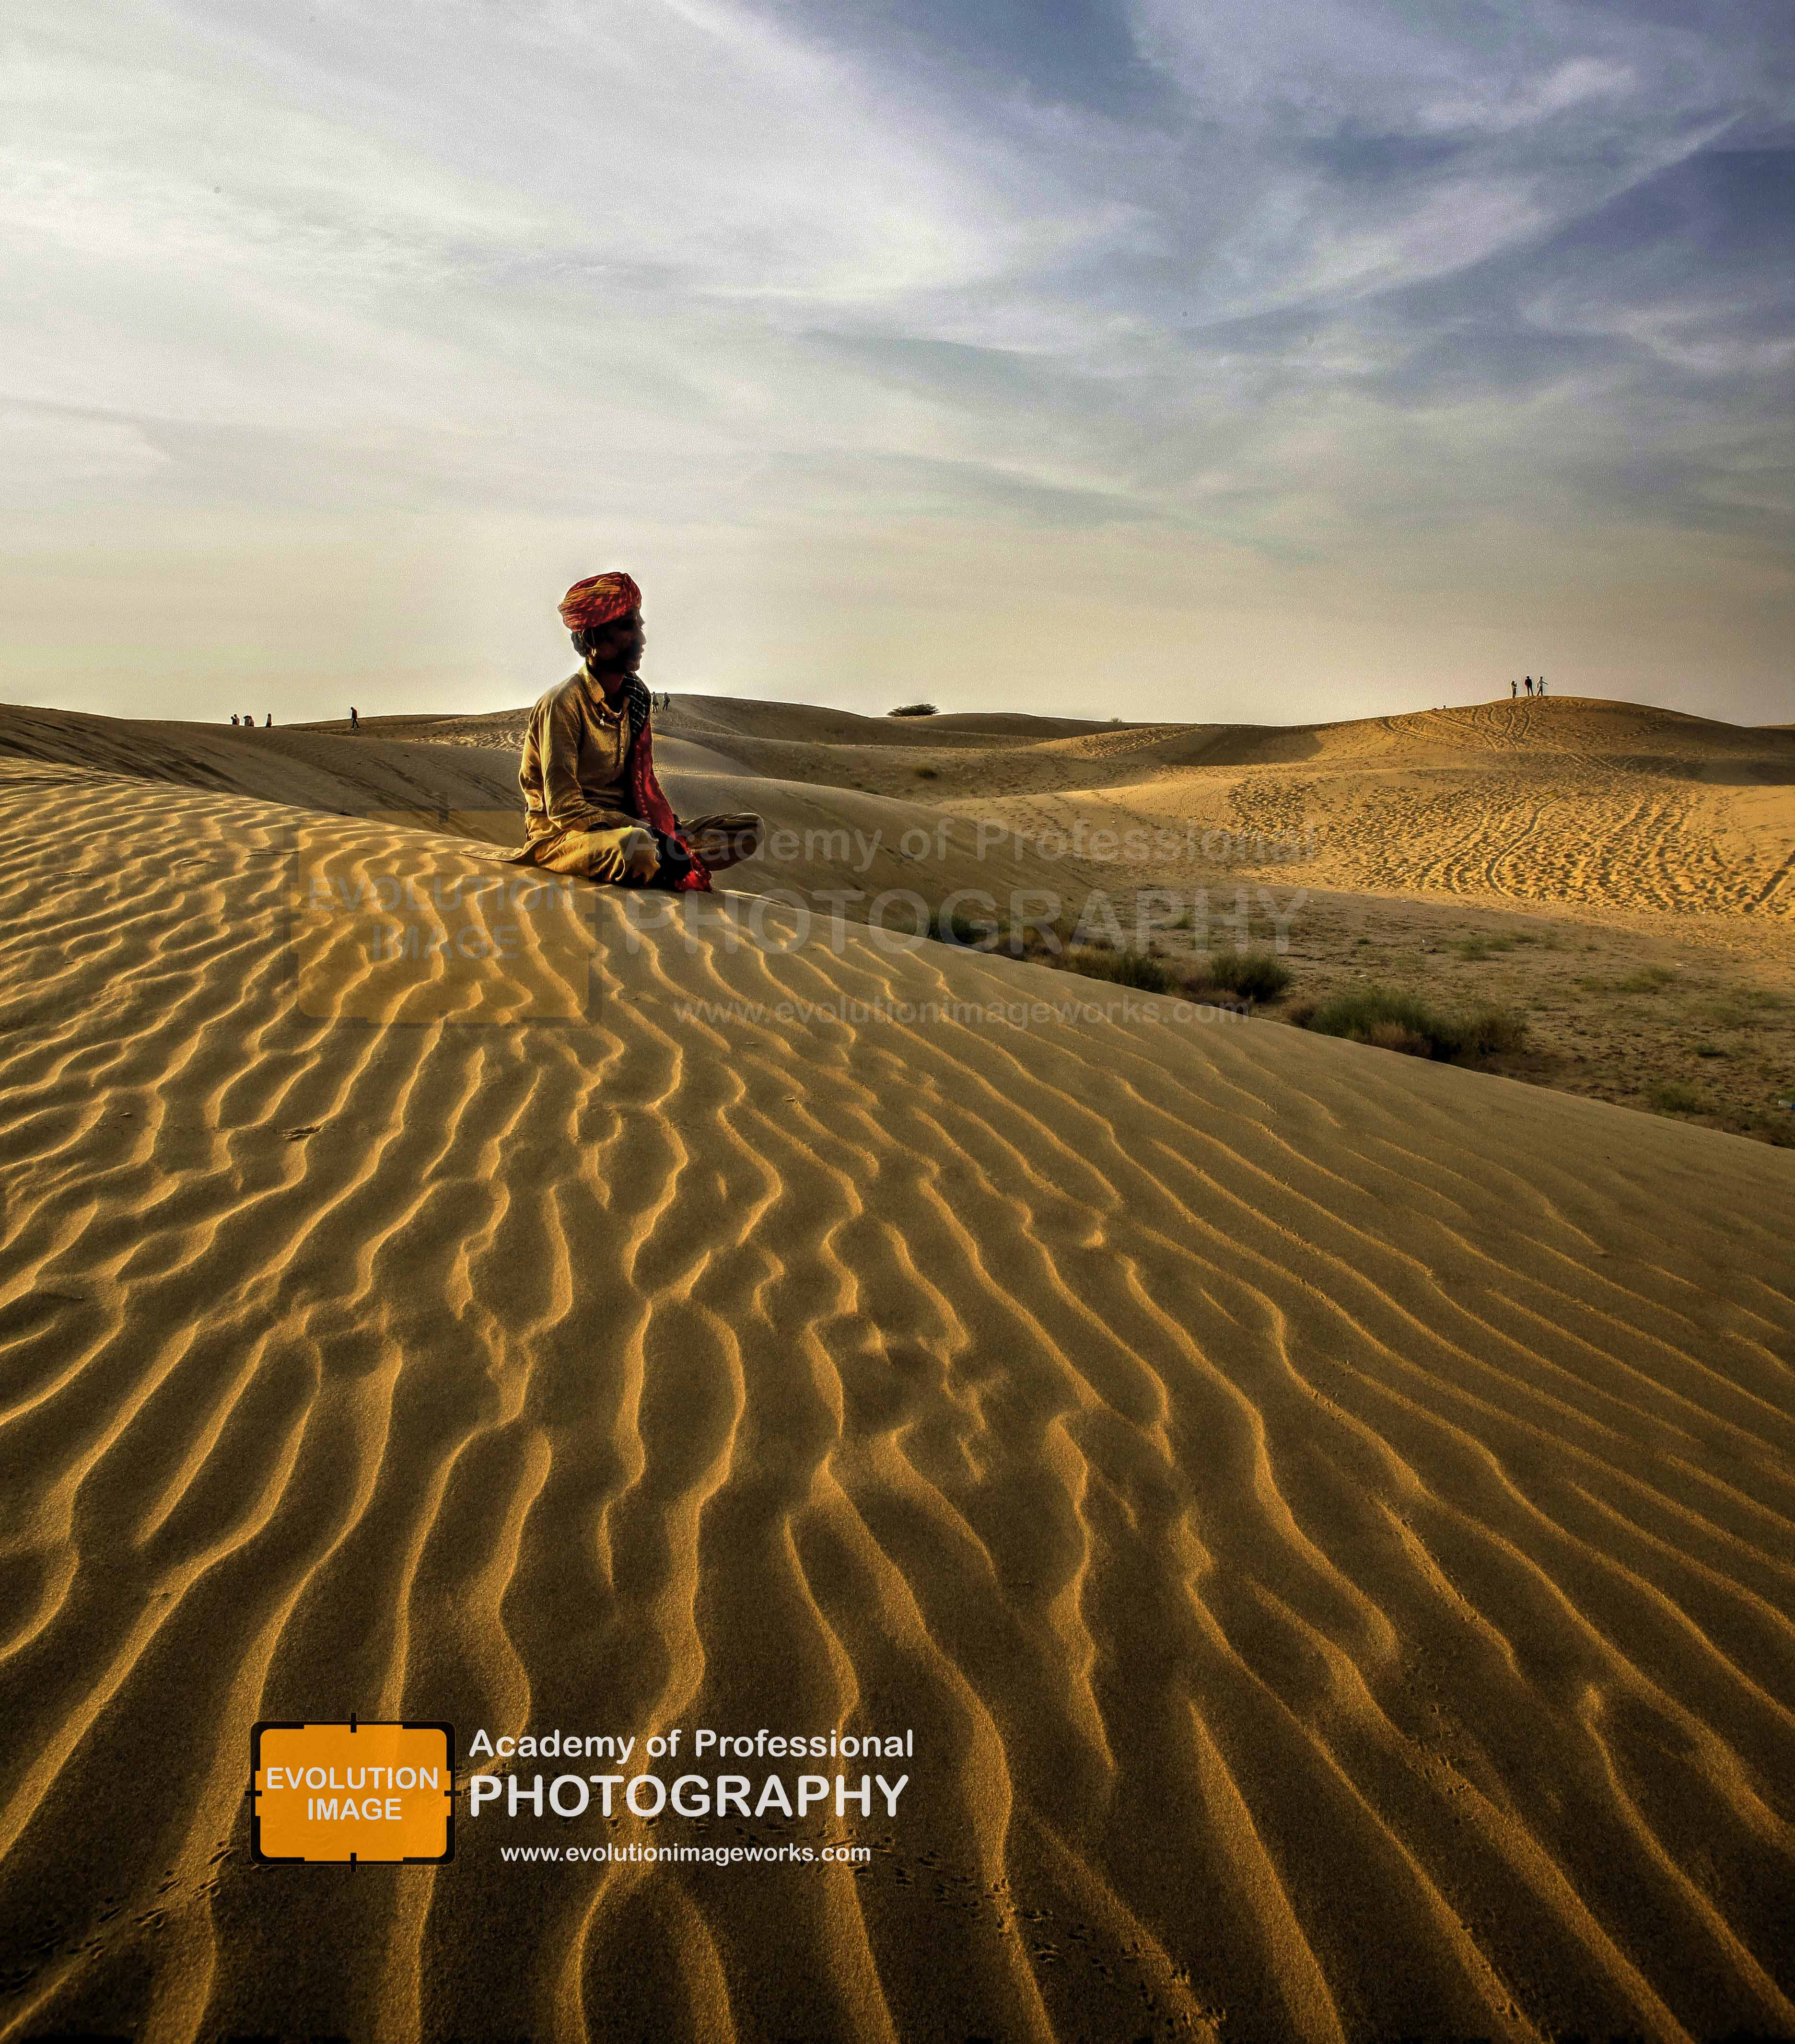
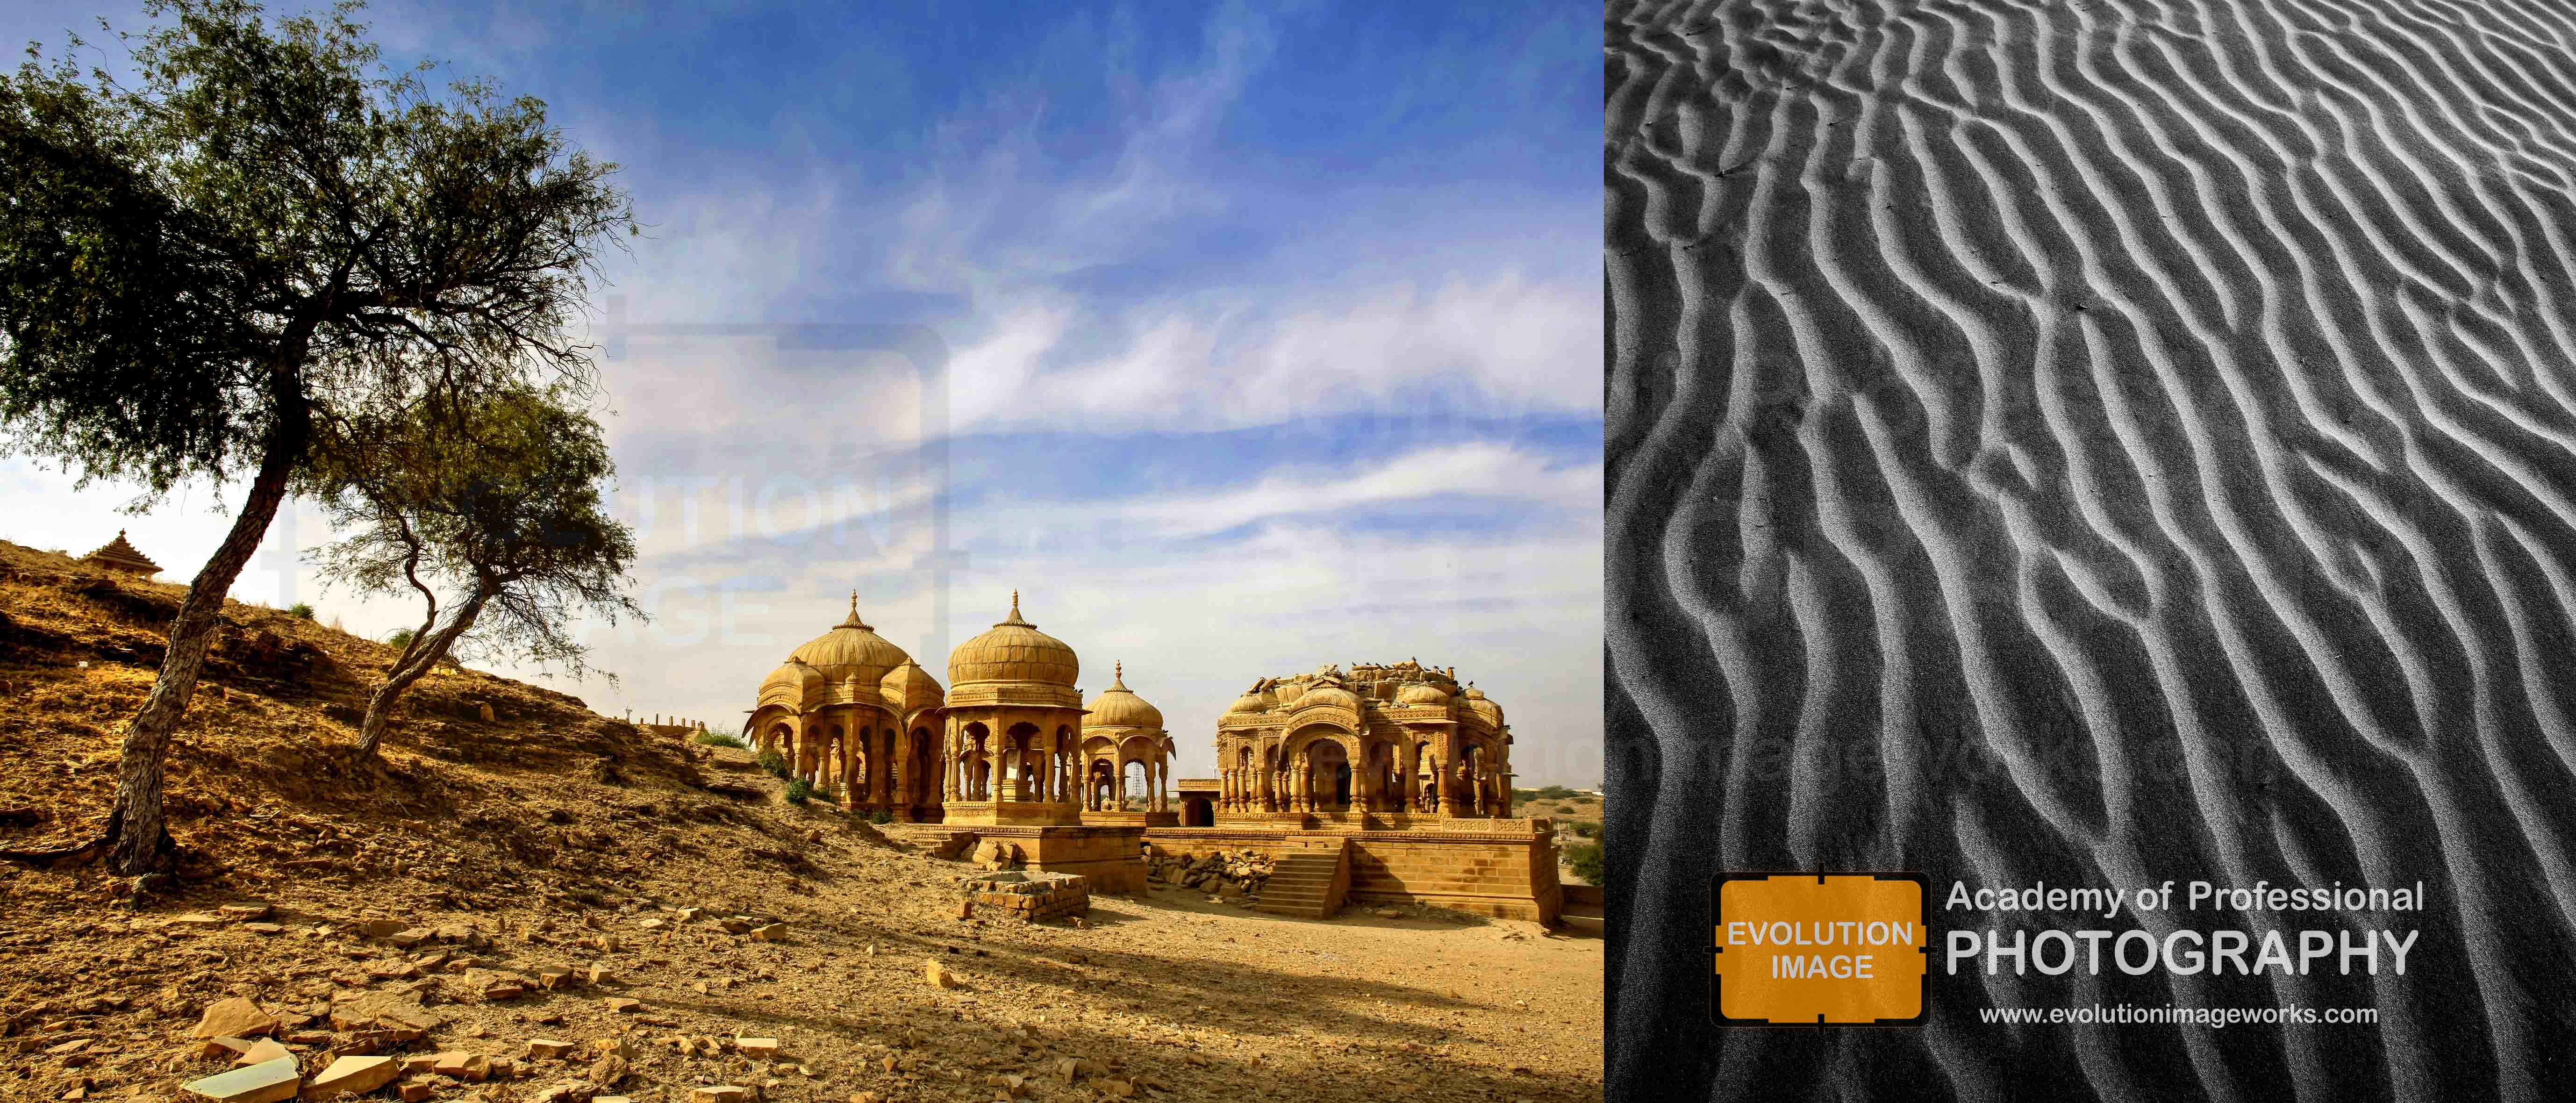
Landscape photography shows spaces within the world, sometimes vast and unending, but other times microscopic. Landscape photographs typically capture the presence of nature but can also focus on man-made features or disturbances of landscapes. Landscape photography is done for a variety of reasons. Perhaps the most common is to recall a personal observation or experience while in the outdoors, especially when traveling. Others pursue it particularly as an outdoor lifestyle, to be involved with nature and the elements, some as an escape from the artificial world.
Landscape photography shows spaces within the world, sometimes vast and unending, but other times microscopic. Landscape photographs typically capture the presence of nature but can also focus on man-made features or disturbances of landscapes.
Why is landscaping important?
Landscapes and features are important because they contribute significantly to our well-being and quality of life. They provide the broader context within which we live our lives. Living within aesthetically pleasing and culturally meaningful landscapes enhances our sense of well being..
Why do people value landscapes?
They also believe that their ancestors live on through the land and ensure their continued connection with it. Landscapes contain many sacred sites of spiritual importance. … Land forms and landscapes around the world are valued by many different people for many different reasons.
There are three major styles of landscape photography
Representational (also known as straight descriptive style)
Impressionistic.
Abstract.
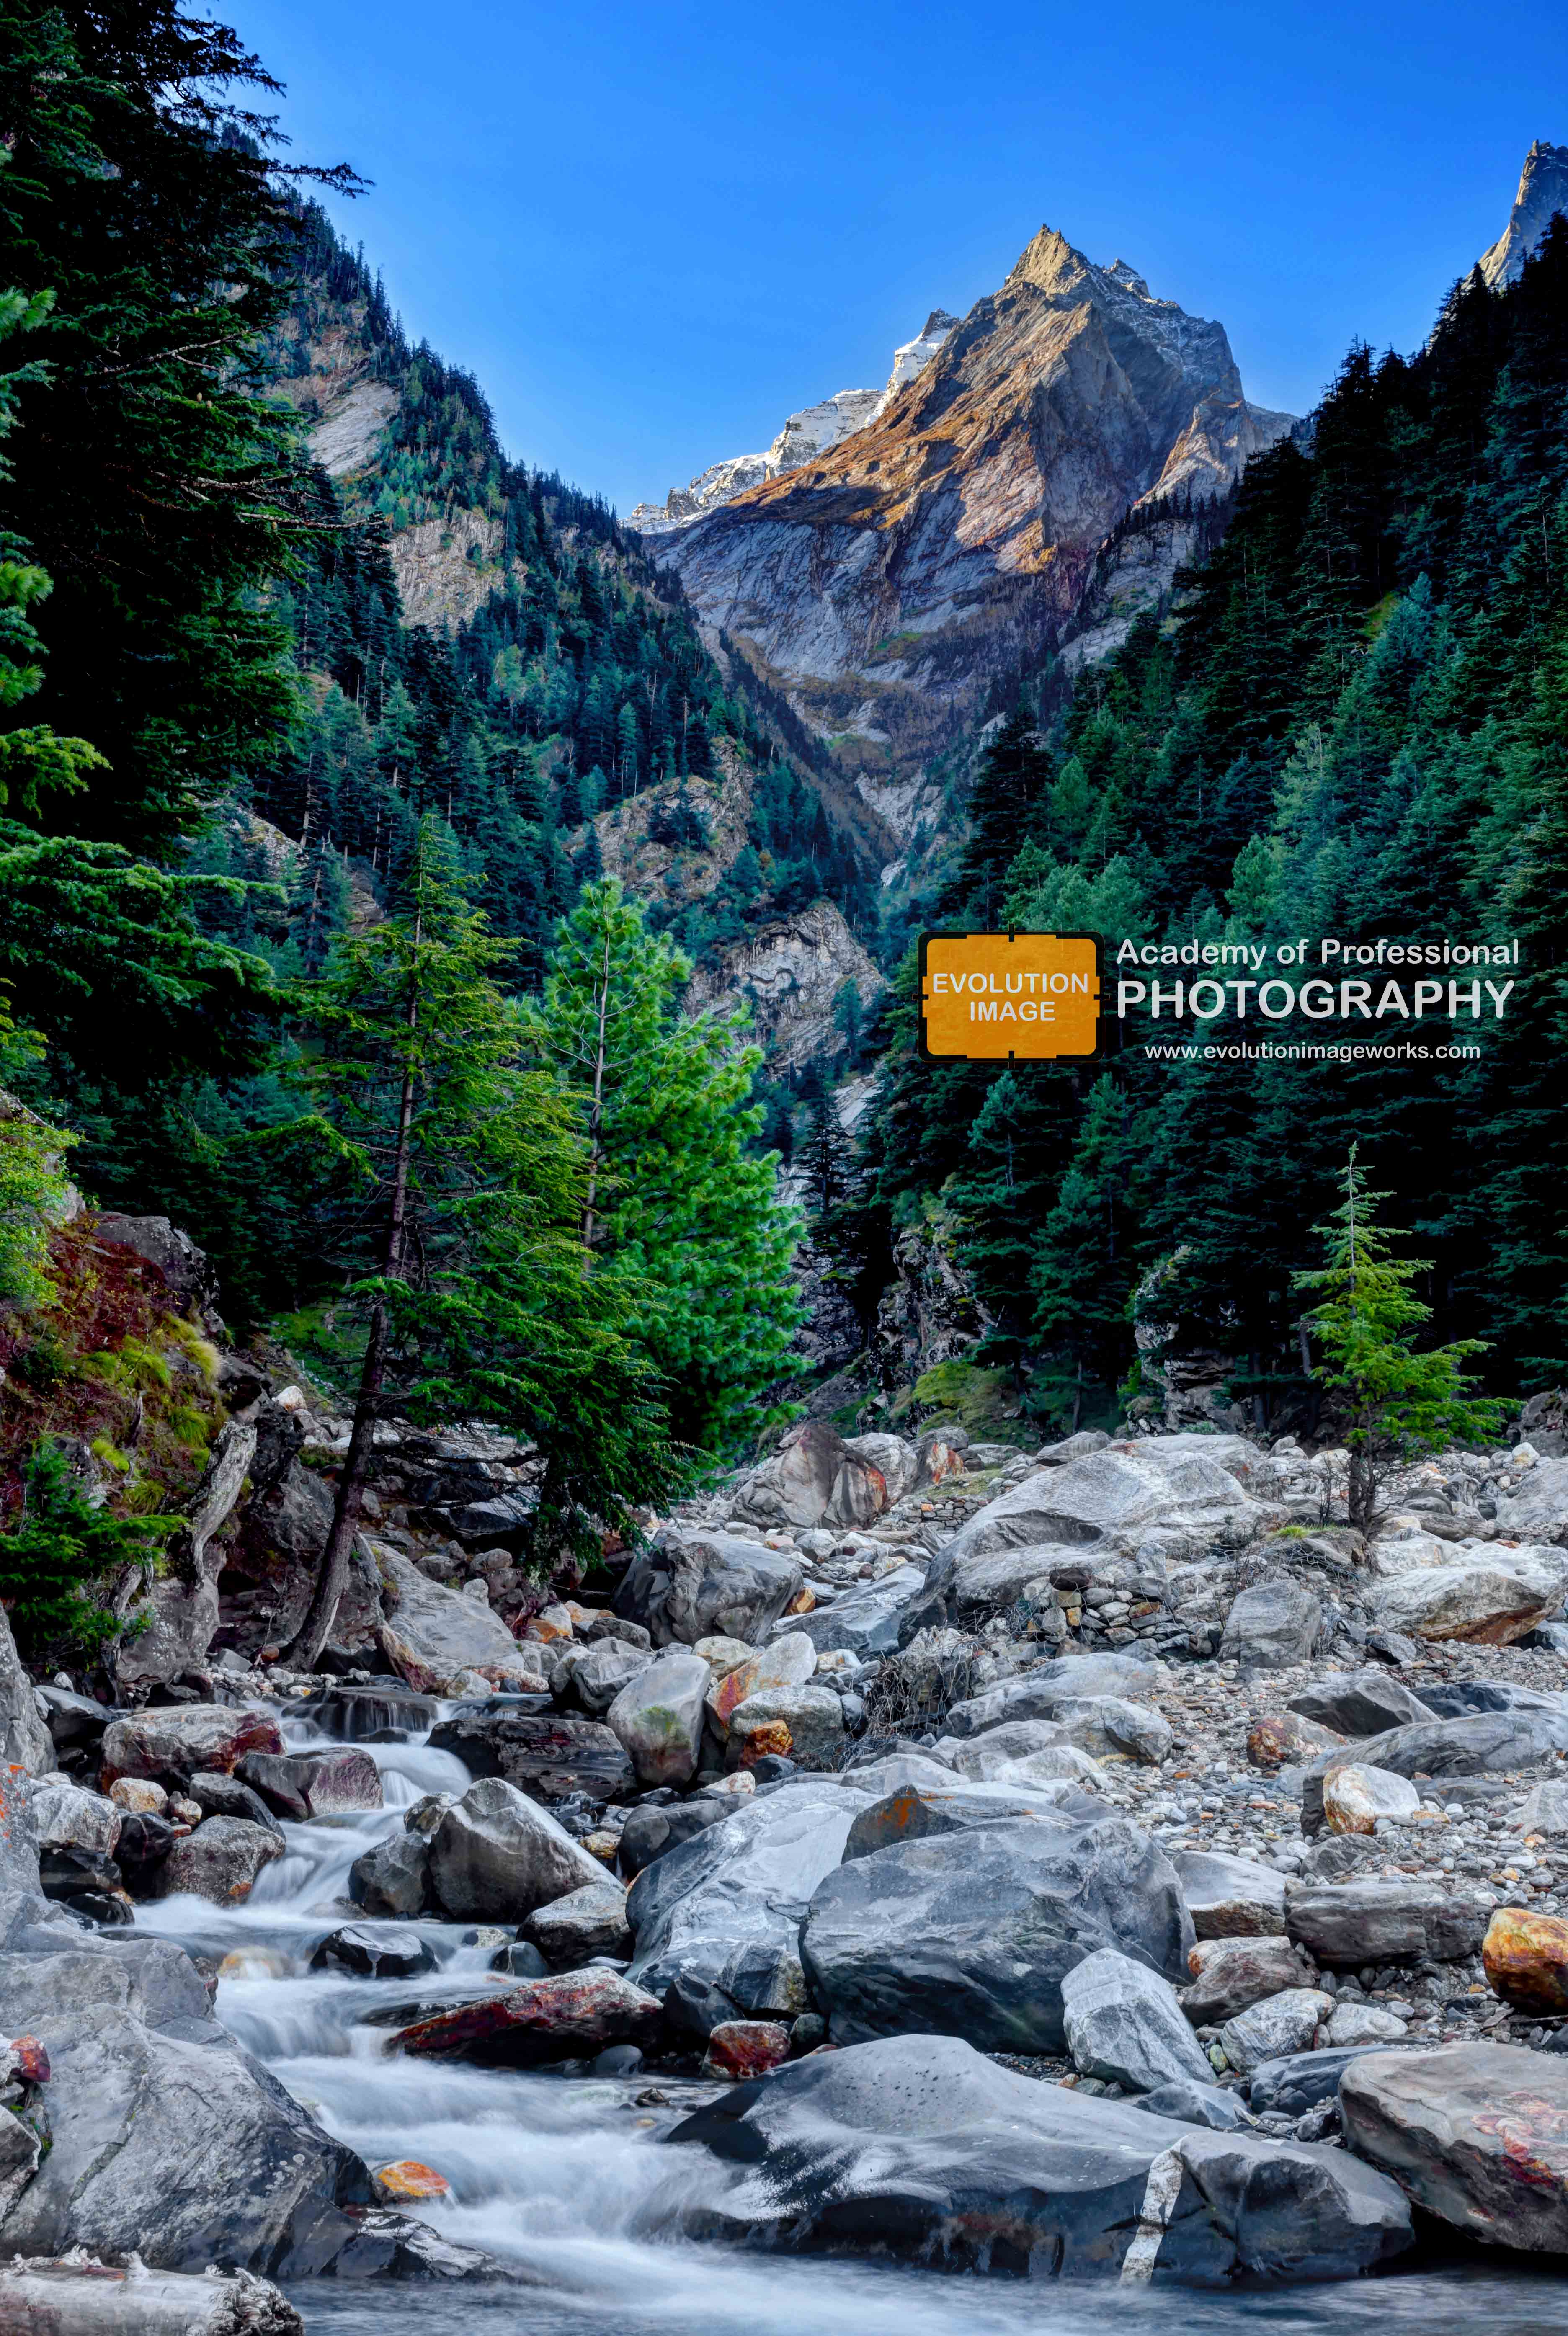
Many landscape photographs show little or no human activity and are created in the pursuit of a pure, unsullied depiction of nature, devoid of human influence—instead featuring subjects such as strongly defined land forms, weather, and ambient light. As with most forms of art, the definition of a landscape photograph is broad and may include rural or urban settings, industrial areas or nature photography.
Landscape photography commonly involves daylight photography of natural features of land, sky and waters, at a distance—though some landscapes may involve subjects in a scenic setting nearby, even close-up, and sometimes at night.
Photography of artificial scenery, such as farm fields, orchards, gardens and architecture, may be considered “landscape” photography as well. Even the presence of man-made structures (buildings, roads and bridges, etc.) or art (such as sculpture) may be considered “landscape” if presented in artistic settings or appearing (or photographed) in artistic style.
Further, landscape photography is typically of relatively stationary subjects—arguably a form of “still life.” This tends to simplify the task, as opposed to photography of kinetic or live subjects. However, landscape photography often overlaps the activity of wildlife photography and the two terms are used somewhat interchangeably; both wildlife and landscapes may be elements of the same picture or body of work.
Here are seven tips to help you with your landscape photography.
Select a Mid-Range Aperture. …
Choose a Low ISO. …
Use a Tripod if You Need One. …
Shoot During the Golden Hour. …
Use a Polarizing Filter. …
Compose a Good Landscape Photo. …
Preparation Tips for Taking Great Landscape Photos.
Methods (technical)
Landscape photography typically requires relatively simple photographic equipment, though more sophisticated equipment can give a wider range of possibilities to the art. An artist’s eye for the subject can yield attractive and impressive results even with modest equipment.
Camera
Any ordinary (or sophisticated) camera — film camera or digital camera—can be readily used for common landscape photography. Higher-resolution and larger-format digital cameras (or larger-format film cameras) permit a greater amount of detail and a wider range of artistic presentation.
However, a larger-format camera yields a more limited depth of field (range of the scene that is in focus) for a given aperture value, requiring greater care in focusing (see: “Shutter Speed and Aperture”, below).
A camera with “panorama” function or frame can permit very wide images suitable for capturing a panoramic view.
Lens
For “wide open spaces,” a wide angle lens is generally the preferred lens, allowing a broad angle of view. However, medium-range to telephoto lenses can achieve satisfying imagery, as well, and can enable the capture of detailed scenery of smaller areas at greater distances. Telephoto lenses can also facilitate limited ranges of focus, to enable the photographer to emphasize a specific area, at a fairly specific distance, in sharp focus, with the foreground and background blurred (see: depth of field). A big difference between a wide-angles lens and a telephoto lens is the compression of the landscape; the wider the angle the more distance will appear between the foreground and background elements; however, a telephoto lens will make the same elements appear closer to each other. Other lenses that can help include the fish eye lens for extremely wide angles and dramatic effect, and the macro /micro lens for extreme close-up work. While variable-range zoom lenses are widely used, some landscape photographers prefer fixed-range prime lenses to provide higher clarity and quality in the image.
Medium: film or digital sensor
The sensitivity to light, of the medium—the film or the digital camera sensor—is important in landscape photography, especially where great detail is required. In bright daylight, a “slow film” (low-ISO film), or low-ISO digital camera sensor sensitivity setting (typically ISO 100, or perhaps 200), is generally preferred, allowing maximum precision and evenness of image.
However, if there is movement in the scene, and the scene is in lower light—as with cloudy days, twilight, night, or in shaded areas—a higher ISO (up to the limits of the film or camera sensor, depending upon the shortage of light) may be desirable, to ensure that fast shutter speeds can be used to “freeze” the motion.
Lighting and flash
Normally, landscape photography—being focused primarily on natural beauty—tends to be done with only naturally occurring ambient light.
In some cases, however, artificial light is recommended or unavoidable. Careful use of flash, continuous artificial lighting or reflective surfaces for “fill” in shadowy areas is often used in close-up landscape photography (e.g.: garden spaces, small areas of dark forests, etc.).
However, given the broad expanses of open space that tend to dominate in landscape photography, artificial lighting is typically ineffective, or even destructive (causing the foreground to be wildly over-lit, and the background to become overly dark).
Light at dawn or dusk, or just before or after those times (especially at sunrise, or during the “golden hour” just before sunset), is often considered the best for capturing detail, showing scenes in the best colors of light, or otherwise generating impressive and attractive images.
Shutter speed and aperture
With cameras that allow a variety of shutter speeds and lens apertures, landscape photographers tend to prefer settings that allow all of the viewed area to be in sharp focus. This typically requires a small aperture (a high f-stop, usually between 11 and 13 is best for clarity and depth of field), which creates only a small hole for the light to come into the camera from the lens, ensuring that as much of the field of view is in focus as possible.
With a small aperture, however, a slower shutter speed (longer exposure) may be required to compensate for the limited amount of light squeezing in through the small aperture. This can be a problem if there are kinetic elements in the picture, such as moving animals (especially birds), people or vehicles. It can also be a problem if the environment is kinetic (in motion), such as wind blowing and shaking all the trees and plants in the scene, or if water is flowing. Slow shutter speeds can also be a problem if the photographer is in motion (such as shooting a scene from a moving vehicle).
Consequently, some compromise between shutter speed and aperture may be necessary, or advisable. To some extent, a higher-ISO film or digital camera setting can compensate without the need to alter shutter speed or aperture. However, higher ISO settings (“fast film”) can result in grainy pictures and poor capture of details, especially at a distance.
In some cases, a slow shutter speed is desired to show movement of the subjects, particularly moving water or the effects of wind.
Filters
Neutral density filter demonstration. Photo taken with shutter speed 1/5 of a second and a focal length of 21mm
Filters can serve a wide range of purposes in landscape photography.
For instance, a polarizing filter can darken the sky, while allowing surface features to be shown in relatively sharper clarity. Polarizing filters also help with cutting glare from water reducing reflections, snow and ice—even facilitating greater transparency of water and ice.
Neutral density filters are darkened with a neutral (colorless) gray tint which reduces the amount of light entering the camera lens. These filters are used to lengthen shutter speeds without the need to alter aperture or film/sensor sensitivity, or alternatively, to use large apertures without exceeding the maximum shutter speed of a camera. A variation of this filter, termed the graduated neutral density filter or simply ‘ND grad’, transitions from dark, neutral gray on one side to clear on the opposite side. Photographers use these filters to lower natural contrasts by reducing light transmission from the brightest portion of the subject landscape, while letting light from the darker portion of the landscape enter the lens unobstructed.
UV-Zero haze filters reduce “purple fringing” caused by ultraviolet light, especially in digital situations. They are also recommended by some professional photographers as protection for the vulnerable lens, especially when outdoors or in dynamic situations.
color filters can create other effects, or compensate for the appearance of unnatural lighting due to camera characteristics.
Tips For Taking Stunning Landscape Photos With Your Phone
Include details in the foreground. …
Use human subjects. …
Use sky in the composition. …
Pay attention to light conditions. …
Follow the diagonal principle. …
Include leading lines in your photos. …
Use a wide angle iPhone lens. …
Take sharper photos using a tripod.
Landscape Photography Tips
Create Depth. When you are taking a landscape photograph, try creating a sense of depth by keeping all the different elements of the image in focus. …
Use a Wide-Angle Lens. …
Use Photographic Filters. …
Capture Movement. …
Use Water as a Mirror. …
Take Account of People. …
Compose in Thirds. …
What are the Best Lenses for Landscape Photography?
The Canon EF-S 15-85 mm.
The Samyang 14 mm Ultra Wide-Angle f/2.8 IF ED UMC Lens.
Outdoor Photographer is the ultimate guide to nature, wildlife, travel and adventure sports photography, featuring the work of renown photographers.
LANDSCAPE PHOTOGRAPHY
What are the best camera settings for outdoor portraits?
ISO – low like 100-400 if possible, higher if a faster shutter speed is needed. Focus mode – auto focus, set it to a single point and use back button focus. Drive mode– single shot. Aperture – between f/2 and f/4 for a single subject (get the background out of focus) or f/5.6-f/8 for groups.
What is the best shutter speed for outdoor portraits?
When the subject is moving (as people almost always are), you’re restricted to faster shutter speeds. Here’s a good stock setting for outdoor head shots: set Manual mode, Auto ISO with shutter speed at 1/250 sec and the aperture at its widest setting, such as f/4. With flash, use a similar setting but with ISO 100
How do I start outdoor photography?
Gear Up. …
Scout Your Location. …
Time to Shoot. …
Set Up Your Camera. …
Compose the Shot. …
Getting Sharp Photos. …
Tweak the Photo.
What equipment do you need for outdoor photography?
#1 – The Internet. Whenever I start to plan a photo shoot to a particular location, I usually begin by googling the area. …
#2 – A Strong Backpack. …
#3 – A Weather-Sealed DSLR Camera. …
#4 – A Sturdy Tripod. …
#5 – Lenses. …
#6 – A Reliable Remote Trigger or Shutter Release. …
#7 – Filters. …
#8 – Extra Batteries and Media Cards.
What is the best time for outdoor photography?
The best time of day to take portrait photos is in the couple hours after sunrise and the couple hours before sunset. Within that time, it is better to shoot after the morning golden hour or before the evening golden hour.
How do you shoot portraits outside?
Here are five outdoor portrait photography tips to elevate your work :
Shoot During the Golden Hours. …
Use a Reflector to Control Your Light. …
Use a Fixed Focal Length Lens. …
Avoid Direct Sunlight. …
Consider Using a Flash.
How do you shoot outdoor models?
Know the location well. …
Choose the right time of the day. …
Choose the right background. …
Try mixing ambient and flash light. …
5. Make the model comfortable: Talk and Compliment. …
Get the best possible exposure in camera. …
Shoot in RAW format.
How do you prevent outdoor shadows from photography?
Tips For Outdoor Portraits With An Overhead Sun
Look For Open Shade. Open shade is your best friend in harsh sunlight. …
5 in 1 Reflector. A 5 in 1 reflector is relatively inexpensive, lightweight, and portable. …
Off Camera Flash. …
Avoid Squinting Subjects. …
Create Silhouettes. …
Shoot Action.
How do you use natural light for outdoor photography?
Treat natural light photography the same as studio lighting.
Find quality soft light.
Look for shadows to create shape and mood.
Place your subject at 45 degrees to the light as a starting point.
The light source is fixed, so move your subject and camera to reduce the height of the light in the eyes.
Which is the best camera for outdoor photography?
Nikon D850. With its massive 45.7-megapixel resolution and outstanding dynamic range, the full frame D850 is hard to beat. …
Canon EOS 5DS R. …
Sony A7R III. …
Nikon Z 7. …
Canon EOS R. …
Fuji GFX 50S.
What is the best lens for outdoor photography ?
The Canon EF-S 15-85 mm.
The Samyang 14 mm Ultra Wide-Angle f/2.8 IF ED UMC Lens.
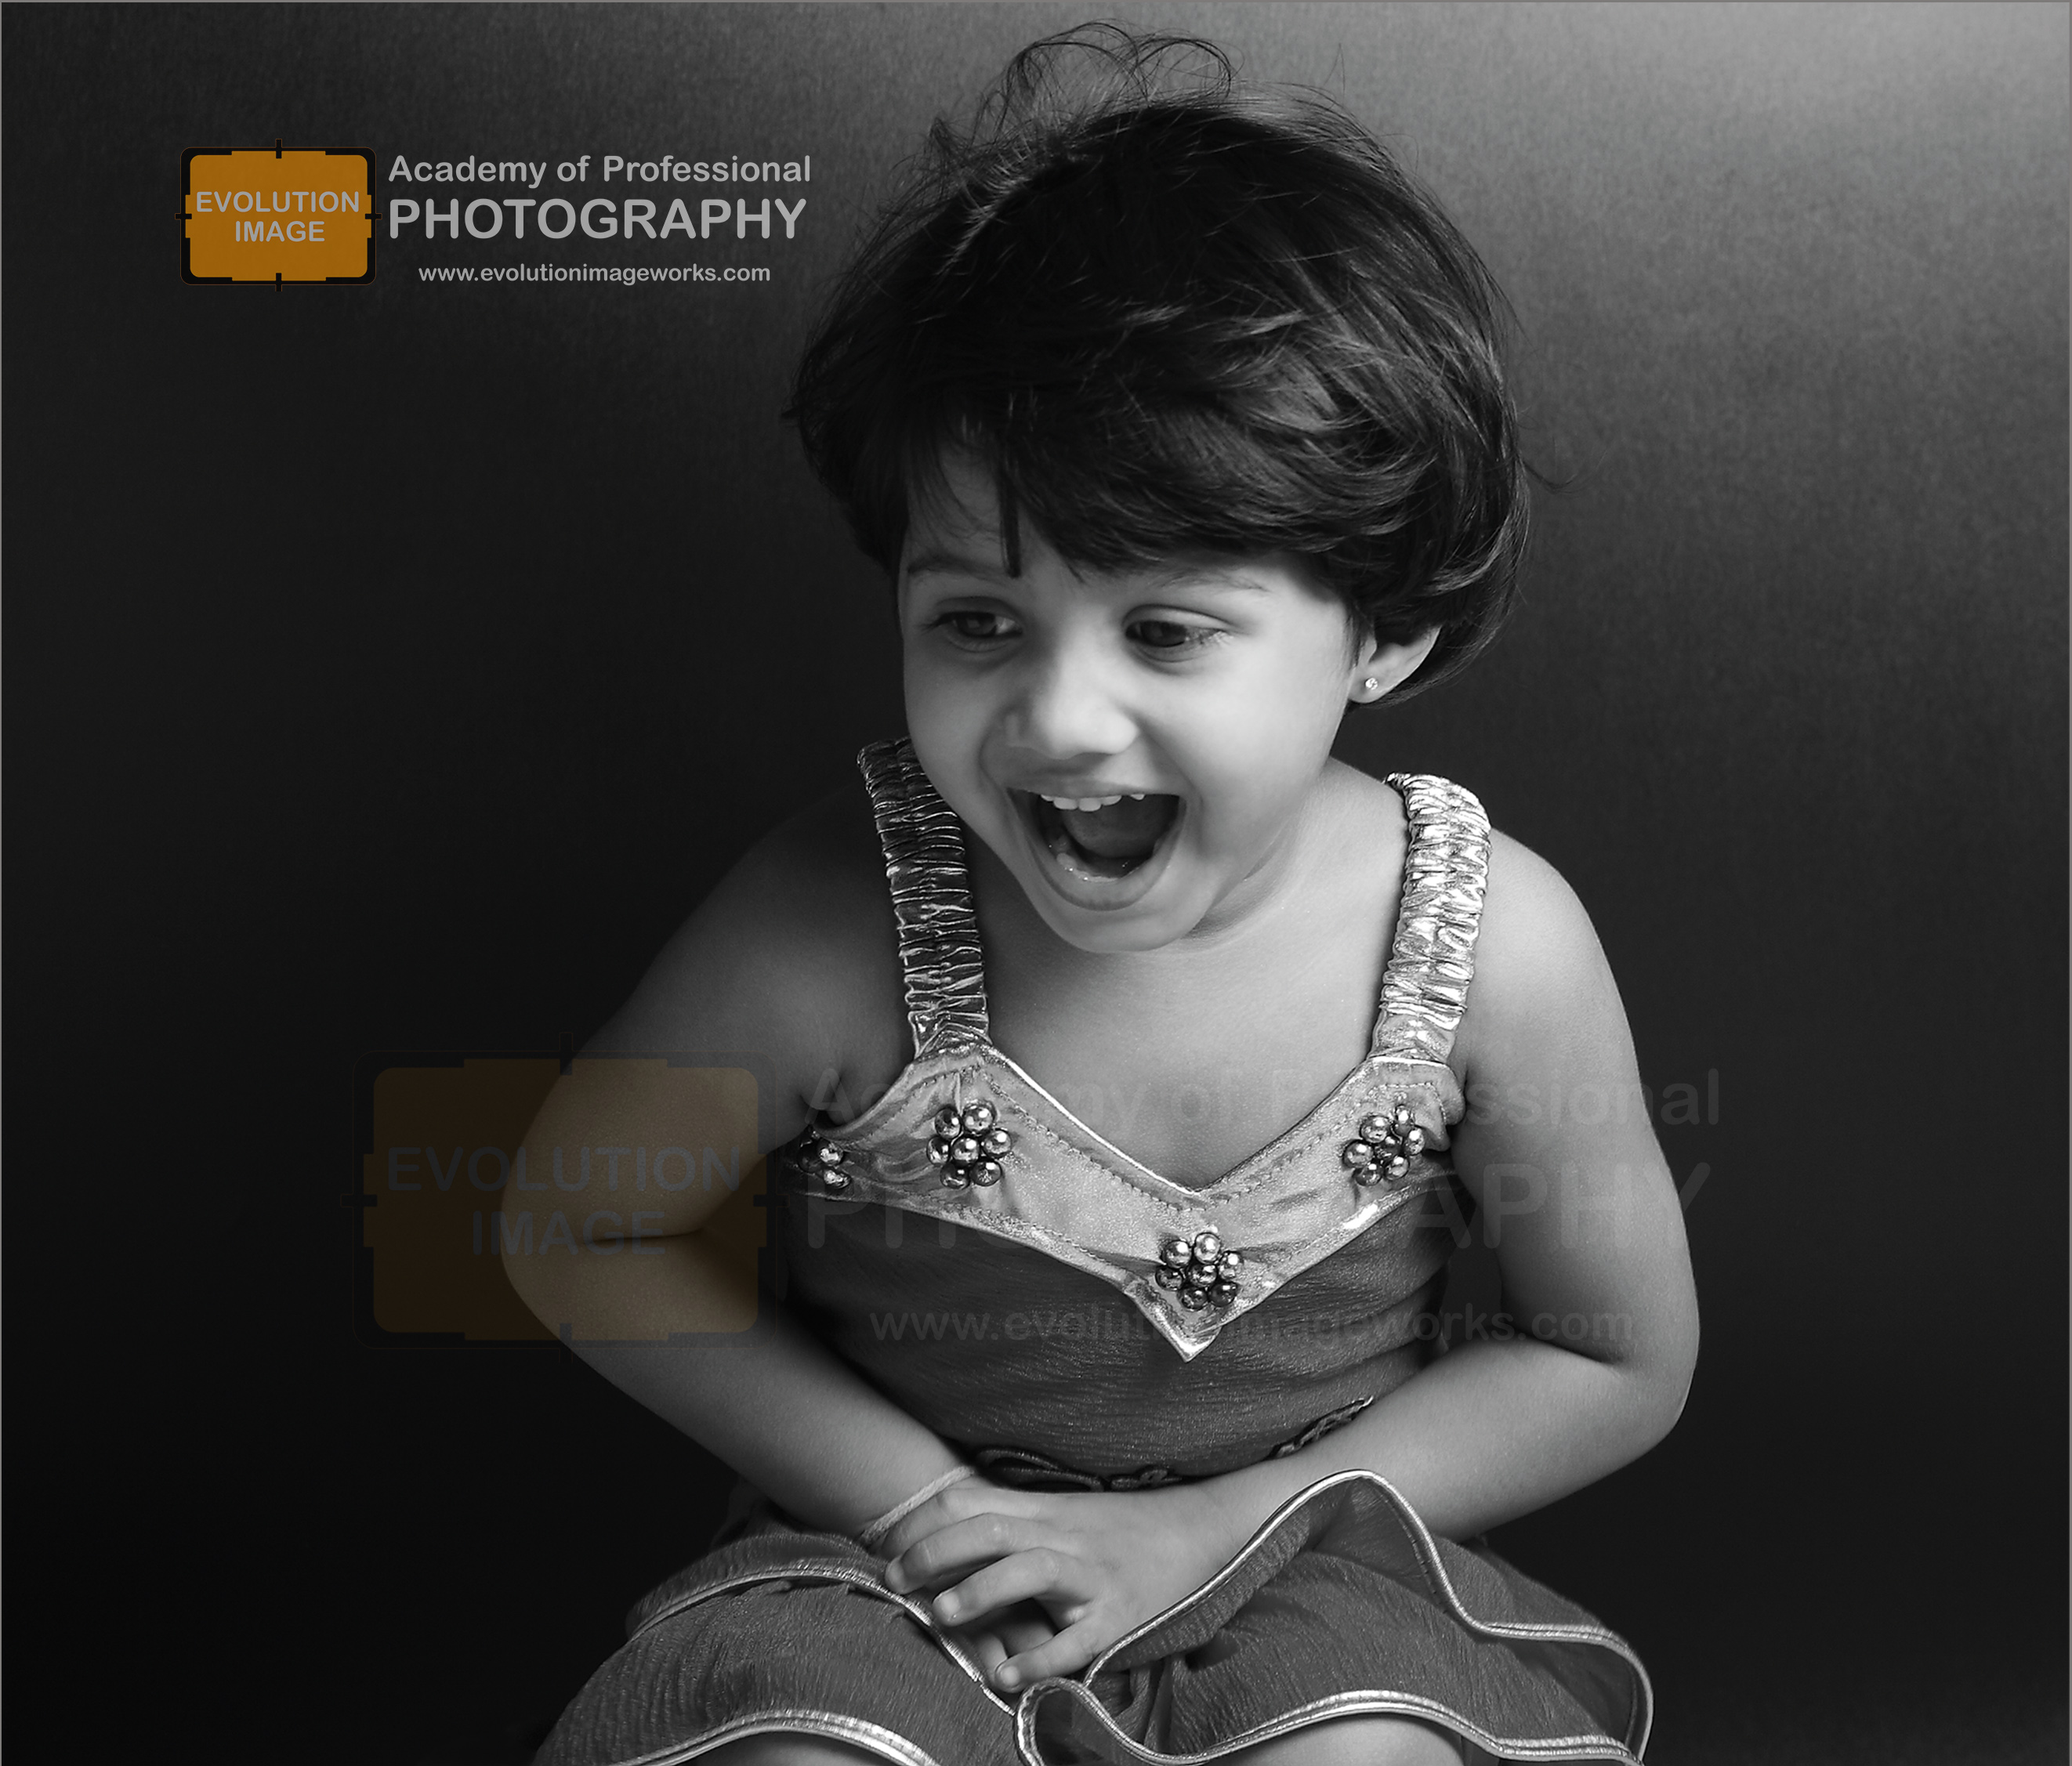
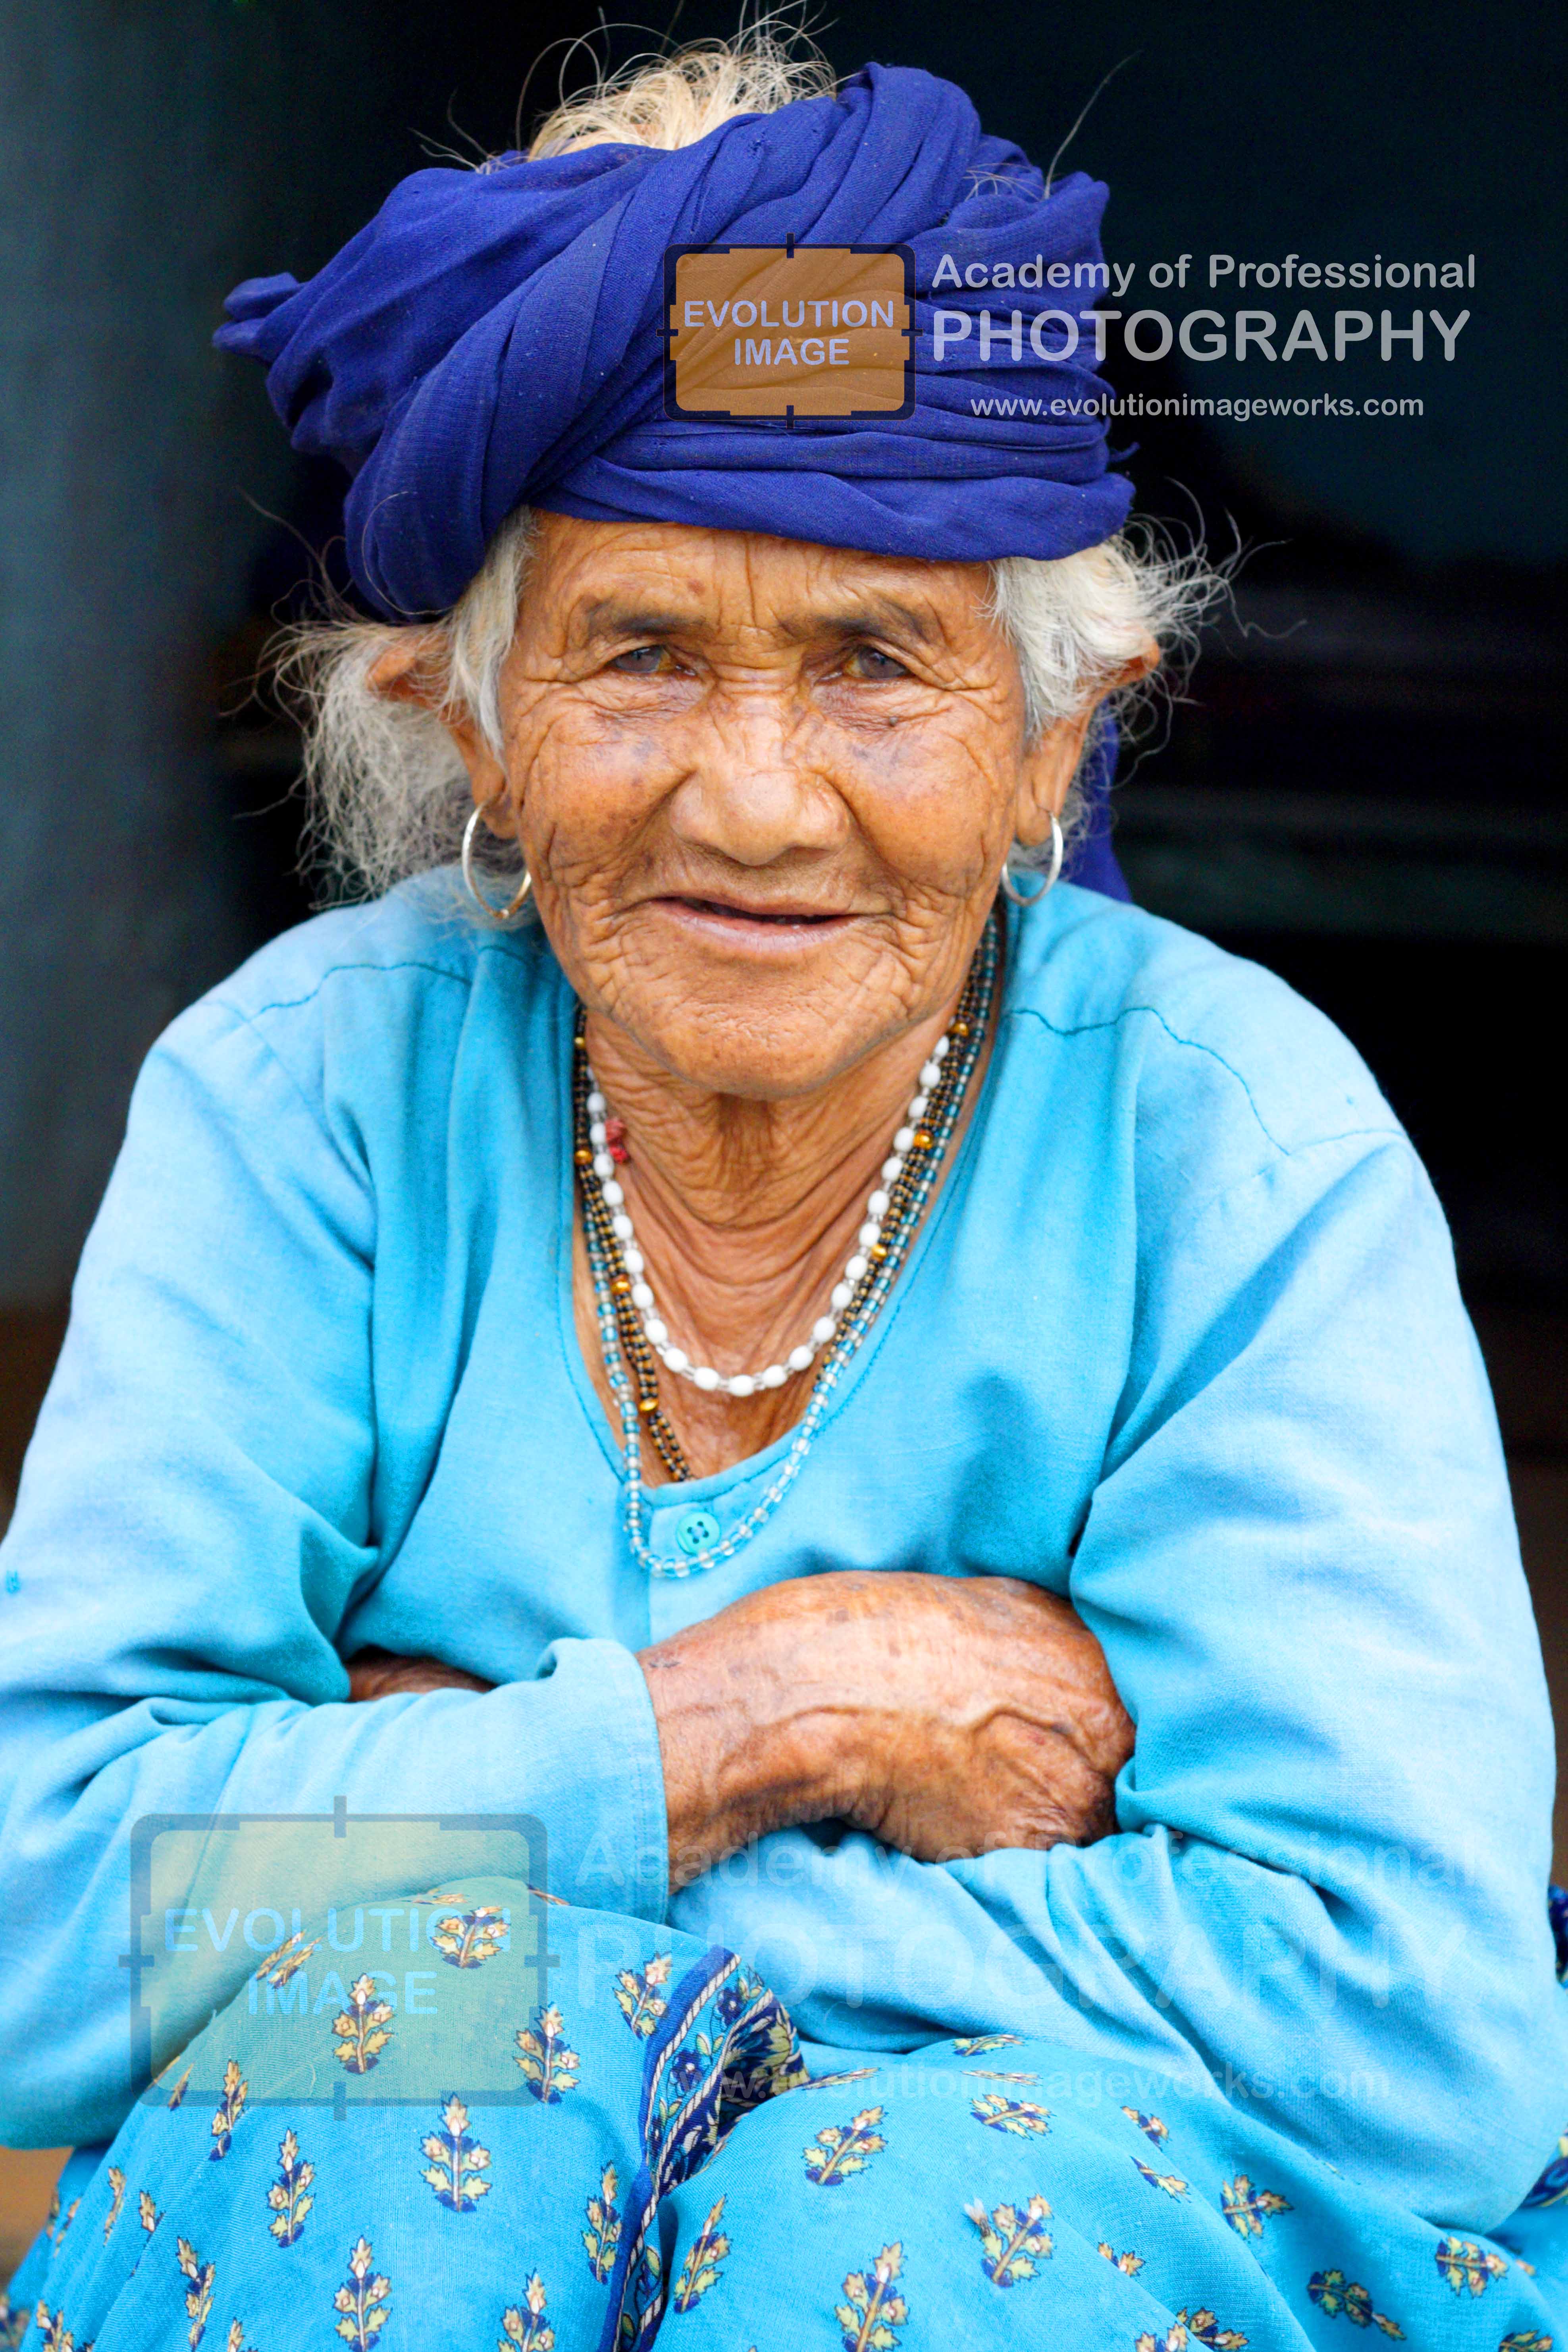
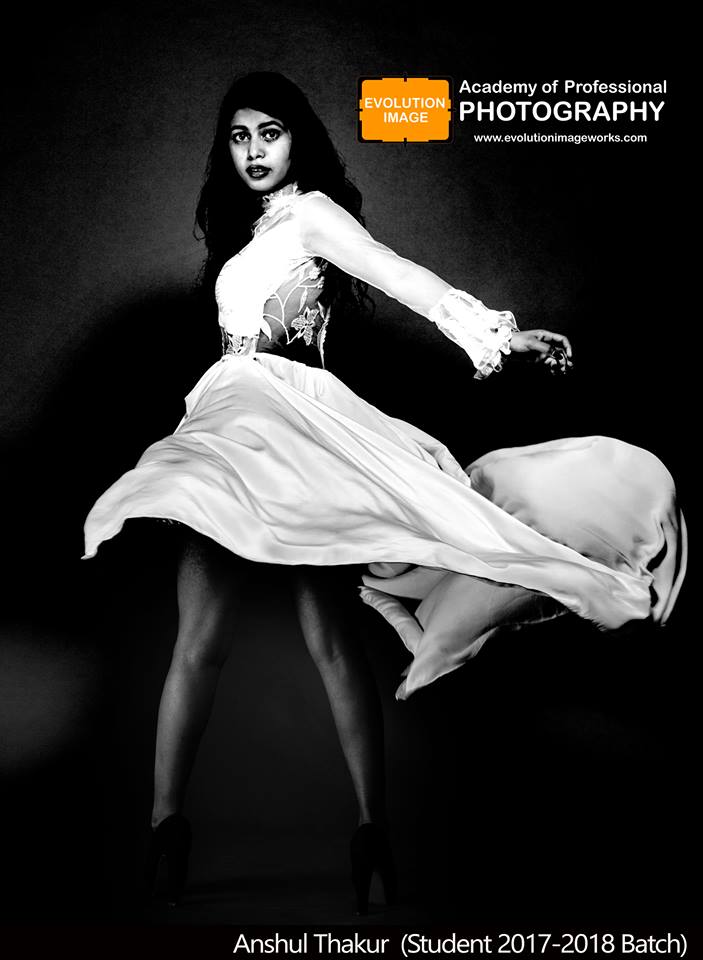
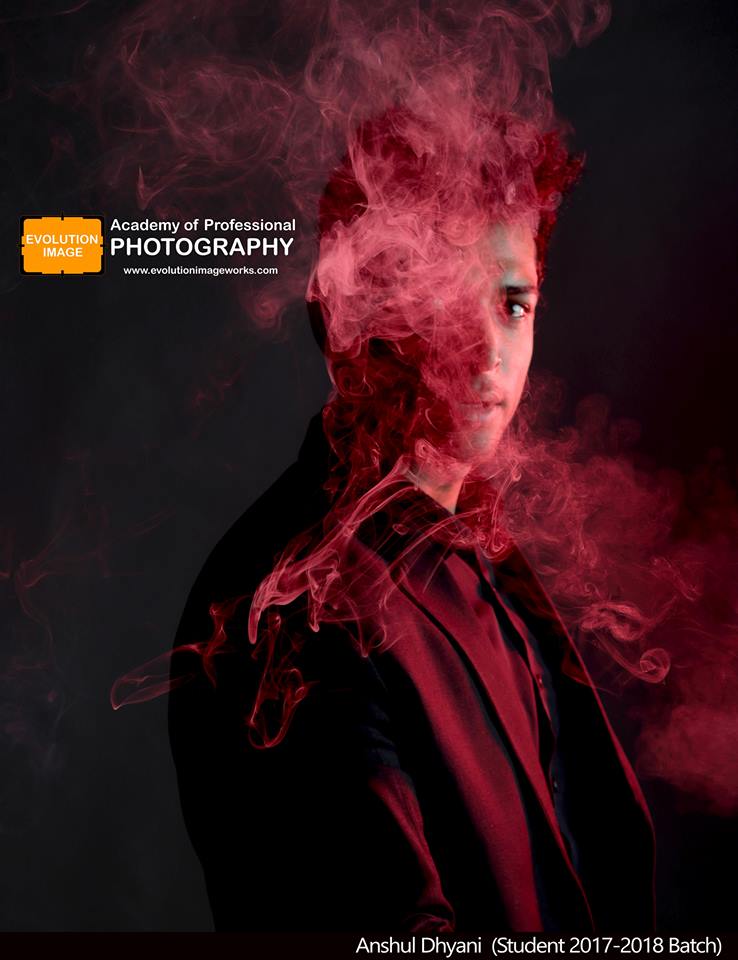
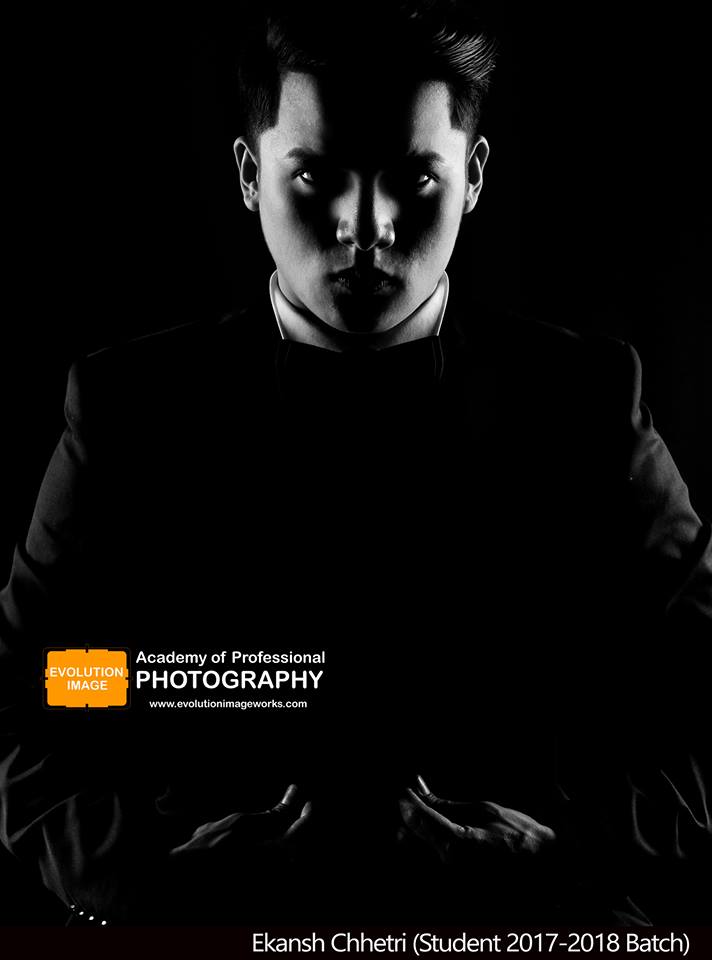
Portrait photography or portraiture in photography is a photograph of a person or group of people that captures the personality of the subject by using effective lighting, backdrops, and poses.A portrait picture might be artistic, or it might be clinical, as part of a medical study. Frequently, portraits are commissioned for special occasions, such as weddings or school events.Portraits can serve many purposes, from usage on a personal Web site to display in the lobby of a business.
Here are the 10 different types of portrait photography you should know.
Traditional Portraits
Lifestyle Portraits
Environmental Portraits
Candid and Street Portraits
Glamour & Boudoir Photography
Fine Art Portraits …
Conceptual Portraits
Surreal Portraits
What is the best aperture for portraits?
When shooting portraits, it’s best to set a wide aperture (around f/2.8–f/5.6) to capture a shallow depth of field, so the background behind your subject is nicely blurred, making them stand out better .
What is a good focal length for portraits?
85mm lenses and equivalents. If you’re looking for a lens that provides a reasonable working distance from the model, with a narrower field of view than a 50mm lens, the 85mm is the most popular focal length for portraiture
Lighting for portraiture
When portrait photographs are composed and captured in a studio, the photographer has control over the lightning of the composition of the subject and can adjust direction and intensity of light. There are many ways to light a subject’s face, but there are several common lighting plans which are easy enough to describe.
Three-point lighting
One of the most basic lighting plans is called three-point lighting. This plan uses three (and sometimes four) lights to fully model (bring out details and the three-dimensionality of) the subject’s features. The three main lights used in this light plan are as follows:
Key-light
Also called a main light, the key light is usually placed to one side of the subject’s face, between 30 and 60 degrees off center and a bit higher than eye level. The purpose of the key-light is to give shape (modelling) to a subject, typically a face. This relies on the first principle of lighting, white comes out of a plane and black goes back into a plane. The depth of shadow created by the main-Light can be controlled with a fill-light.
High-Key
This is a technique used to obtain a portrait where the predominant color is white or light-yellow. The background should be entirely white and several lights can be used, all at the same time.
Low-Key
Opposed to High-Key portraits, this technique is used only to highlight a specific part of the subject’s face, often half of the face if only one light source is used or just the facial contour if two lights are used.
Fill-in light
In modern photography, the fill-in light is used to control the contrast in the scene and is nearly always placed above the lens axis and is a large light source (think of the sky behind your head when taking a photograph). As the amount of light is less than the key-light (main-light), the fill acts by lifting the shadows only (particularly relevant in digital photography where the noise lives in the shadows). It is true to say that light bounces around a room and fills in the shadows but this does not mean that a fill-light should be placed opposite a key-light (main-light) and it does not soften shadows, it lifts them. The relative intensity (ratio) of the Key-light to the fill-light is most easily discussed in terms of “Stops” difference (where a Stop is a doubling or halving of the intensity of light). A 2 Stop reduction in intensity for the Fill-Light would be a typical start point to maintain dimensionality (modelling) in a portrait (head and shoulder) shot..
Back light
Back lights, or accent lighting , serve the purpose of accentuating a subject. Typically a back light will separate a subject from a background. Examples would be a light shining onto a subject’s hair to add a rim effect or shining onto a background to lift the tones of a background. There can be many accent lights in a shot, another example would be a spotlight on a handbag in a fashion shot. When used for separation, i.e. a hair-light, the light should not be more dominant than the main light for general use. Think in terms of a “kiss of moonlight”, rather than a “strike of lightning”, although there are no “shoulds” in photography and it is up to the photographer to decide on the authorship of their shot.
Kicker
A kicker is a form of accent light. Often used to give a backlit edge to a subject on the shadow side of the subject.
Butterfly lighting
Butterfly lighting uses only two lights. The key light is placed directly in front of the subject, often above the camera or slightly to one side, and a bit higher than is common for a three-point lighting plan. The second light is a rim light
Often a reflector is placed below the subject’s face to provide fill light and soften shadows.
This lighting may be recognized by the strong light falling on the forehead, the bridge of the nose, the upper cheeks, and by the distinct shadow below the nose that often looks rather like a butterfly and thus, provides the name for this lighting technique.
Accessory lights
These lights can be added to basic lighting plans to provide additional highlights or add background definition.
Background lights
Not so much a part of the portrait lighting plan, but rather designed to provide illumination for the background behind the subject, background lights can pick out details in the background, provide a halo effect by illuminating a portion of a backdrop behind the subject’s head, or turn the background pure white by filling it with light.
Other lighting equipment
Most lights used in modern photography are a flash of some sort. The lighting for portraiture is typically diffused by bouncing it from the inside of an umbrella, or by using a soft box . A soft box is a fabric box, encasing a photo strobe head, one side of which is made of translucent fabric. This provides a softer lighting for portrait work and is often considered more appealing than the harsh light often cast by open strobes. Hair and background lights are usually not diffused. It is more important to control light spillage to other areas of the subject. snoots barn doors and flags help focus the lights exactly where the photographer wants them. Background lights are sometimes used with color gels placed in front of the light to create coloured backgrounds.
Window light portraiture
Window light used to create soft light to the portrait
Windows as a source of light for portraits have been used for decades before artificial sources of light were discovered. According to Arthur Hammond, amateur and professional photographers need only two things to light a portrait: a window and a reflector. Although window light limits options in portrait photography compared to artificial lights it gives ample room for experimentation for amateur photographers. A white reflector placed to reflect light into the darker side of the subject’s face, will even the contrast. shutter speed may be slower than normal, requiring the use of a tripod, but the lighting will be beautifully soft and rich.
The best time to take window light portrait is considered to be early hours of the day and late hours of afternoon when light is more intense on the window. Curtains, reflectors, and intensity reducing shields are used to give soft light . While mirrors and glasses can be used for high key lighting. At times colored glasses, filters and reflecting objects can be used to give the portrait desired color effects. The composition of shadows and soft light gives window light portraits a distinct effect different from portraits made from artificial lights.
While using window light, the positioning of the camera can be changed to give the desired effects. Such as positioning the camera behind the subject can produce a sihouette of the individual while being adjacent to the subject give a combination of shadows and soft light. And facing the subject from the same point of light source will produce high key effects with least shadows.
BLACK & WHITE PORTRAIT PHOTOGRAPHY
3 Basic Portrait Photography Settings
Aperture. In portrait photography, you very rarely see the background properly, as it is usually out of focus, allowing the viewer to concentrate on the subject. …
Shutter Speed. Most professional photographers shoot portraits at a shutter speed of around 1/200 of a second. …
ISO
How do you become a portrait photographer?
Step 1: Learn Technical Skills. Aspiring portrait photographers should learn to use technical tools, such as digital cameras, lenses and lighting equipment. …
Step 2: Gain Experience. …
Step 3: Obtain Certification. …
Step 4: Continue Your Education for Career Advancement.
How do I take beautiful portraits?
Taking Perfect Portraits. People love to see flattering photos of themselves, but not every photographer has the skill set to capture a striking portrait. …
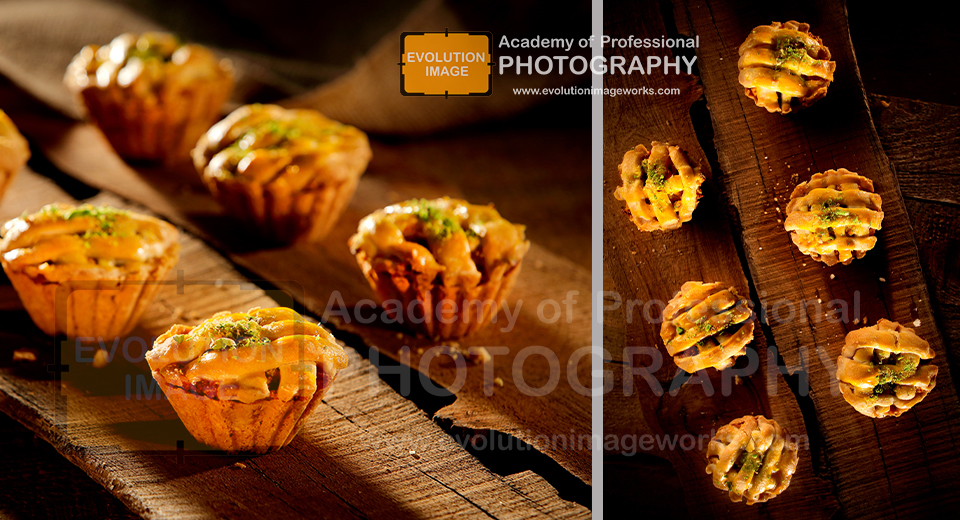
Food photography is a still life photography genre used to create attractive still life photographs of food. It is a specialization of commercial photography the products of which are used in advertisements, magazines, packaging, menus or cookbooks.
Professional Food Photography will take your branding and marketing from average to awesome and can help increase sales and new customers. Food Photography has the ability to appeal to the consumers’ emotions, making them stop, look, and want to taste.
education do you need to be a food photographer
While not necessarily required to work as a food photographer, a bachelor’s degree or formal training in art or photography may be helpful.
What does food stylist do?
A food stylist is a creative professional who prepares food for photographs or television. They will often work closely with chefs, editors and photographers. Food stylists usually prepare dishes and use styling techniques so food looks great and lasts for the length of the photo shoot.
types of food photography
There are three main types of Food Photo: Packaging, Advertising, and Editorial. Packaging tends to be the most technical, tedious, and anal-retentive type of Food Photography. Product packaging shots need to show whatever the subject is in the best possible light.
Food is too fun to be boring, so read on for tips guaranteed to make them STUNNING.
Pick Pretty Food to Shoot. Not all pictures are created equal. …
Pick a Color. I always say to start shooting on white. …
Tell a Story. …
Add Some Life. …
Shoot with Back Light, Not Bright Light. …
Arrange Something Unexpected. …
Look Through the Lens.
What do I need for food photography?
1 – Camera Bodies. *Always be on the look out for good used or open box deals.
2 – Macro Lens. …
3 – Tripod w/ Lateral Arm. …
4 – Reflector. …
5 – Bounce Card. …
6 – Scrim Fabric. …
7 – Lighting. …
8 – Tethering Cable.
How do you take food pictures at night? Here are five tips from the pros for taking phone photos in the dark:
Use an app that allows you to adjust the exposure and ISO.
More: Light up your night with DIY string lights.
Take your time and hold still.
Try to only use one light source.
Seek out alternative light sources (except for candles).
Popular Cameras for Food Photography
Nikon D3400. Comparable to the Canon Rebel T6i, the Nikon D3400 is also a great entry-level DSLR. …
Canon 6D. This is your entry into the full-frame market. …
Canon 5D Mark IV. …
Nikon D810. …
Canon 5DS. …
Sony A7 Mark III.
What is the best lighting for food photography?
A soft box IS THE MOST COMMON LIGHT MODIFIER USED IN FOOD AND STILL LIFE PHOTOGRAPHY. ANOTHER GOOD MODIFIER AND ONE THAT I USE CONSTANTLY, IS A REFLECTOR DISH WITH A HONEYCOMB GRID.
Guidelines for Plating Food
Choose the right plate. …
Choose the right size plate. …
Choose a complementary plate color. …
Plate with a clock in mind. …
Use moist ingredients as your base. …
Serve odd amounts of food. …
Place food to create flavor bites. …
Don’t overcrowd your plate….
How to Get Freelance Food Photography Jobs
Step 1 – Get Your Portfolio Ready. Before you begin to look for freelance jobs as a food photographer, you will need to develop a great portfolio that will show your work. .
Step 2 – Check Freelance Job Boards. .
Step 3 – Research Cookbook Publishers. .
Step 4 – Seek out Local Restaurants. .
Step 5 – Find a Local Cake Decorator.
Food Photography Lenses for Beautiful Photos
The 50mm ‘Nifty Fifty’
The 60mm Micro/ 6omm Macro. …
The 105mm Micro/ 100mm Macro. …
3 Behind the Scenes Natural Light Setups. …The Tilt-Shift Lens
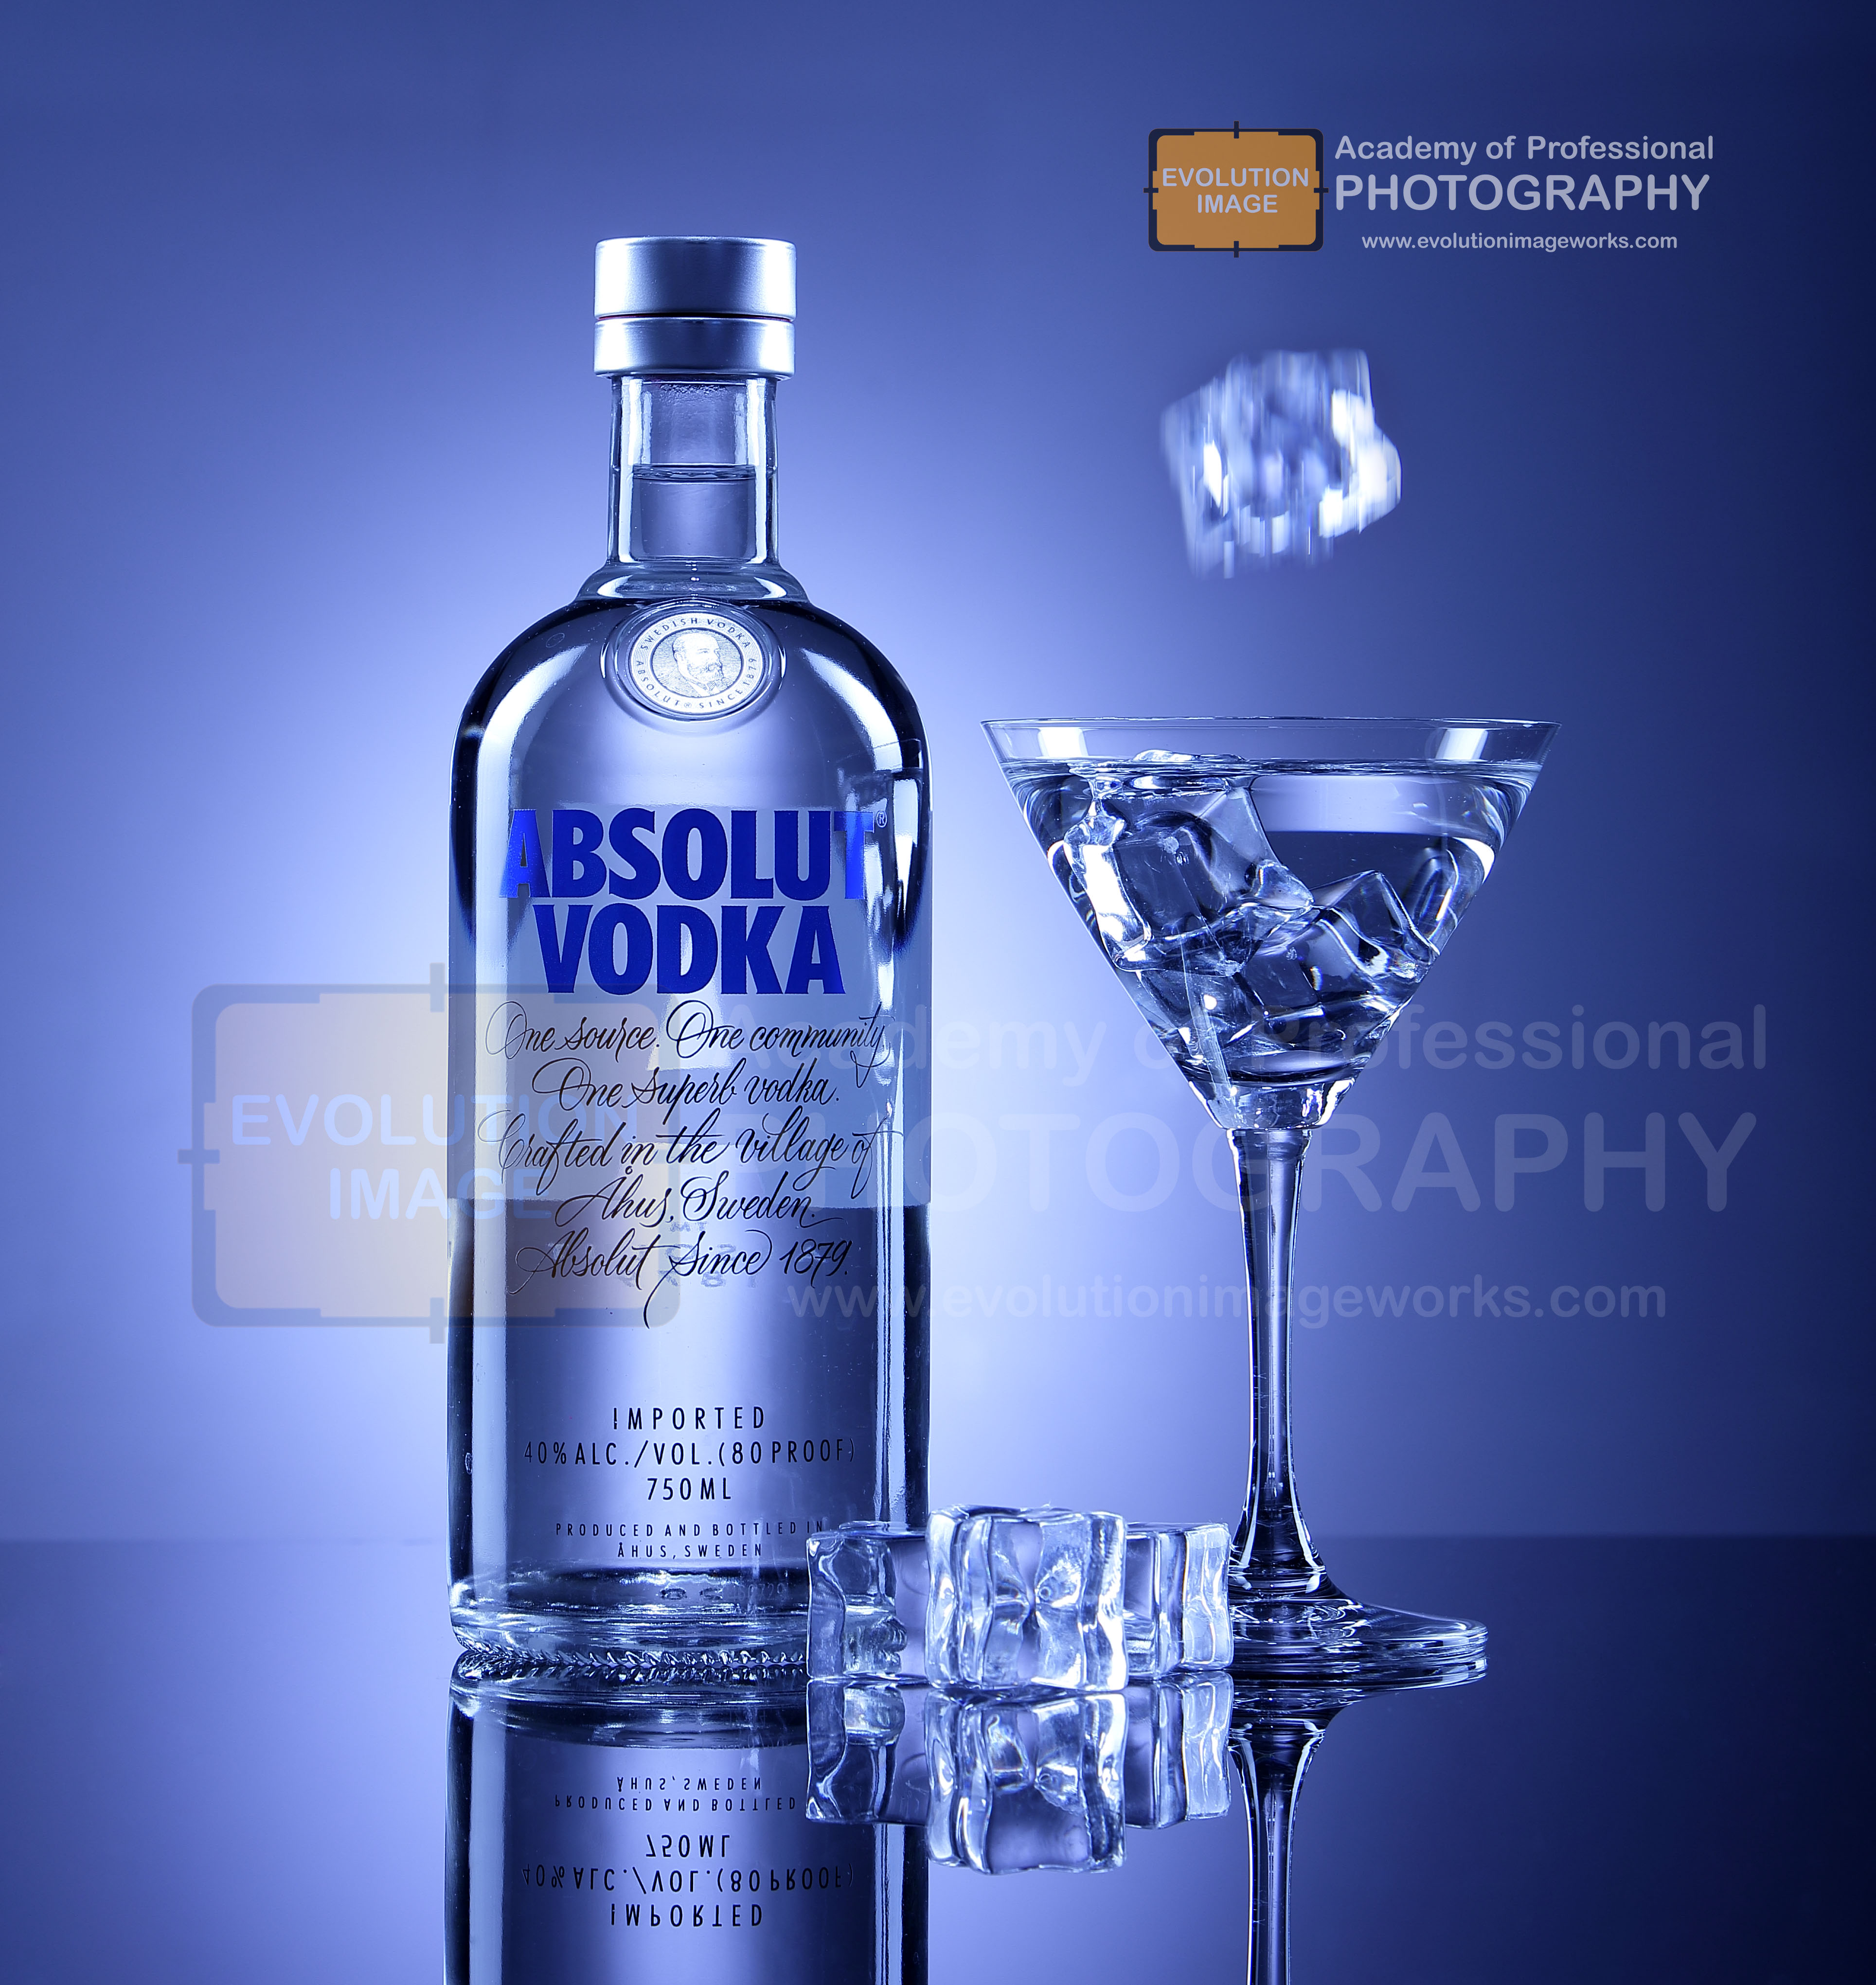
Product photography is a branch of commercial photography which is about accurately but attractively representing a product. … To photograph a range of products rapidly, one at a time, so that the shadows and light are consistent. Product photos are proof of the product’s characteristics. Most shoppers look at product photography first and then read the description to confirm if the product is right for them. Product photography tells you a lot about the item from size, shape, color, and even how it is used.
The challenges of product photography are generally:
To represent the product without distortion
To represent the product in good lighting, with soft shadows and no identifiable reflections
To photograph a range of products rapidly, one at a time, so that the shadows and light are consistent
Particularly difficult products to photograph include
Transparent products
Chrome and other highly-reflective products
Products which are white or black
For most types of product, the standard set up is a light tent big enough for the largest product in the range, an infinite cove, a micro lens, a tripod and studio strobe lights. Photo floods can be used instead of strobes, which makes visualizing the shadows easier, although this is generally not a huge issue when using a light-tent.
Basic Product Photography Equipment
Set up your background and product. Getting the right background is worth the effort, because it simplifies the entire editing process. .
Get your lighting right. .
Use a tripod.
Pick the right camera.
Don’t forget post-process .
What lighting should I use for product photography?
Traditional Lights. These are the light bulbs for everyday use in your lamps and fixtures at home. They’re inexpensive, easily available, and can create good product photos if used properly. There are two types of traditional lights: incandescent and fluorescent.
How to Make Money with Product Photography
Image Editing Services.
Camera and Lenses. You need to invest after a high definition DSLR/Professional camera and lenses to get quality product images. …
Background and Lighting. …
Social Media. …
Create your own Website. …
Start Blogging. …
Enter into Photo Contests. …
Ads and E-mail Marketing.
types of product photography
Simple Studio Product Shots. …
White Background Photos. …
Using Scale to Show the Size of the Product. …
Product Grouping. …
Products and Lifestyle Action Shots. …
Studio Setups. …
Non-Traditional Product Images. …
Hanging Products.
How to Take Gorgeous Product Photos
Camera. It’s important to use a nice camera. …
Lights. You will need some good lights. …
Tripod. You need to take longer exposures; holding your camera by hand will produce blurry images that shoppers will not like. …
Photo Setup. …
Use a Wide Aperture. …
Pay Attention to Shadows. …
Clean Up. …
Don’t be Afraid.
Here is a list of what we believe are the top 10 lenses you can use for product photography:
Sigma 24-105mm F4.0 Art DG OS HSM.
Canon TS-E 24mm f/3.5L II Ultra Wide Tilt-Shift Lens.
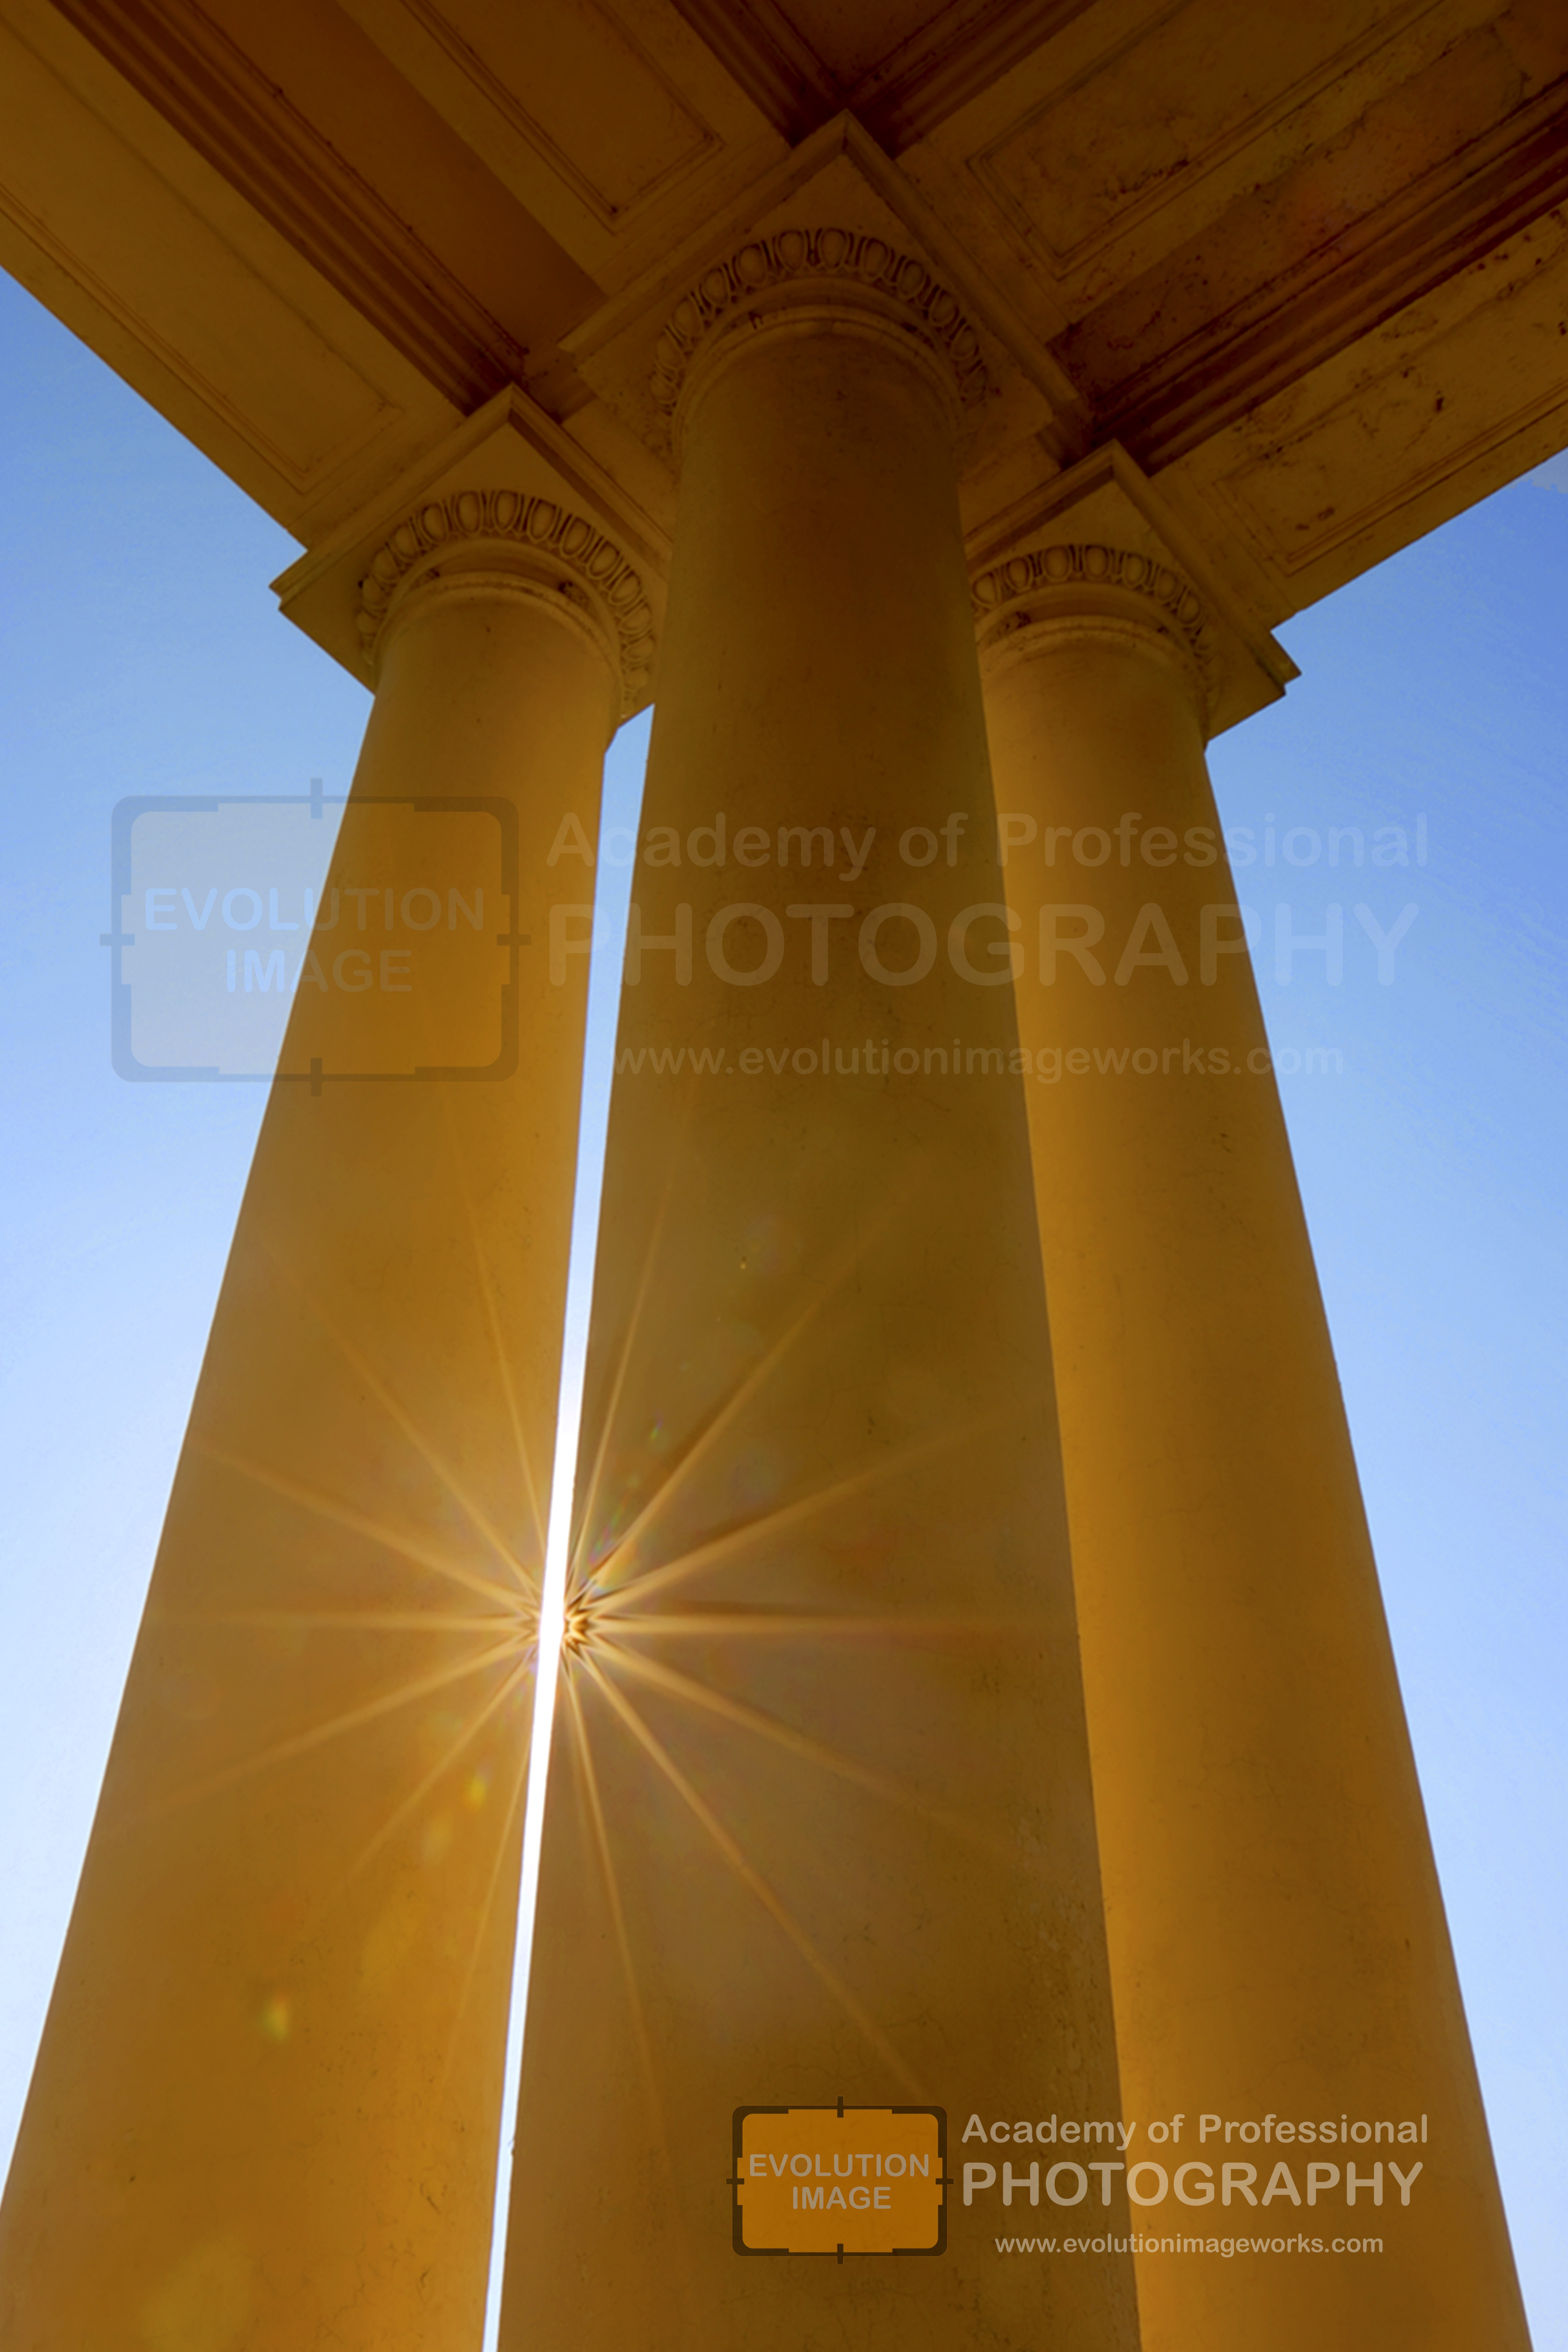
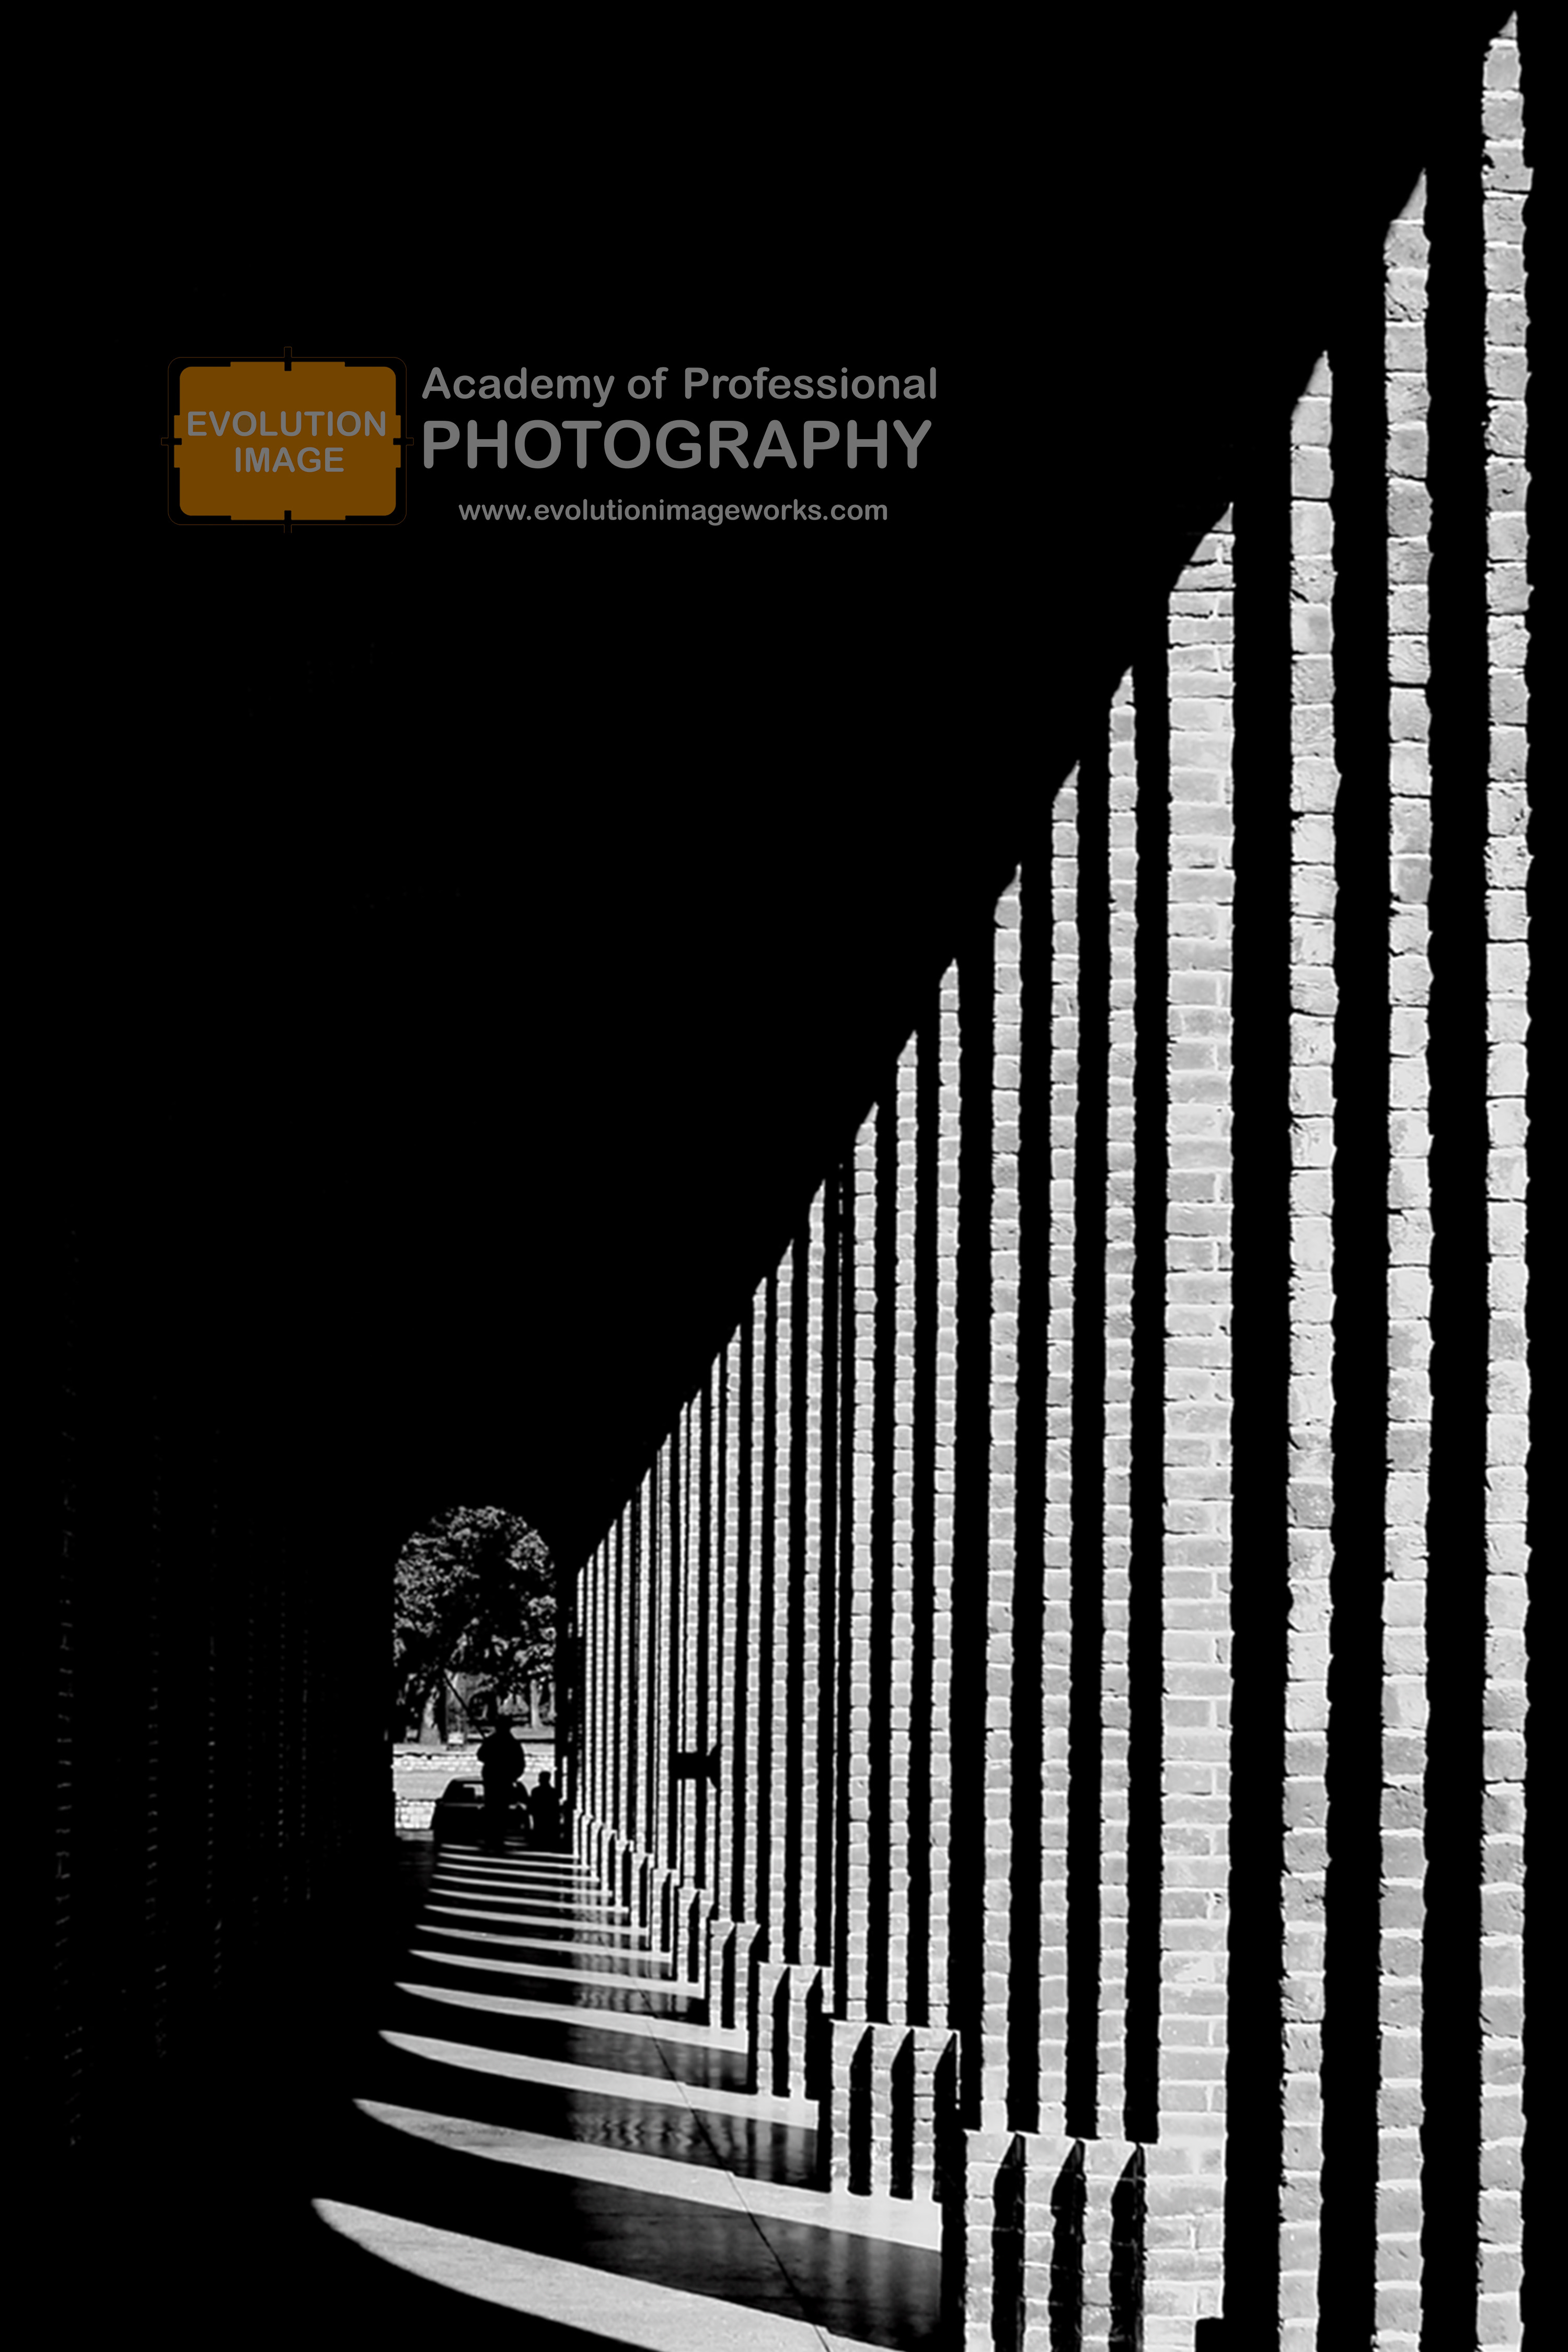
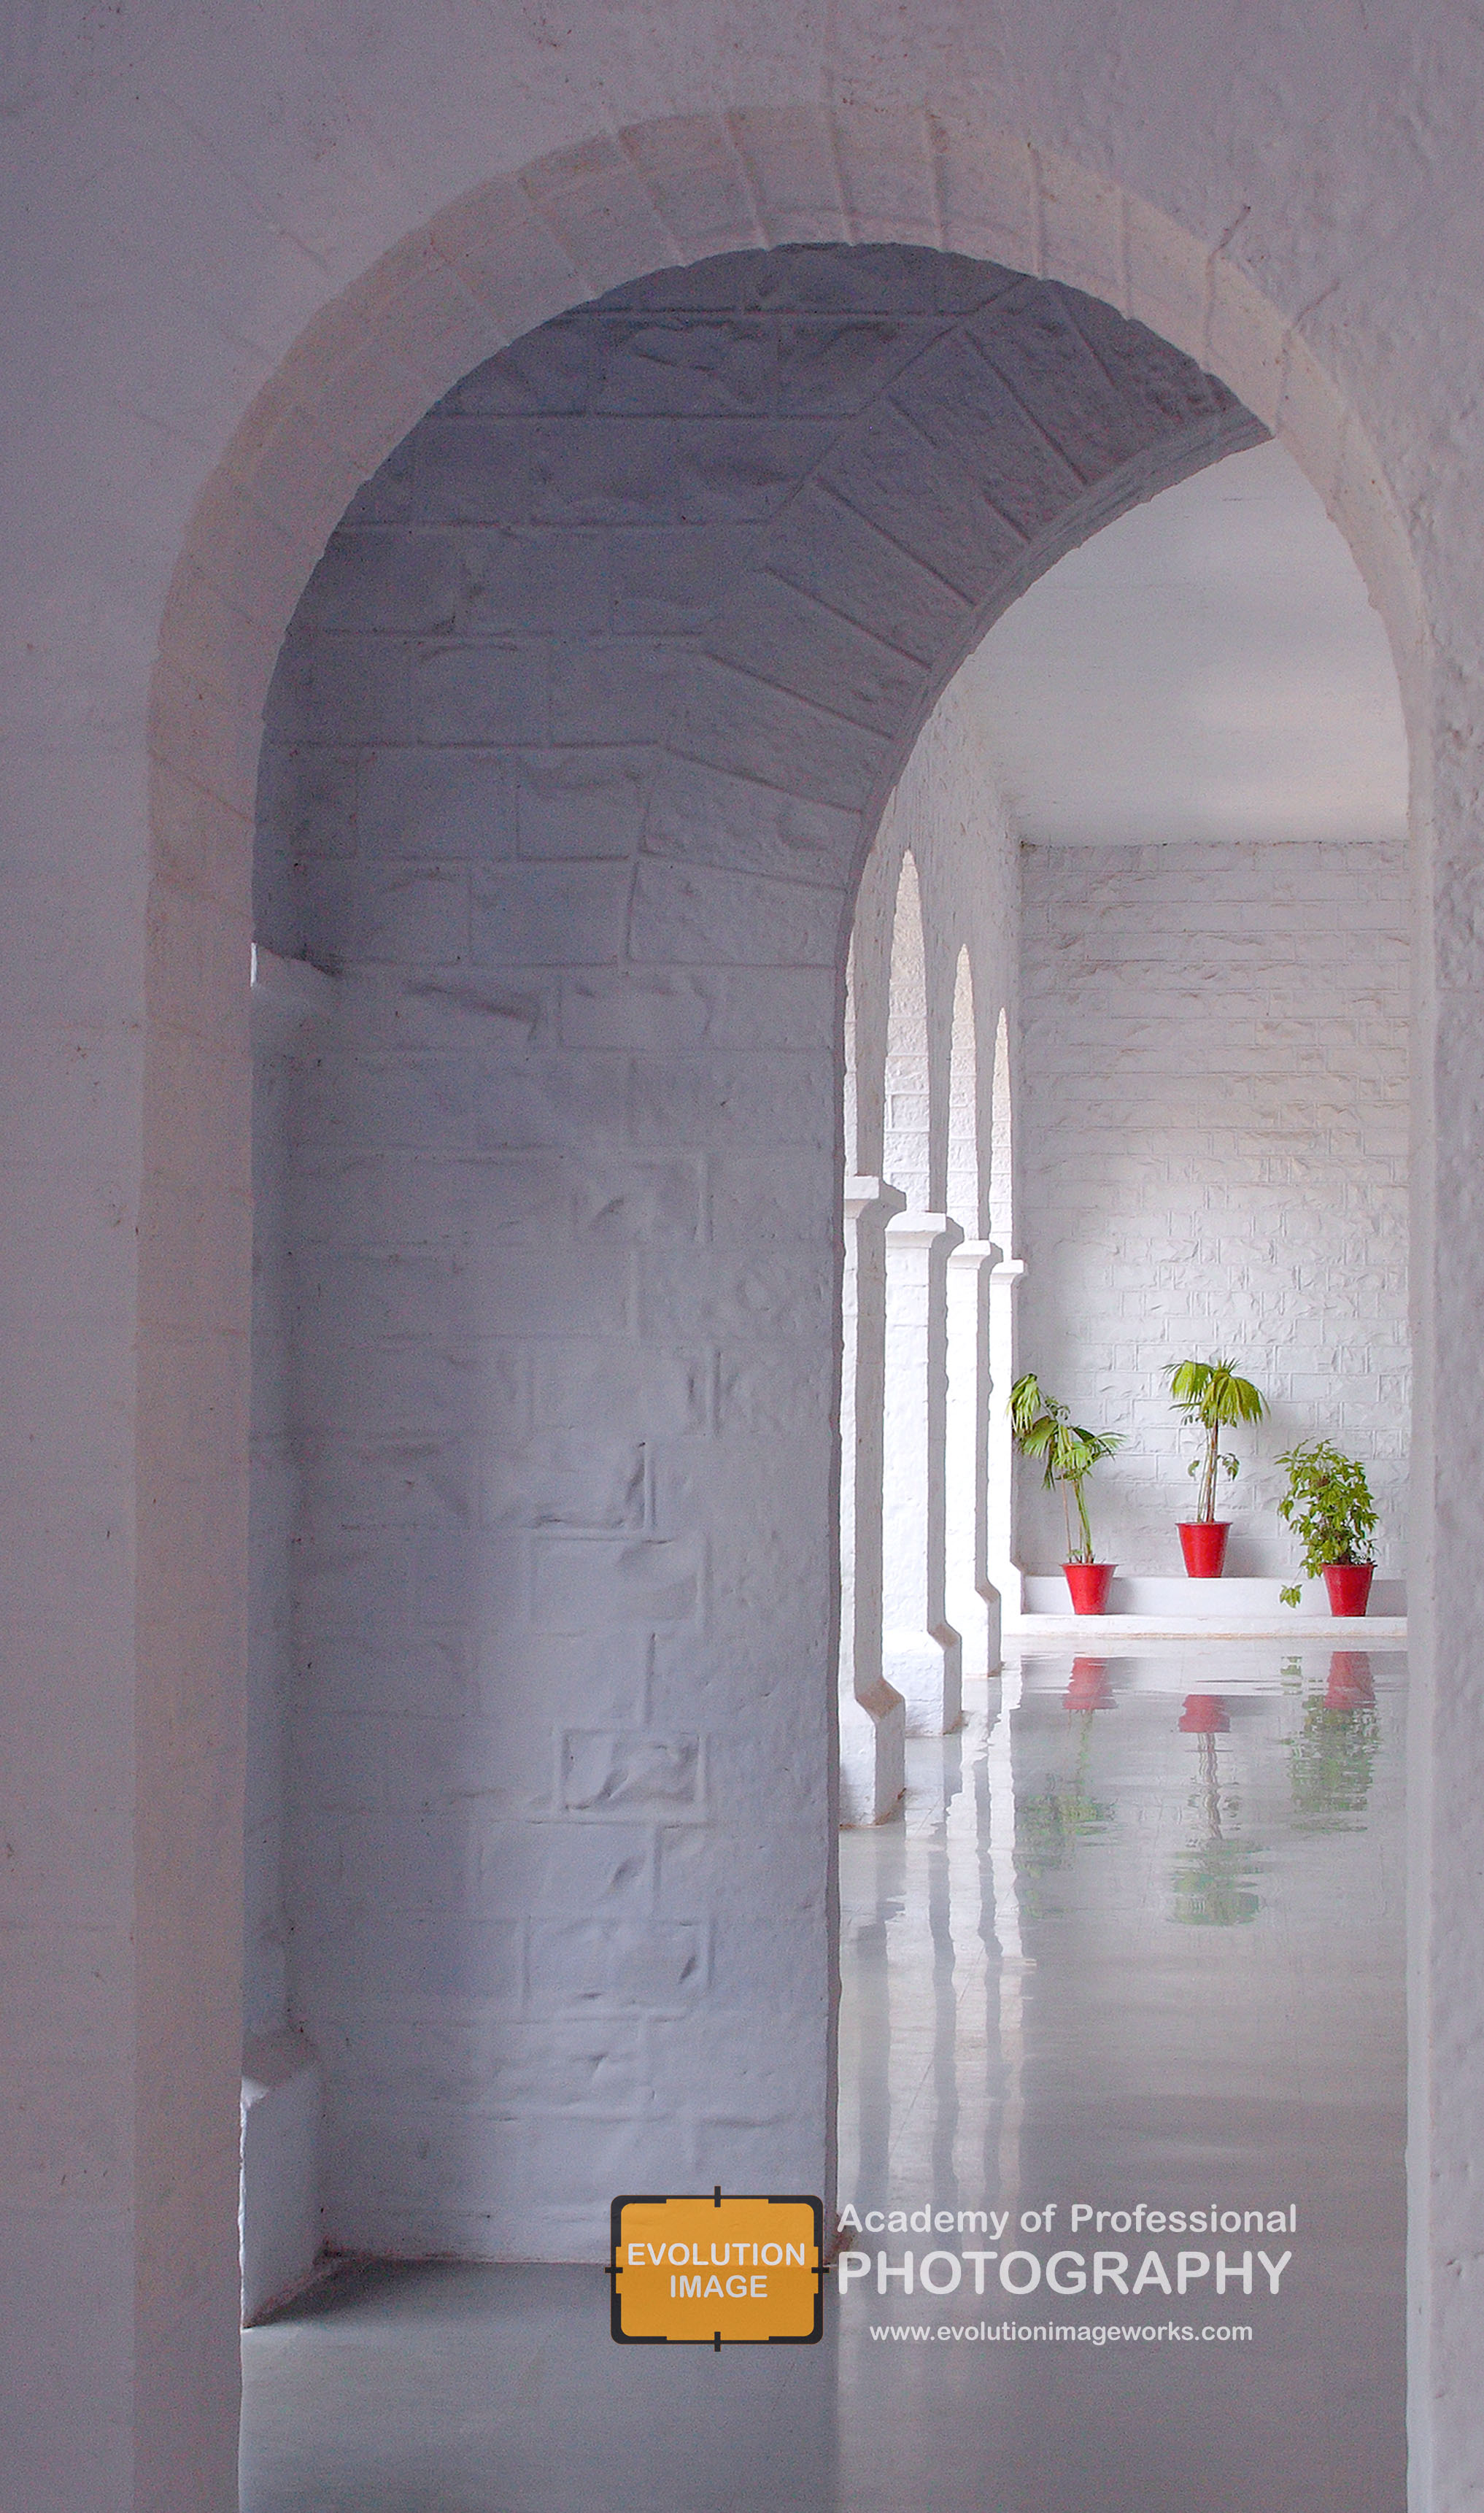
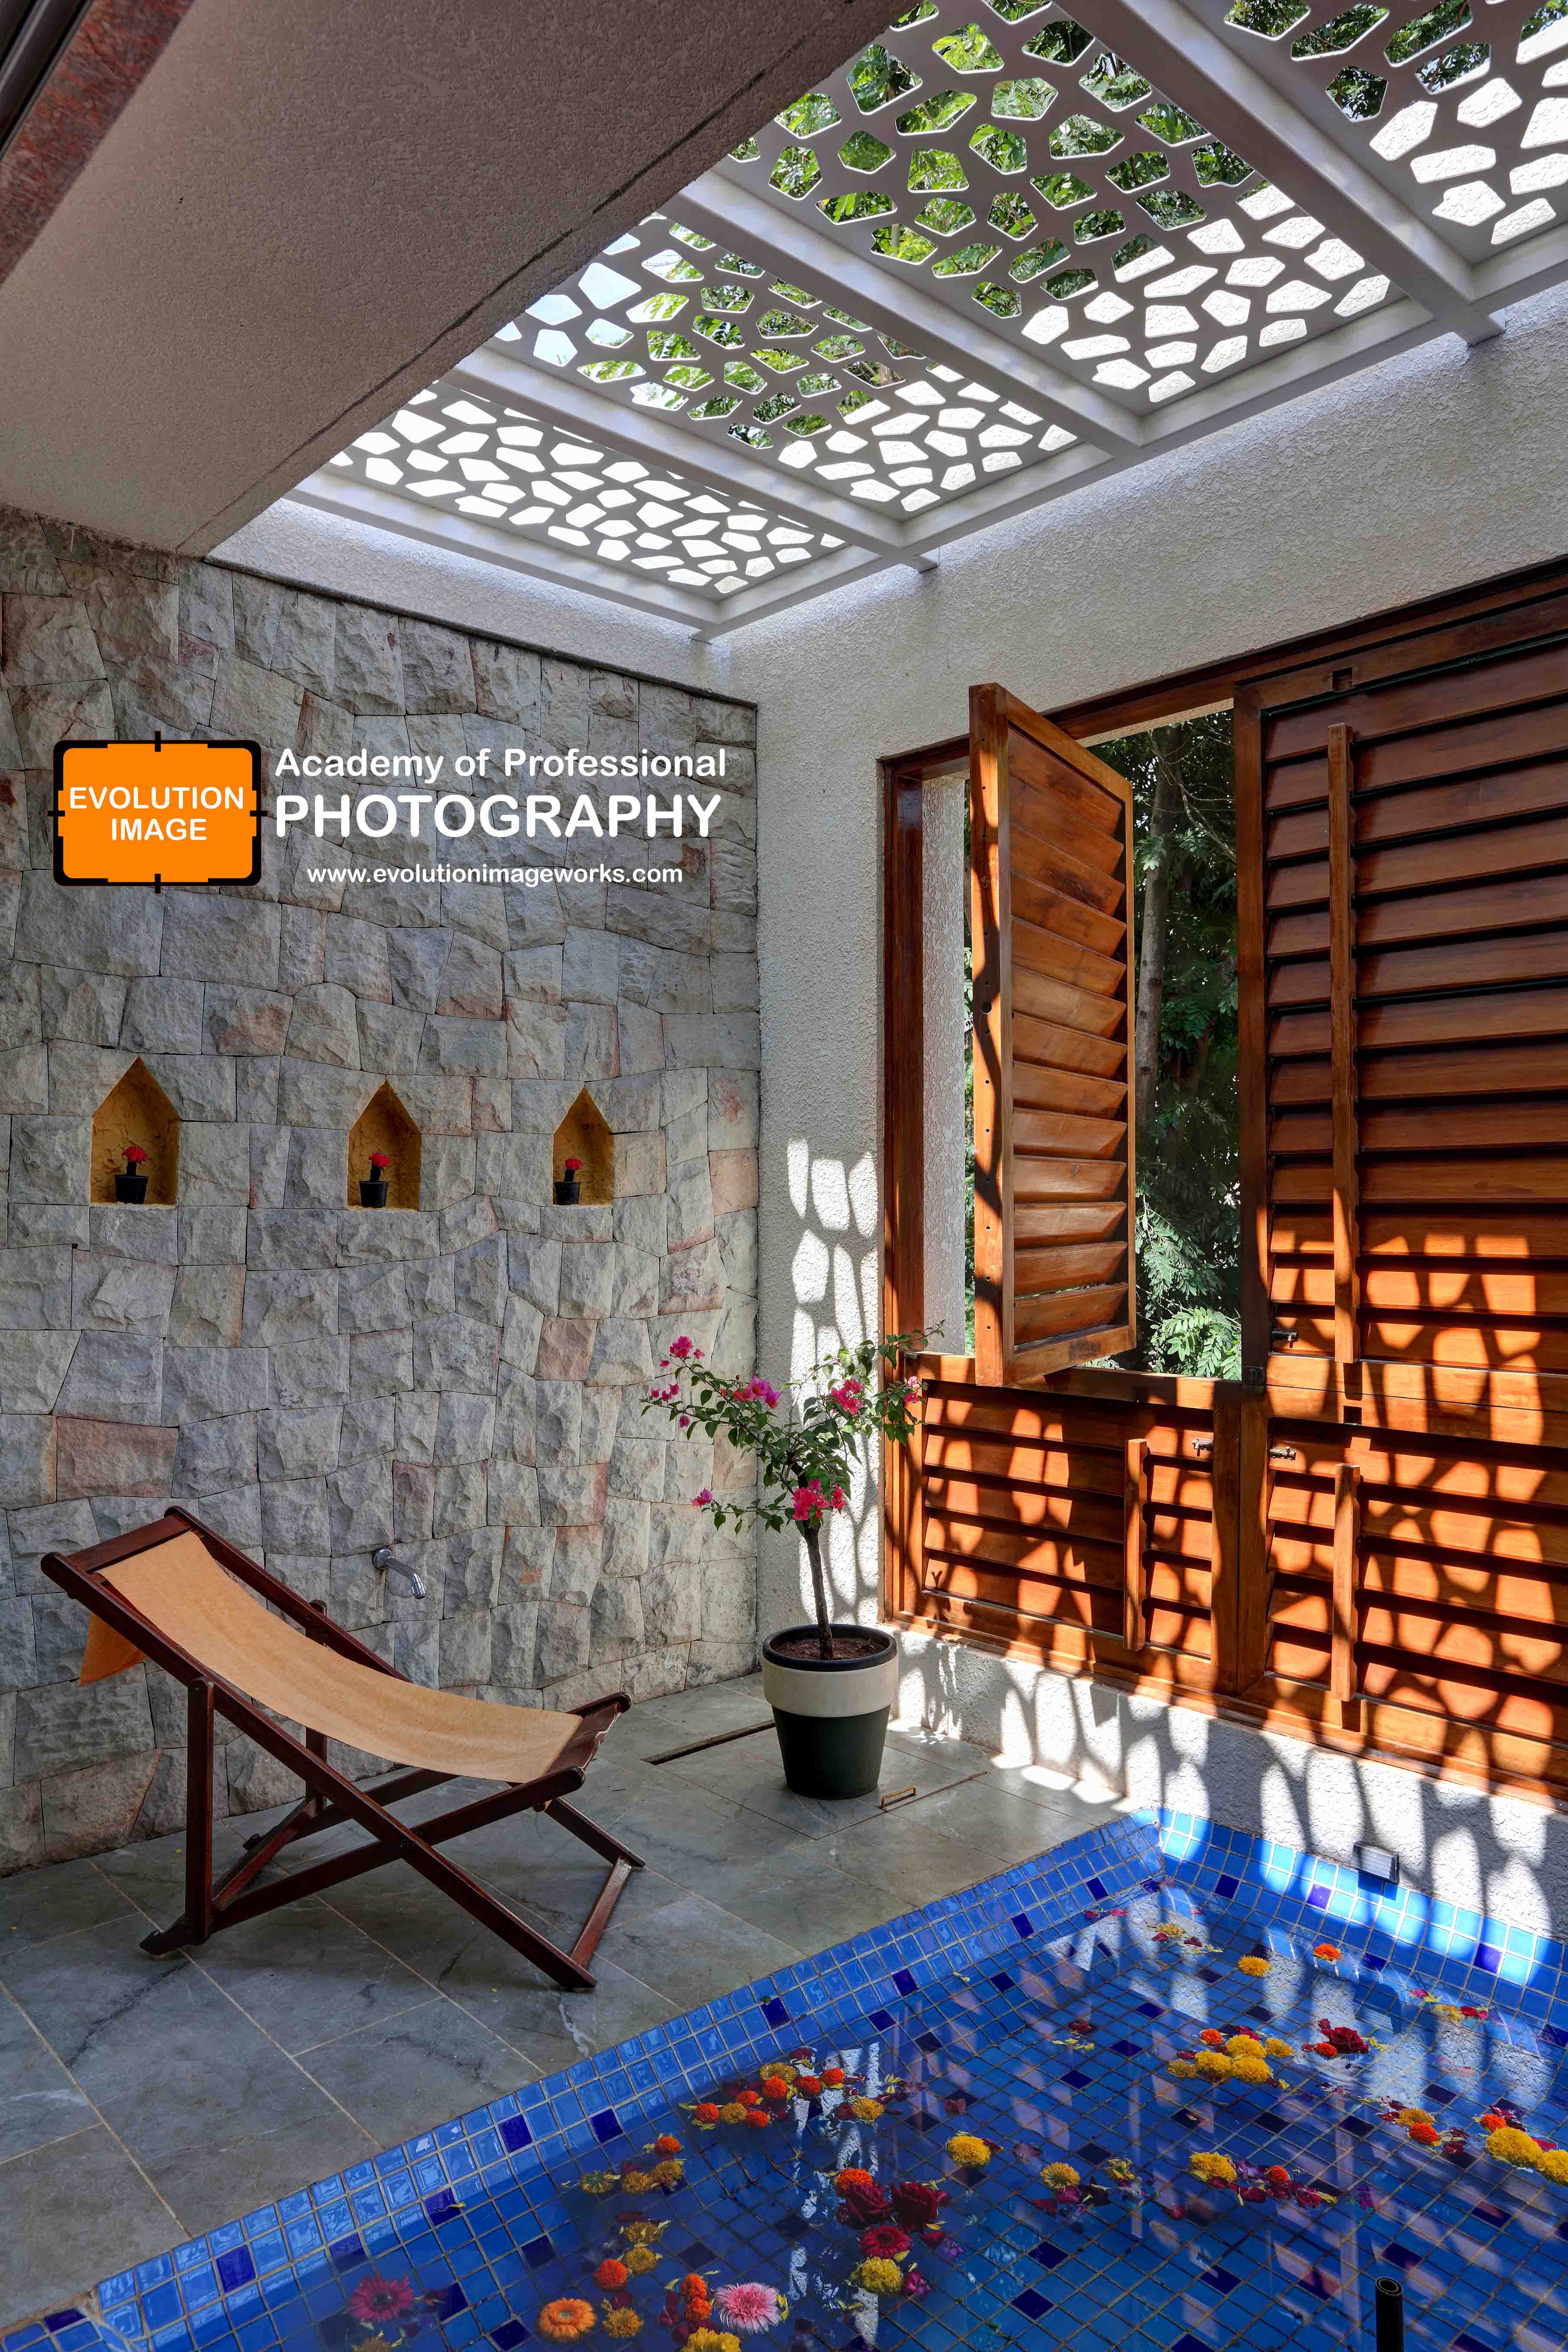
Architectural photography is the photographing of buildings and similar structures that are both aesthetically pleasing and accurate representations of their subjects. Architectural photographers are usually skilled in the use of specialized techniques and cameras. Working as an architectural photographer is usually a solo job with lots of technical equipment. … Architectural photographers do also find work in editorial publications that feature architectural design, interior design, commercial or industrial buildings, or residential buildings.
Techniques
A tenet of architectural photography is the use of perspective control, with an emphasis on vertical lines that are non-converging (parallel). This is achieved by positioning the focal plane of the camera at so that it is perpendicular to the ground, regardless of the elevation of the camera eye. This result can be achieved by the use of view cameras, tilt/shift lenses, or post-processing.
history
The first permanent photograph, View from the Window at Le Gras by Nicéphore Niépce, was also the first architectural photograph as it was a view of buildings. Similarly, photographs taken by early photographer William Henry Fox Talbot were of architecture, including his photograph of a Latticed window in Lacock Abbey taken in 1835.
types of architectural photography Exterior and interior photography
Exterior photography
Exterior architectural photography usually takes advantage of available light by day, or at night it uses ambient light from adjacent street lights, landscape lights, exterior building lights, moonlight and even twilight present in the sky in all but the darkest situations.
Forest Research Institute Dehradun
forest Research Institute Dehradun , Uttarakhand
interior photography
Interior
Interior architectural photography can also be performed with ambient light transmitted through windows and skylights, as well as interior lighting fixtures. Frequently though, architectural photographers will use supplemental lighting to improve the illumination within a building. Either electronic flash “strobes” or incandescent “hot lights” can be used. A feature of architectural photography is that the principal subjects rarely move. It is therefore possible to use post-processing editing to achieve a balanced lighting scheme, even in the absence of additional lighting.
Career Requirements
A degree is not required, but may expand career opportunities ( Degree Level )
Photography ( Degree field)
Artistic ability, ability to operate camera equipment and use photo editing software, customer-service skills, attention to detail, interpersonal skills, and business skills ( Key Skills)
Steps to Architectural Photographer
Step 1: Learn to Operate Camera Equipment
Individuals interested in pursuing a career in architectural photography need to know how to operate camera equipment, specifically digital camera equipment. Even if a student plans to pursue formal education in the field, he or she will need to know how to properly use a camera prior to attending school. Architectural photographers can learn basic camera skills by practicing taking pictures of buildings and other structures around their cities .
Take beginner photography classes. To build a strong foundation in the basics of photography, aspiring architectural photographers can take beginner-level classes. Such classes may be available at local community centers or through privately owned photography .
Step 2: Earn a Bachelor’s Degree
While formal education is not required to enter the field, the BLS noted that employers may prefer candidates who have a four-year degree in photography. A bachelor’s degree program focuses on instruction in composition elements, shooting techniques, and darkroom procedures. Courses may include studio lighting, photojournalism, digital imaging, and photography history. Students may also want to earn a minor in architecture or take courses focused on architectural structures.
Participate in an internship. Some bachelor’s degree programs require students to complete an internship before graduation. Prospective architectural photographers may want to seek internships with professional photographers or professional photography associations. The Young Photographers Alliance offers mentoring and internship opportunities to students and recent graduates of a four-year degree program.
Step 3: Build a Portfolio
A portfolio highlighting an artist’s best photographs is necessary to begin a career as an architectural photographer. Architectural photographers can begin building their portfolios while still in school and should continue updating their portfolios throughout their careers. A portfolio should include published photographs, as well as exemplary pieces taken in college and an internship program. Creating an online portfolio will allow a greater audience to view a photographer’s work.
Step 4: Gain Experience as a Photographer’s Assistant
Beginning architectural photographers can gain professional experience working as an assistant to a photographer. Along with learning technical and business skills, an assistant may be responsible for menial tasks such as finding business opportunities for the employer. Seek assistant positions through job search sites and local photographers. Organizations such as the Association of Independent Architectural Photographers (AIAP) offer services to match photographers with assistants.
Step 5: Join a Professional Organization
Professional photography organizations can provide beginning and experienced photographers with clientele and job opportunities. The AIAP offers clients a service that finds architectural photographers in their areas. Similarly, the American Society of Media Photographers (ASMP) offers a photographer finder that allows clients to specify a professional’s specialization. To benefit from one of these organizations, a photographer must obtain membership, which entails a yearly fee and review by the membership board.
Continue education. While not required, architectural photographers can benefit from taking advantage of continuing education opportunities throughout their careers. Professional organizations, such as the ASMP, offer a variety of continuing education tutorials and seminars to members to help them improve their skills and learn new techniques. Continuing education can help architectural photographers stay current in laws related to business photography as well as technologies that evolve with the industry.
Best Canon Lenses for Architectural Photography
Canon TS-E 45mm f/2.8.
Canon TS-E 90mm f/2.8 Tilt-Shift Lens.
Canon EF 1.4x III Extender.
Canon EF 70-200mm f/2.8L IS II USM Lens.
Canon EF 50mm f/1.4 USM Lens.
Canon EF 16-35mm f/2.8L ll USM Zoom Lens.
Canon TS-E 17mm f/4L Tilt-Shift Lens.
Best Nikon Lenses for Architectural Photography
Nikon AF-S DX NIKKOR 10-24mm f/3.5-4.5G ED Zoom Lens with Auto Focus.
Tamron AFA012N700 SP 15-30mm f/2.8 Di VC USD Wide-Angle Lens.
Nikon AF-S DX NIKKOR 10-24mm f/3.5-4.5G ED Zoom Lens with Auto Focus.
Nikon 18-200mm f/3.5-5.6G AF-S ED VR II Nikkor Telephoto Zoom Lens.
Nikon AF-S FX NIKKOR 50mm f/1.8G Lens with Auto Focus.
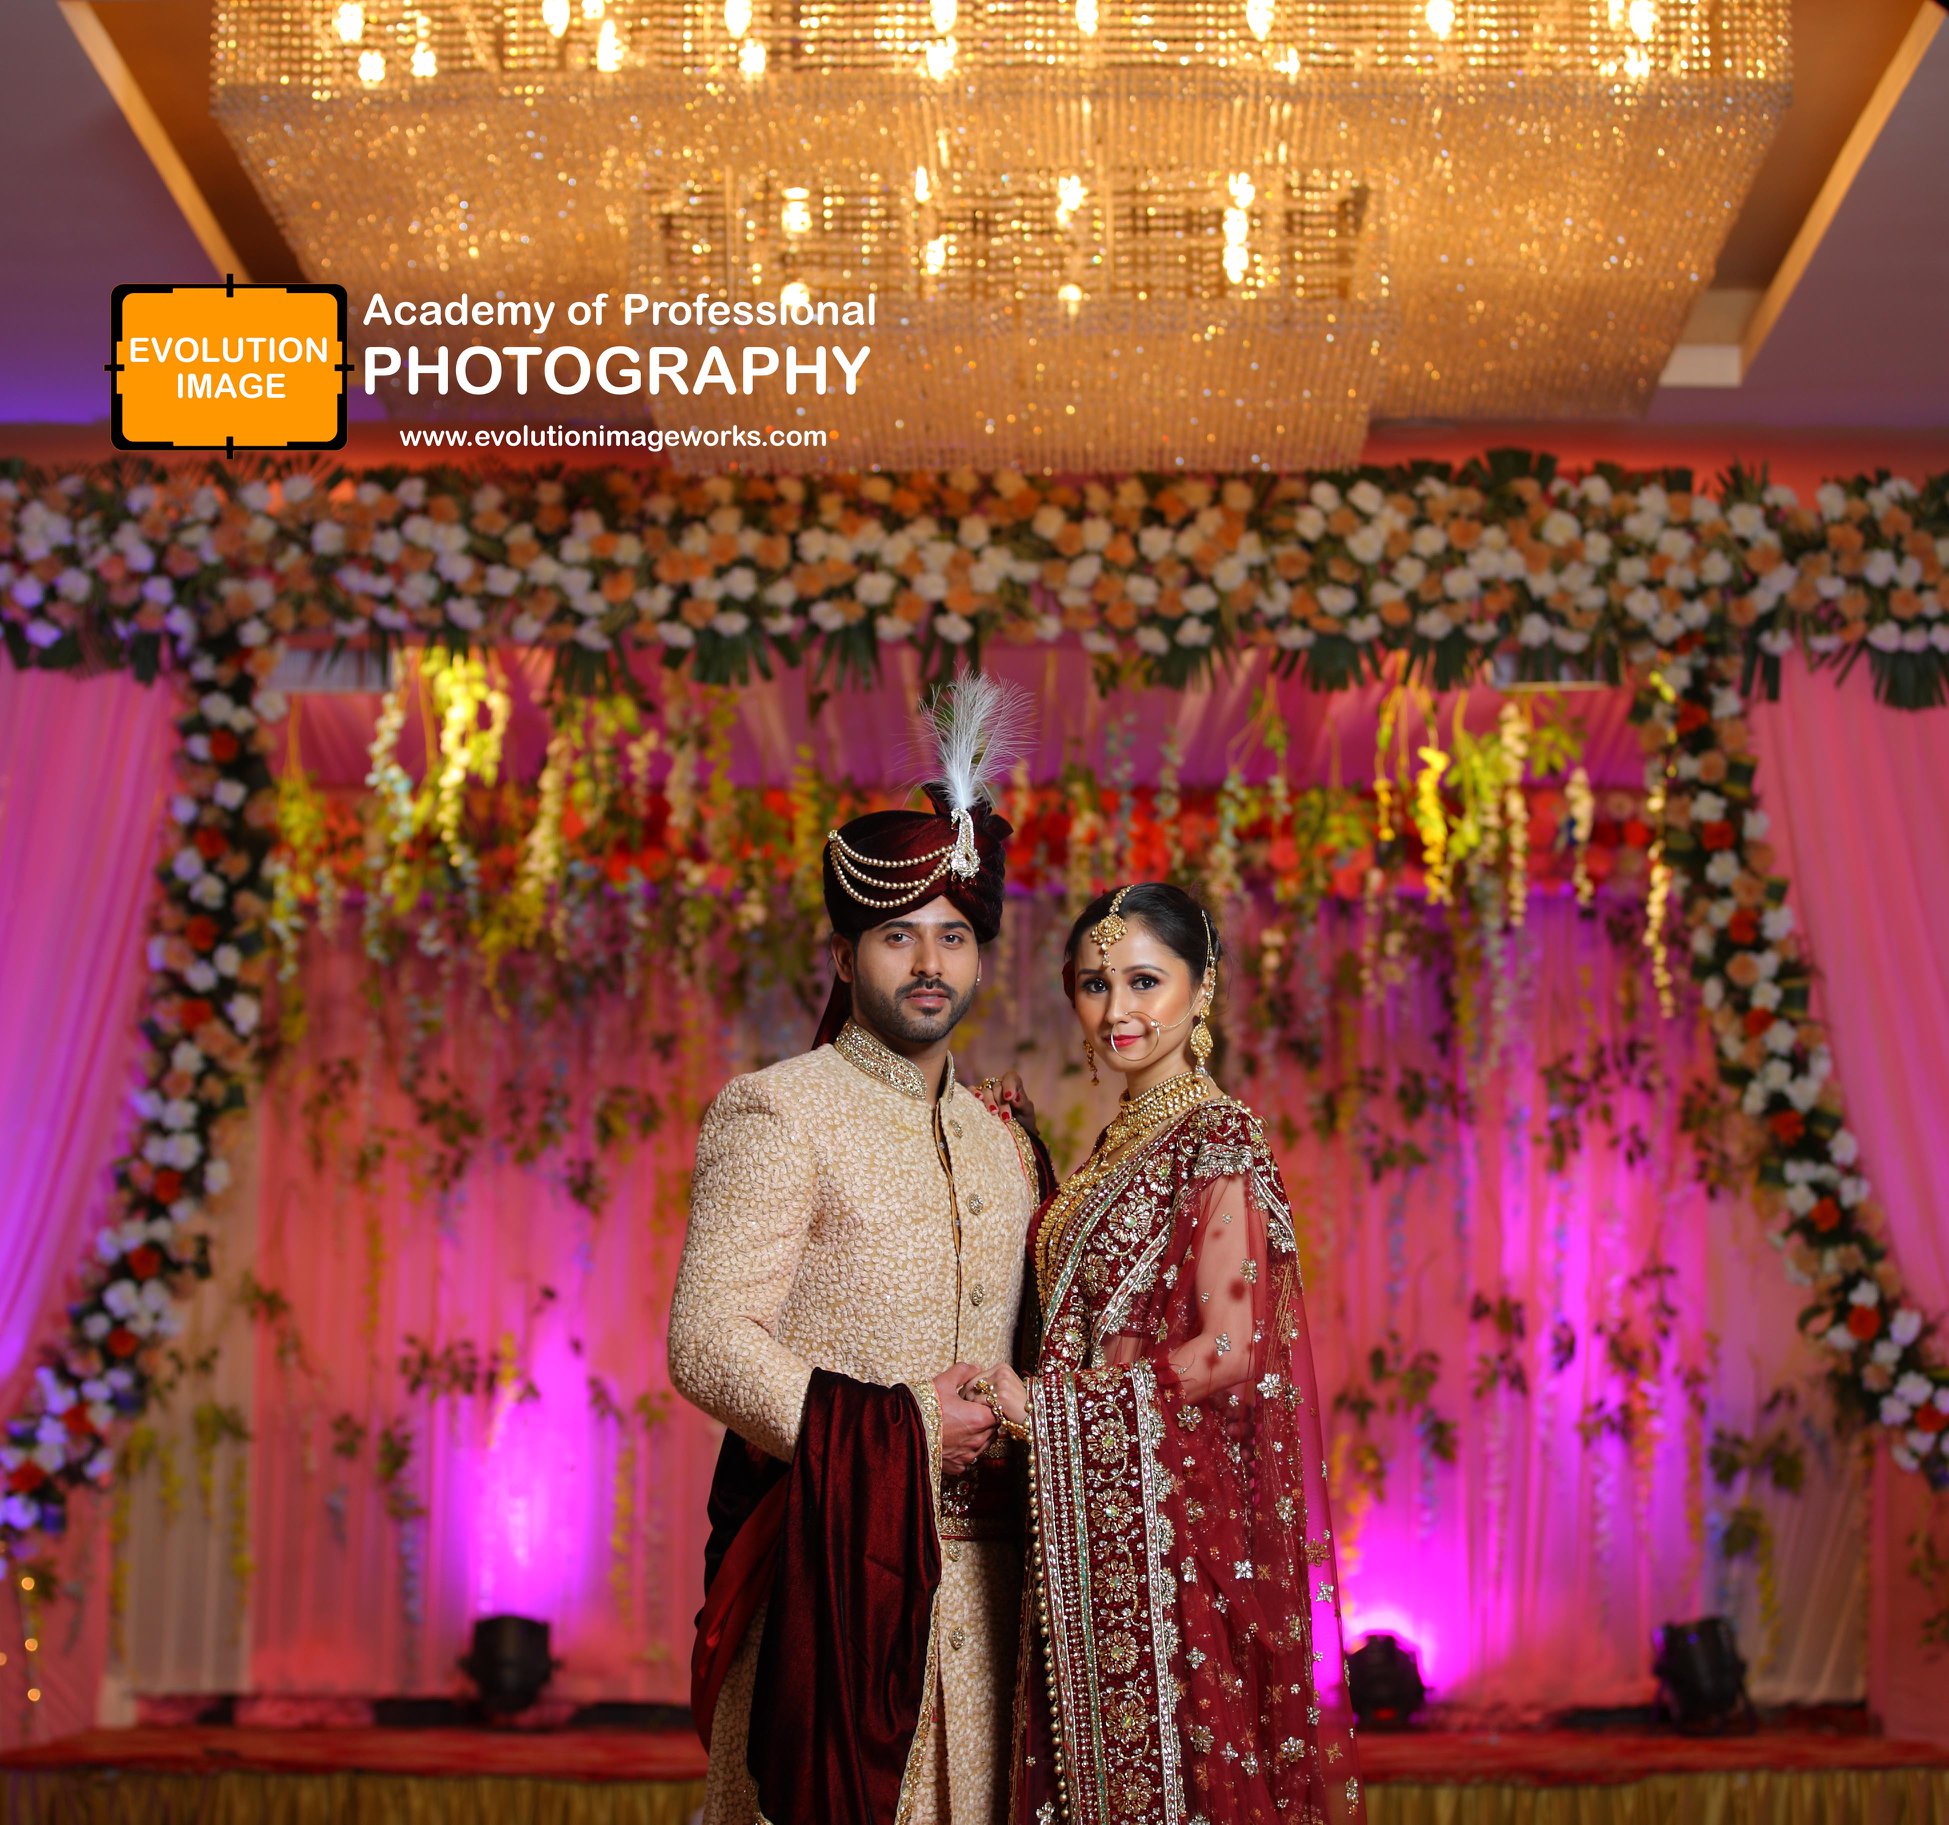
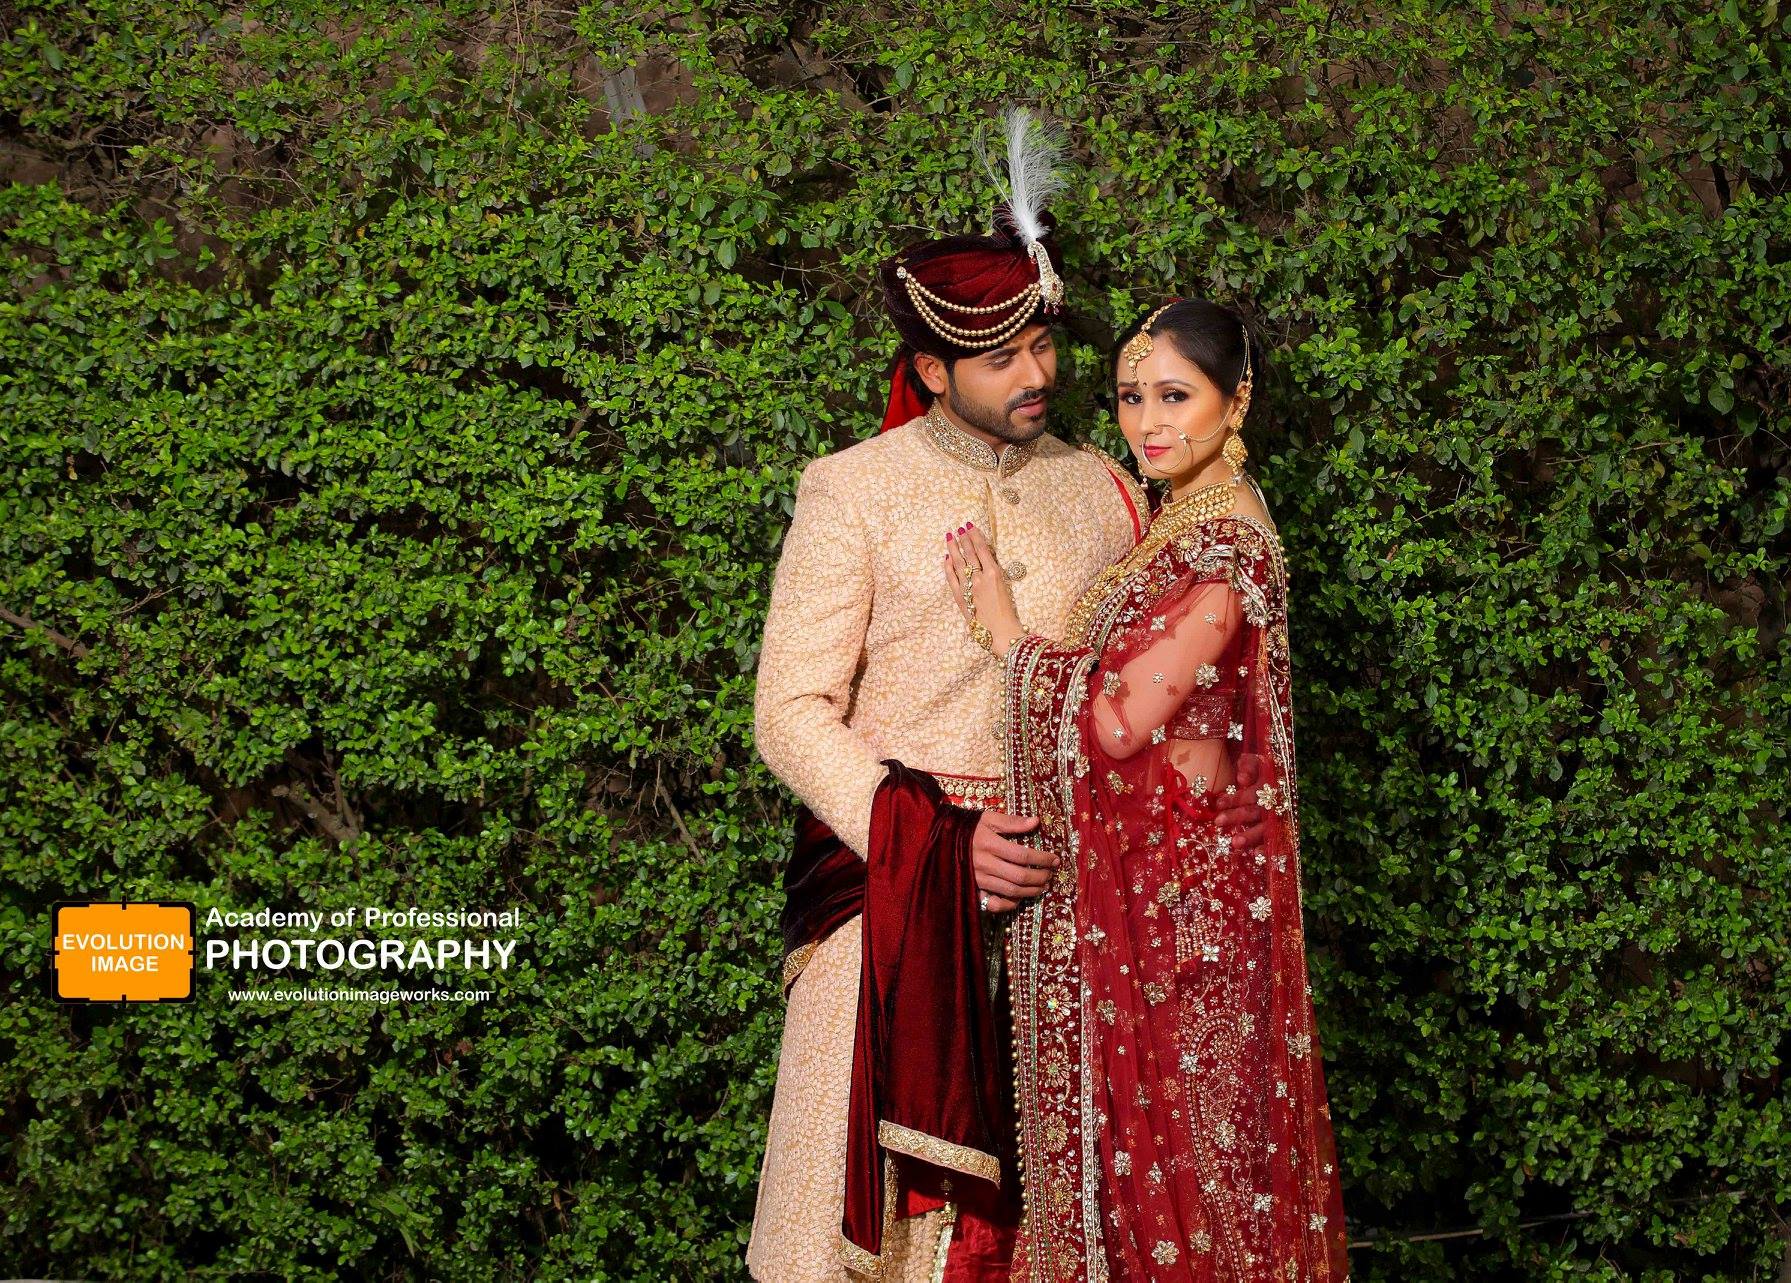
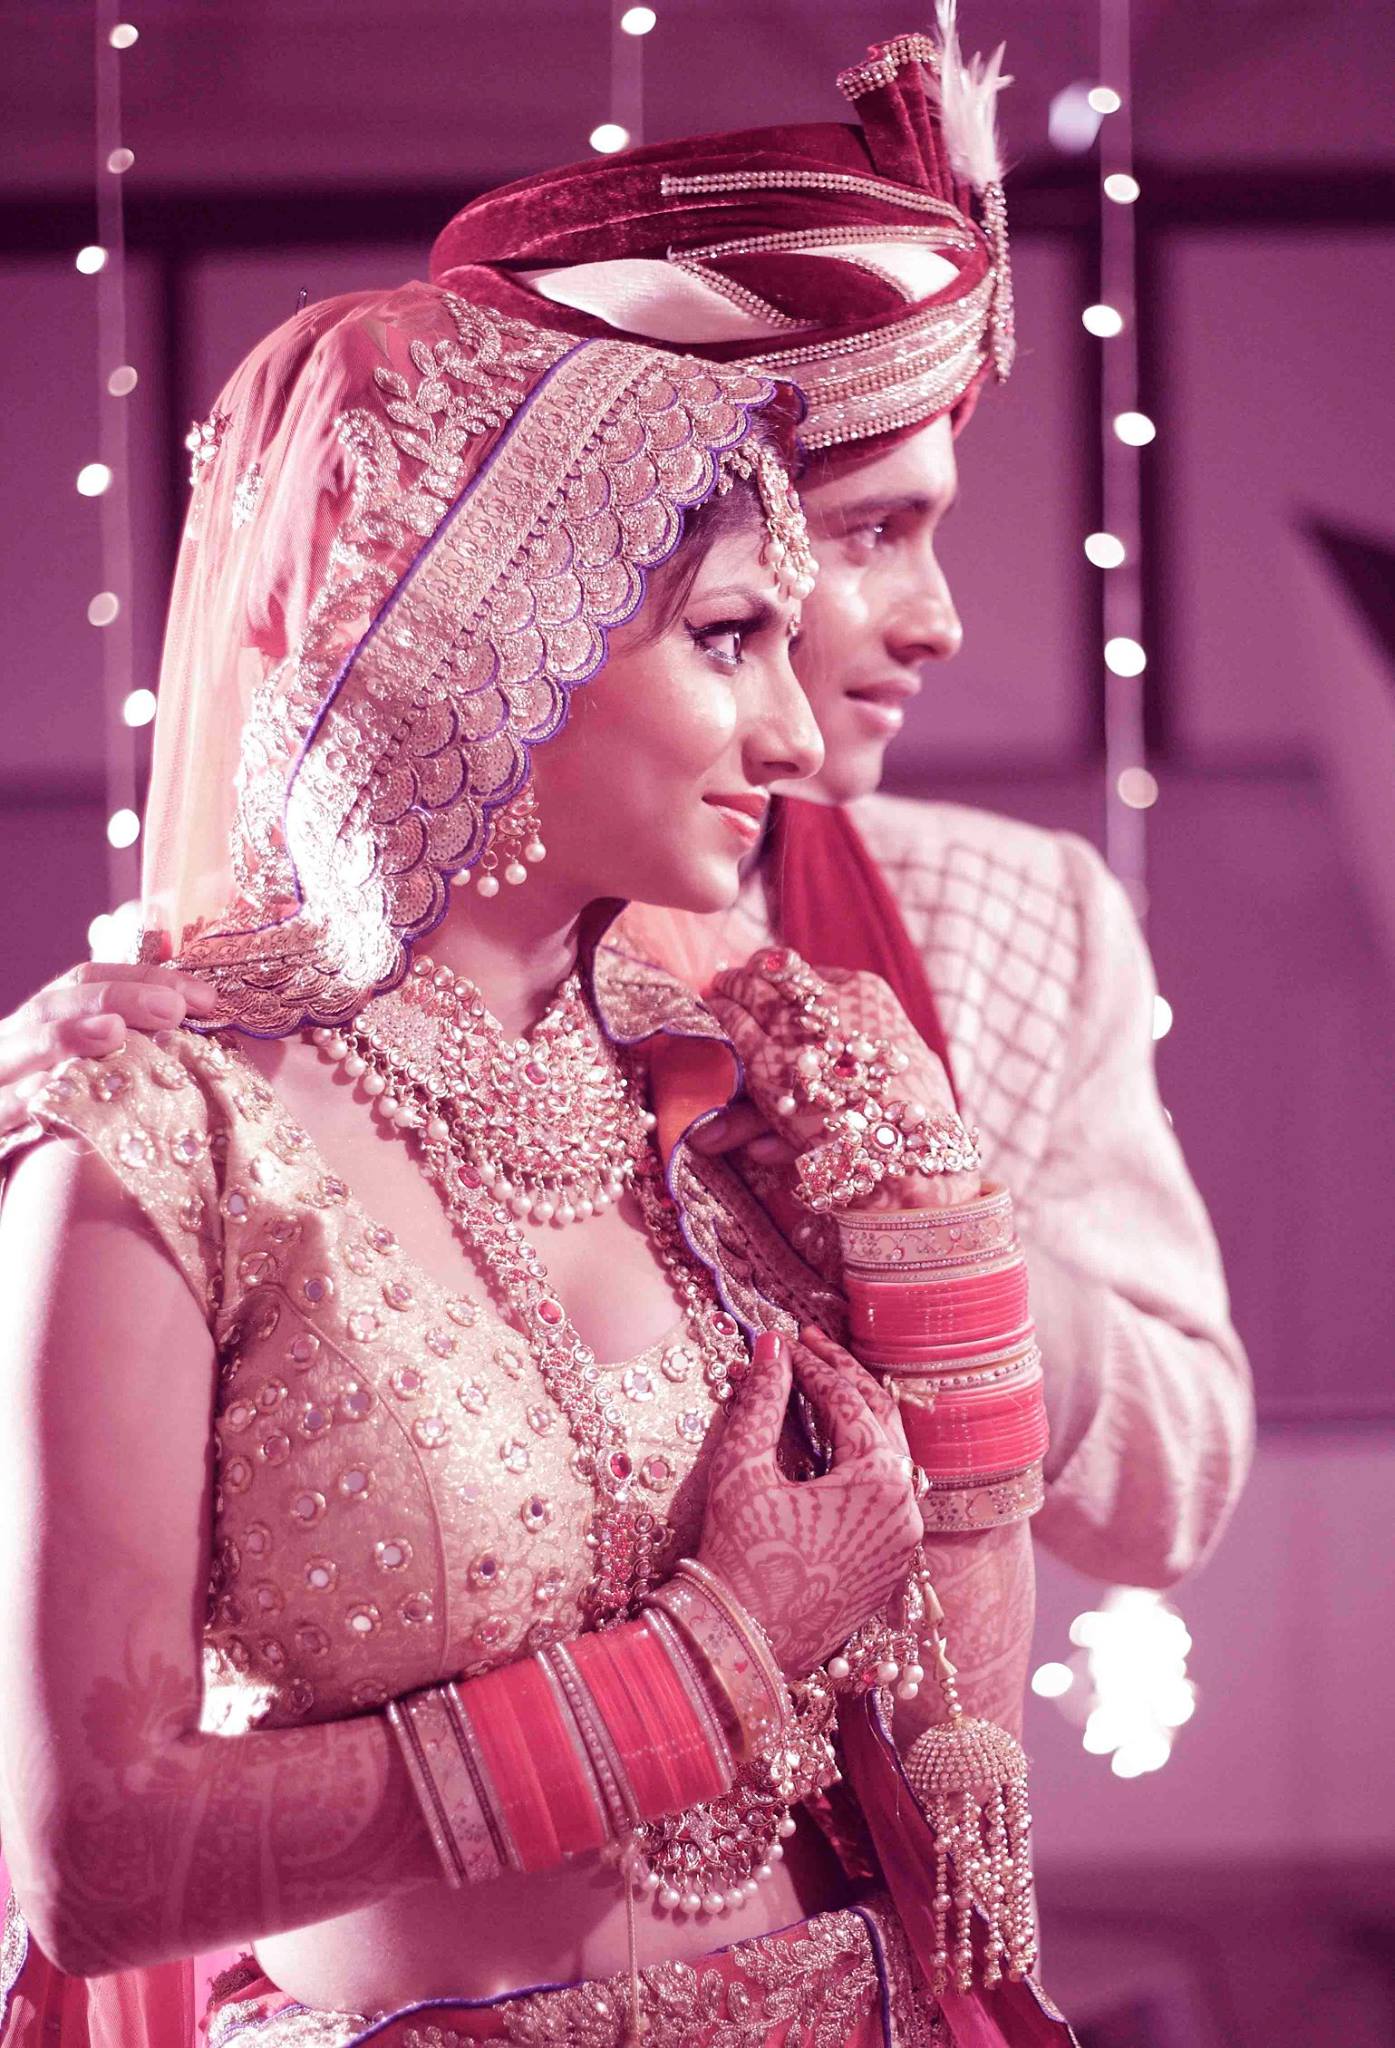
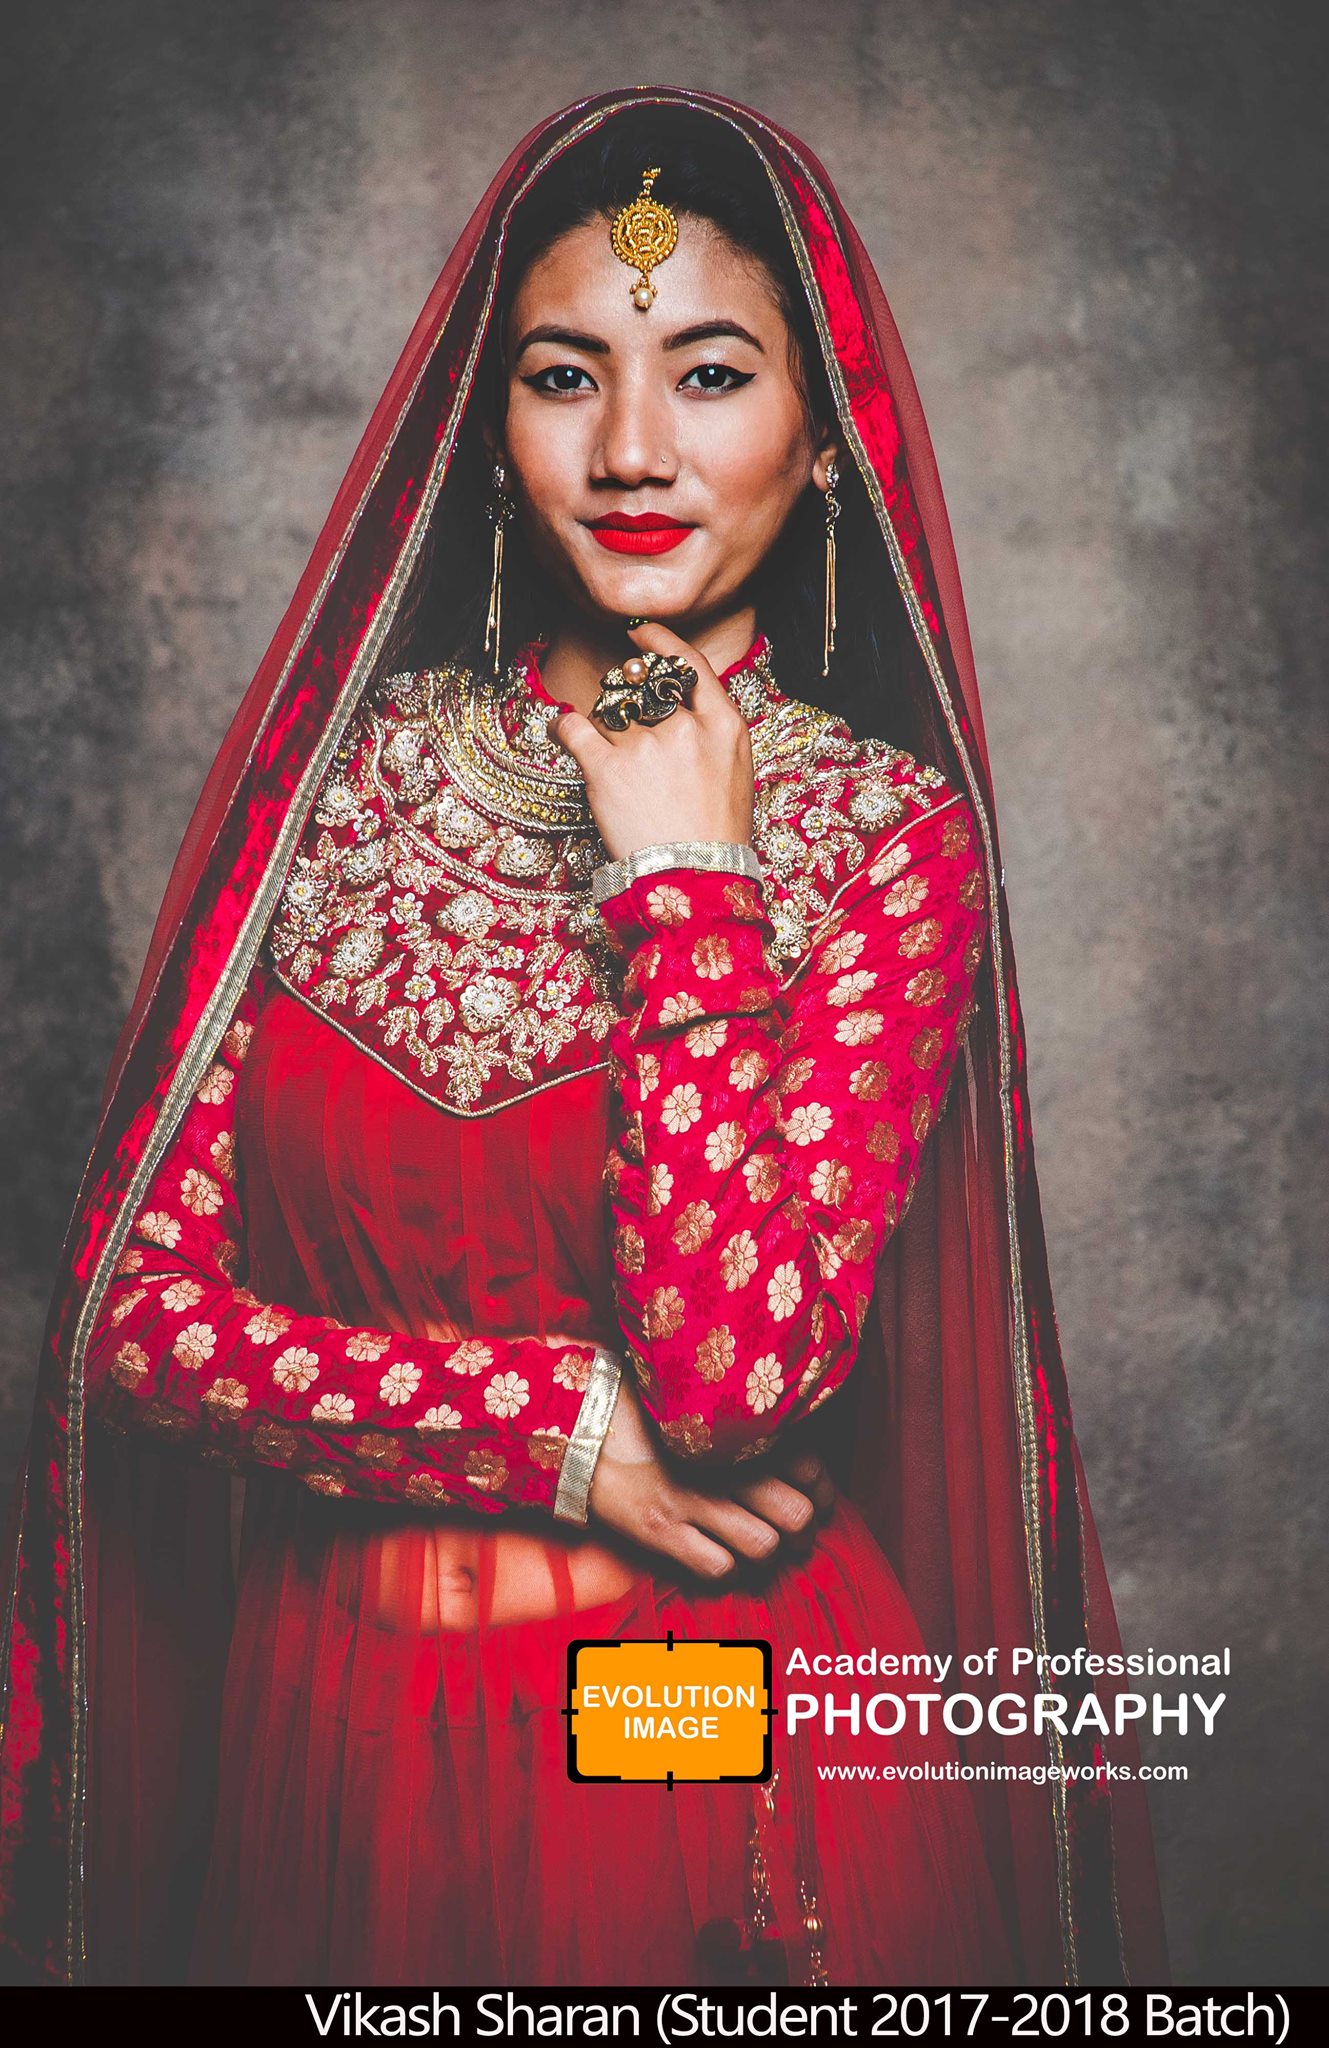
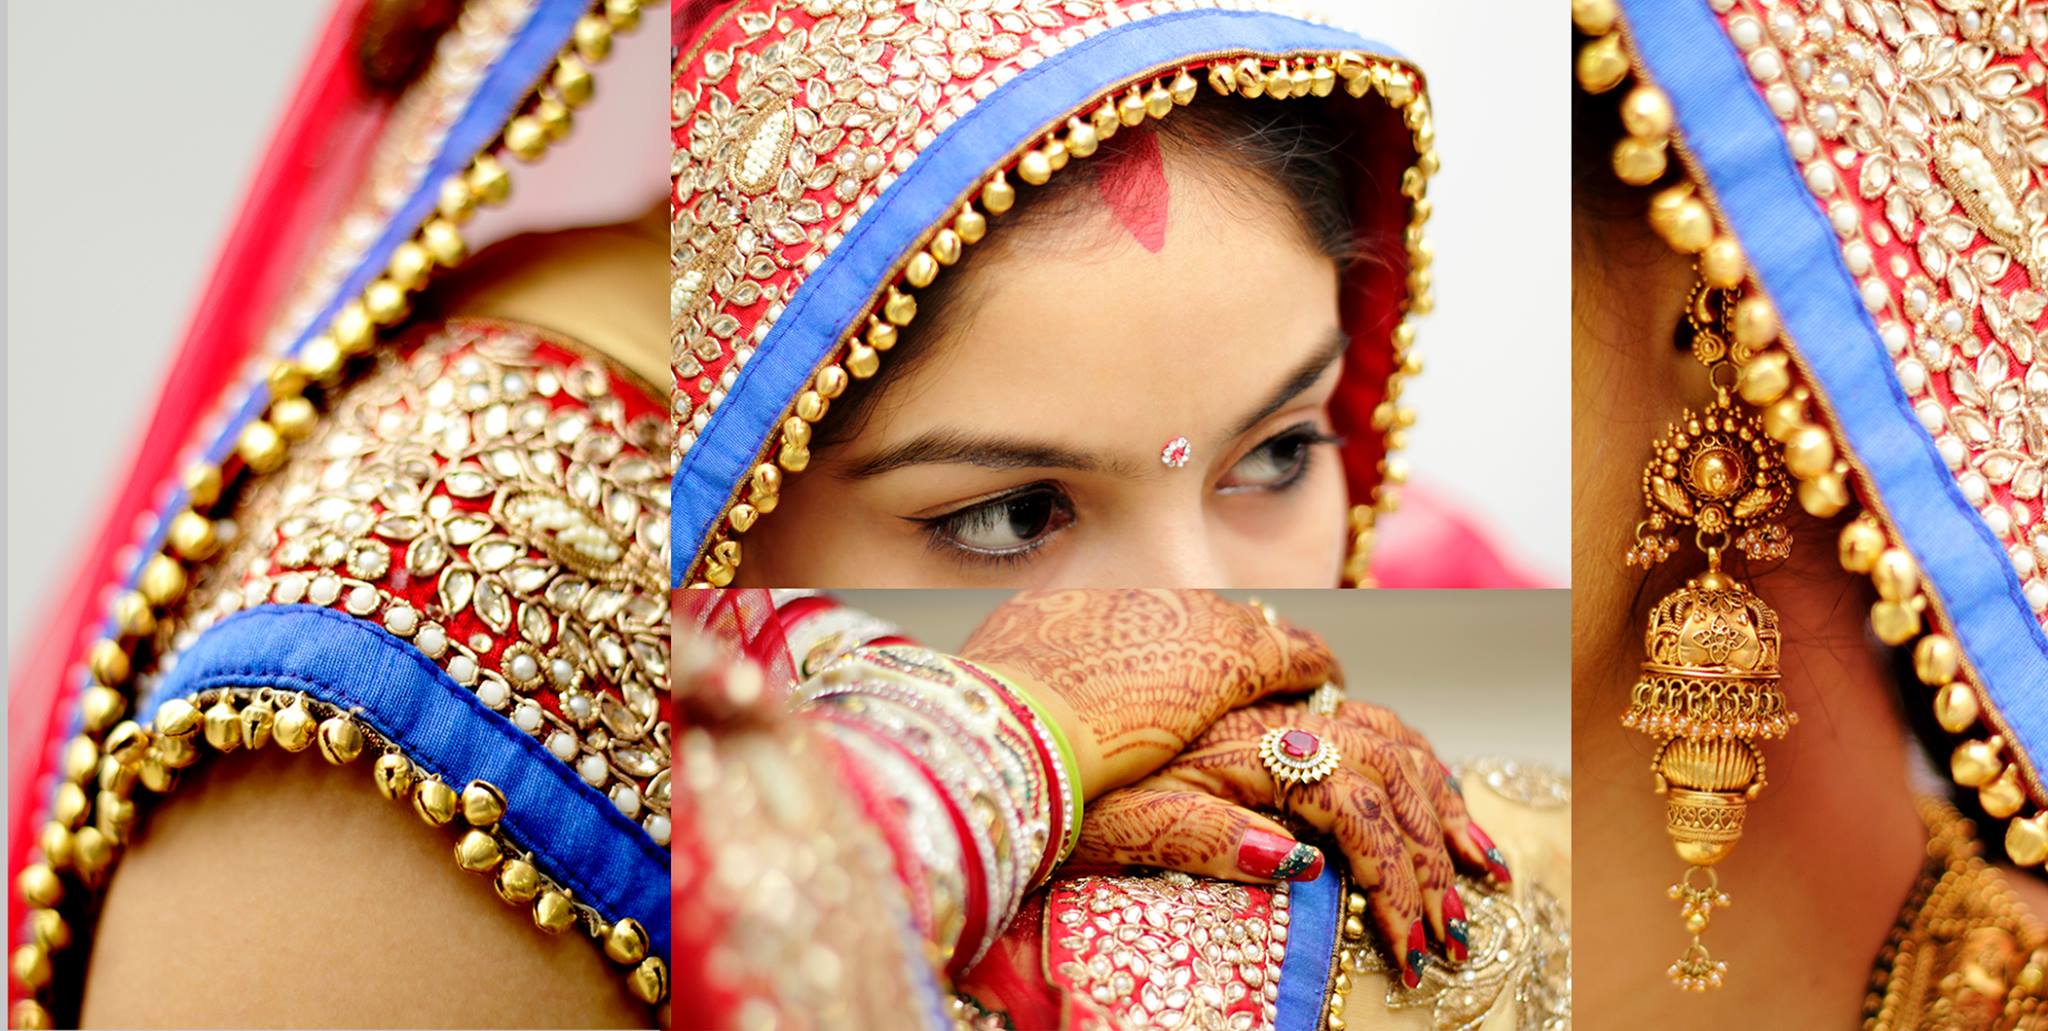
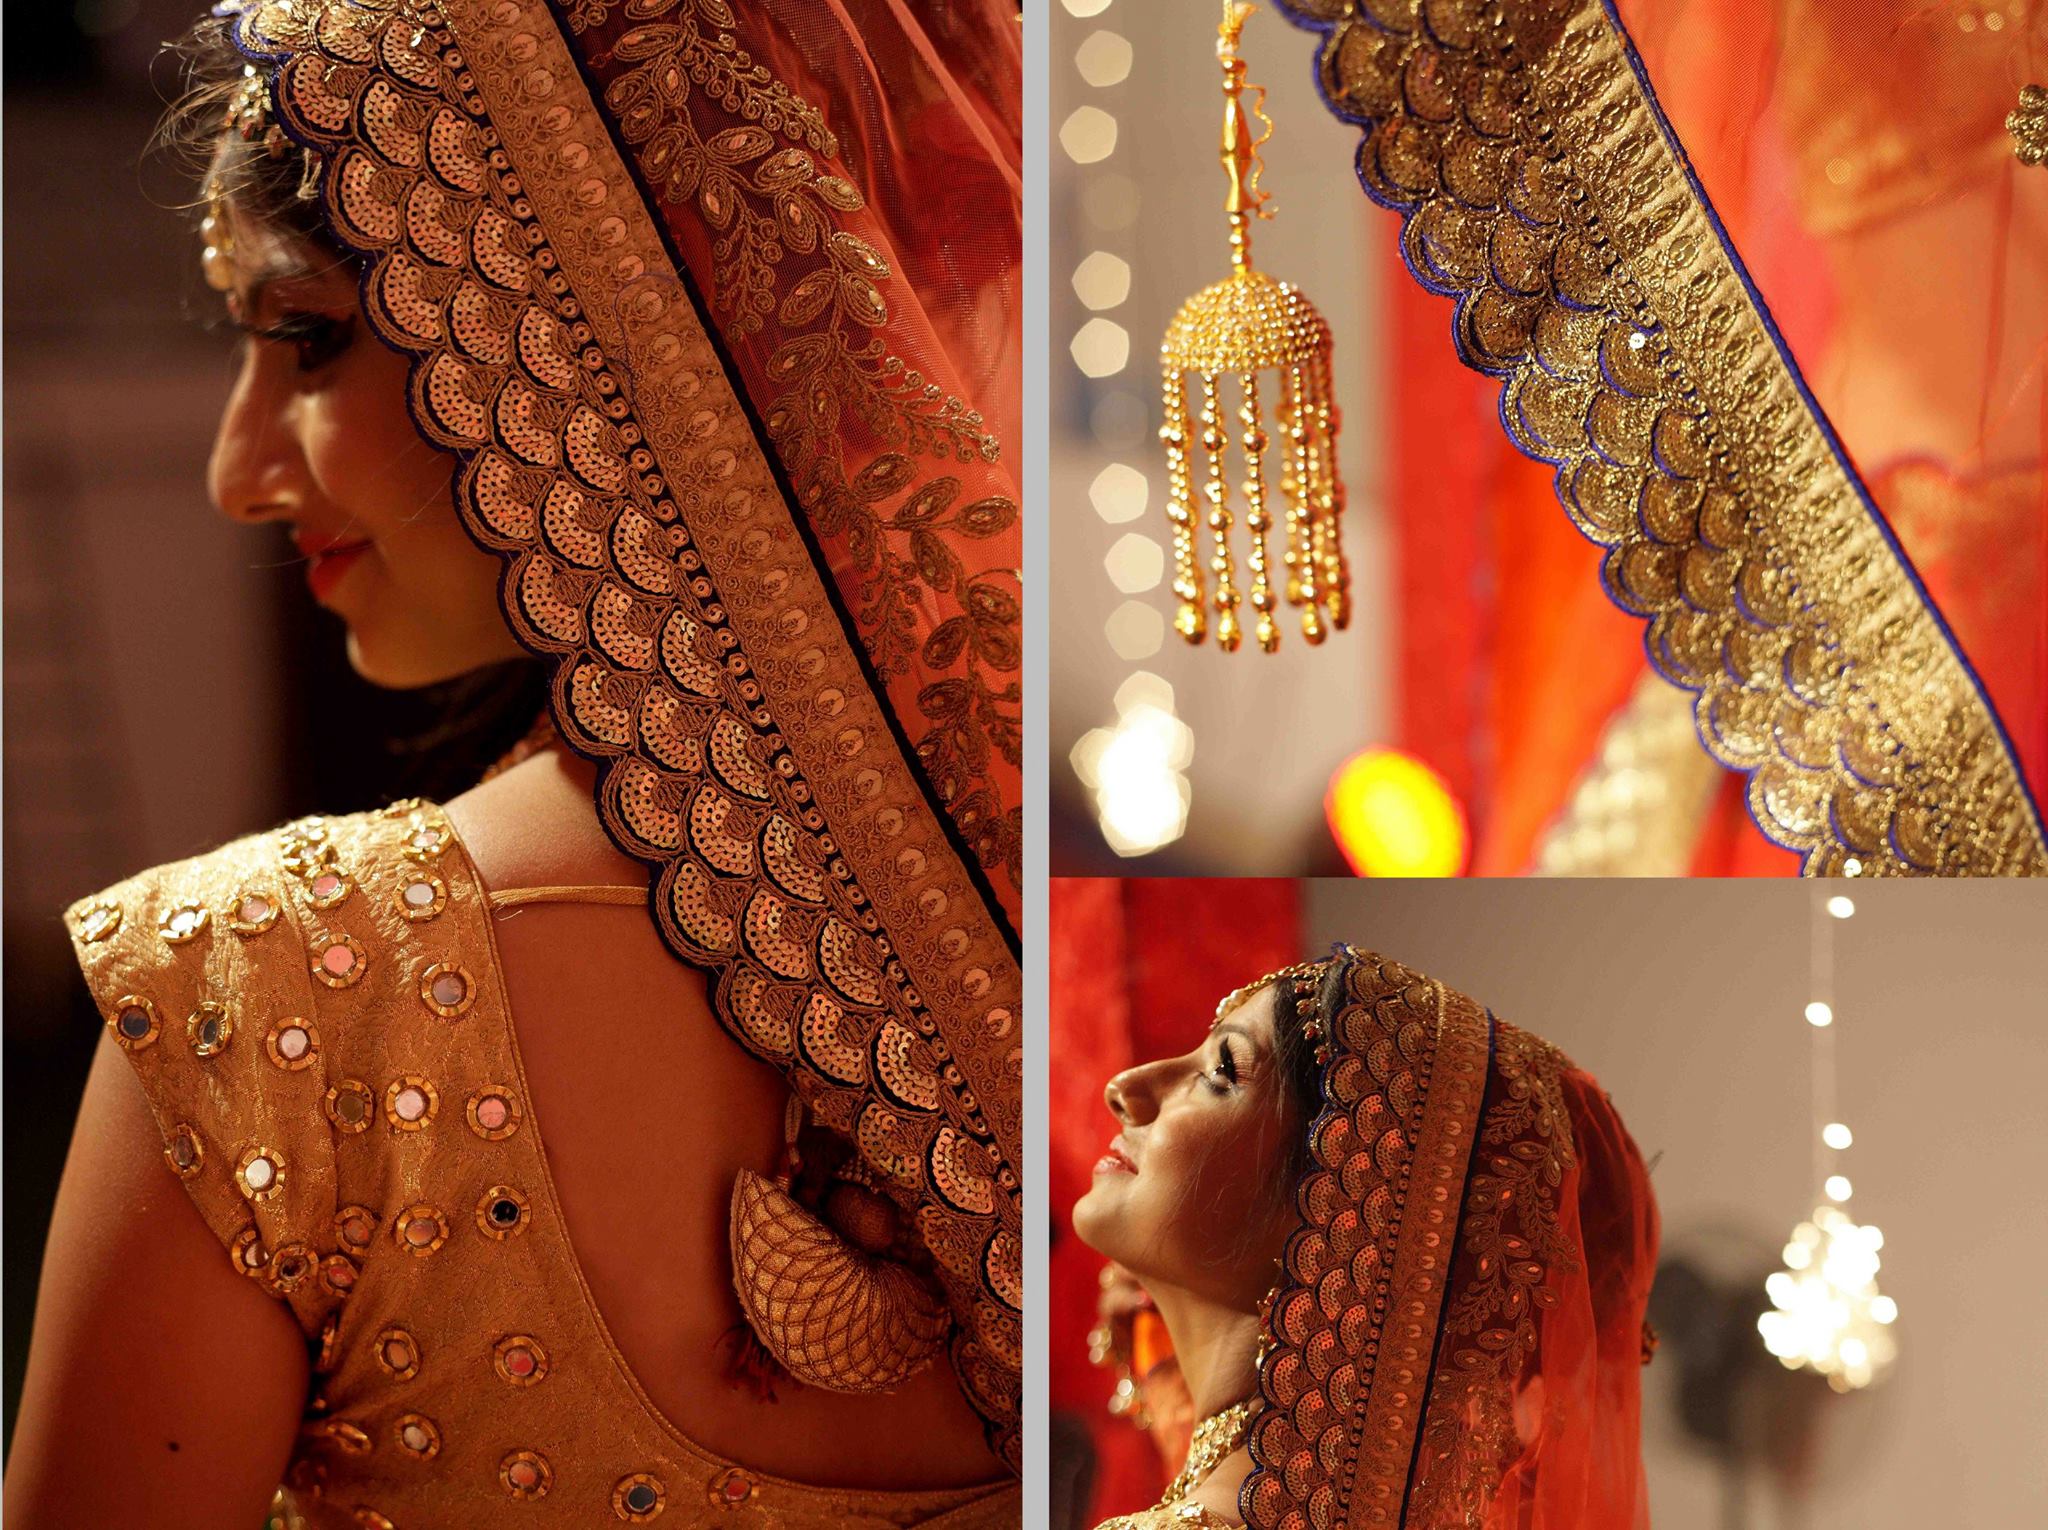
Wedding Photography is a photography of activities relating to weddings . It encompasses photographs of the couple before marriage.
Types of wedding photography
Drone Photography
Wedding cinematography
Traditional videography
Candid wedding photography
Traditional wedding photography
what skills do you need to be a wedding photographer
Conclusion
Creativity
Patience
Professional Boundaries
Stamina
Calmness under Pressure
Should be a technically competent picture taker
education requirements
No formal education is required to be a wedding photographer; however, photographers need to understand how to use photographic equipment and set up shots to ensure quality images. A degree or courses in photography may help photographers attract clients and employers. No formal education is required to be a wedding photographer; however, photographers need to understand how to use photographic equipment and set up shots to ensure quality images. A degree or courses in photography may help photographers attract clients and employers.
Wedding Photographer Job Duties
In addition to taking photographs before, during and after wedding festivities, wedding photographers are also responsible for artistically composing the shots and processing the images, often on their own equipment. Wedding photographers must assess customer expectations, usually by discussing their wedding photo needs before the big event. On the wedding day, photographers must capture high quality images in an environment that is often hectic.
equipment requirements
Cameras, Lenses, Mounts, Specialized lighting apparatuses and Editing software.
Wedding Photographer Job Description
Falling under the broader category of photographers, wedding photographers most often work on location taking photographs of wedding events on a contractual basis. According to the U.S. Bureau of Labor Statistics (BLS), 60% of photographers were self-employed as of 2015. Photographers earned a median salary of $31,710 per year as of May 2015. The number of employed photographers was expected to grow only 3% between 2014 and 2024, which is slower than average.
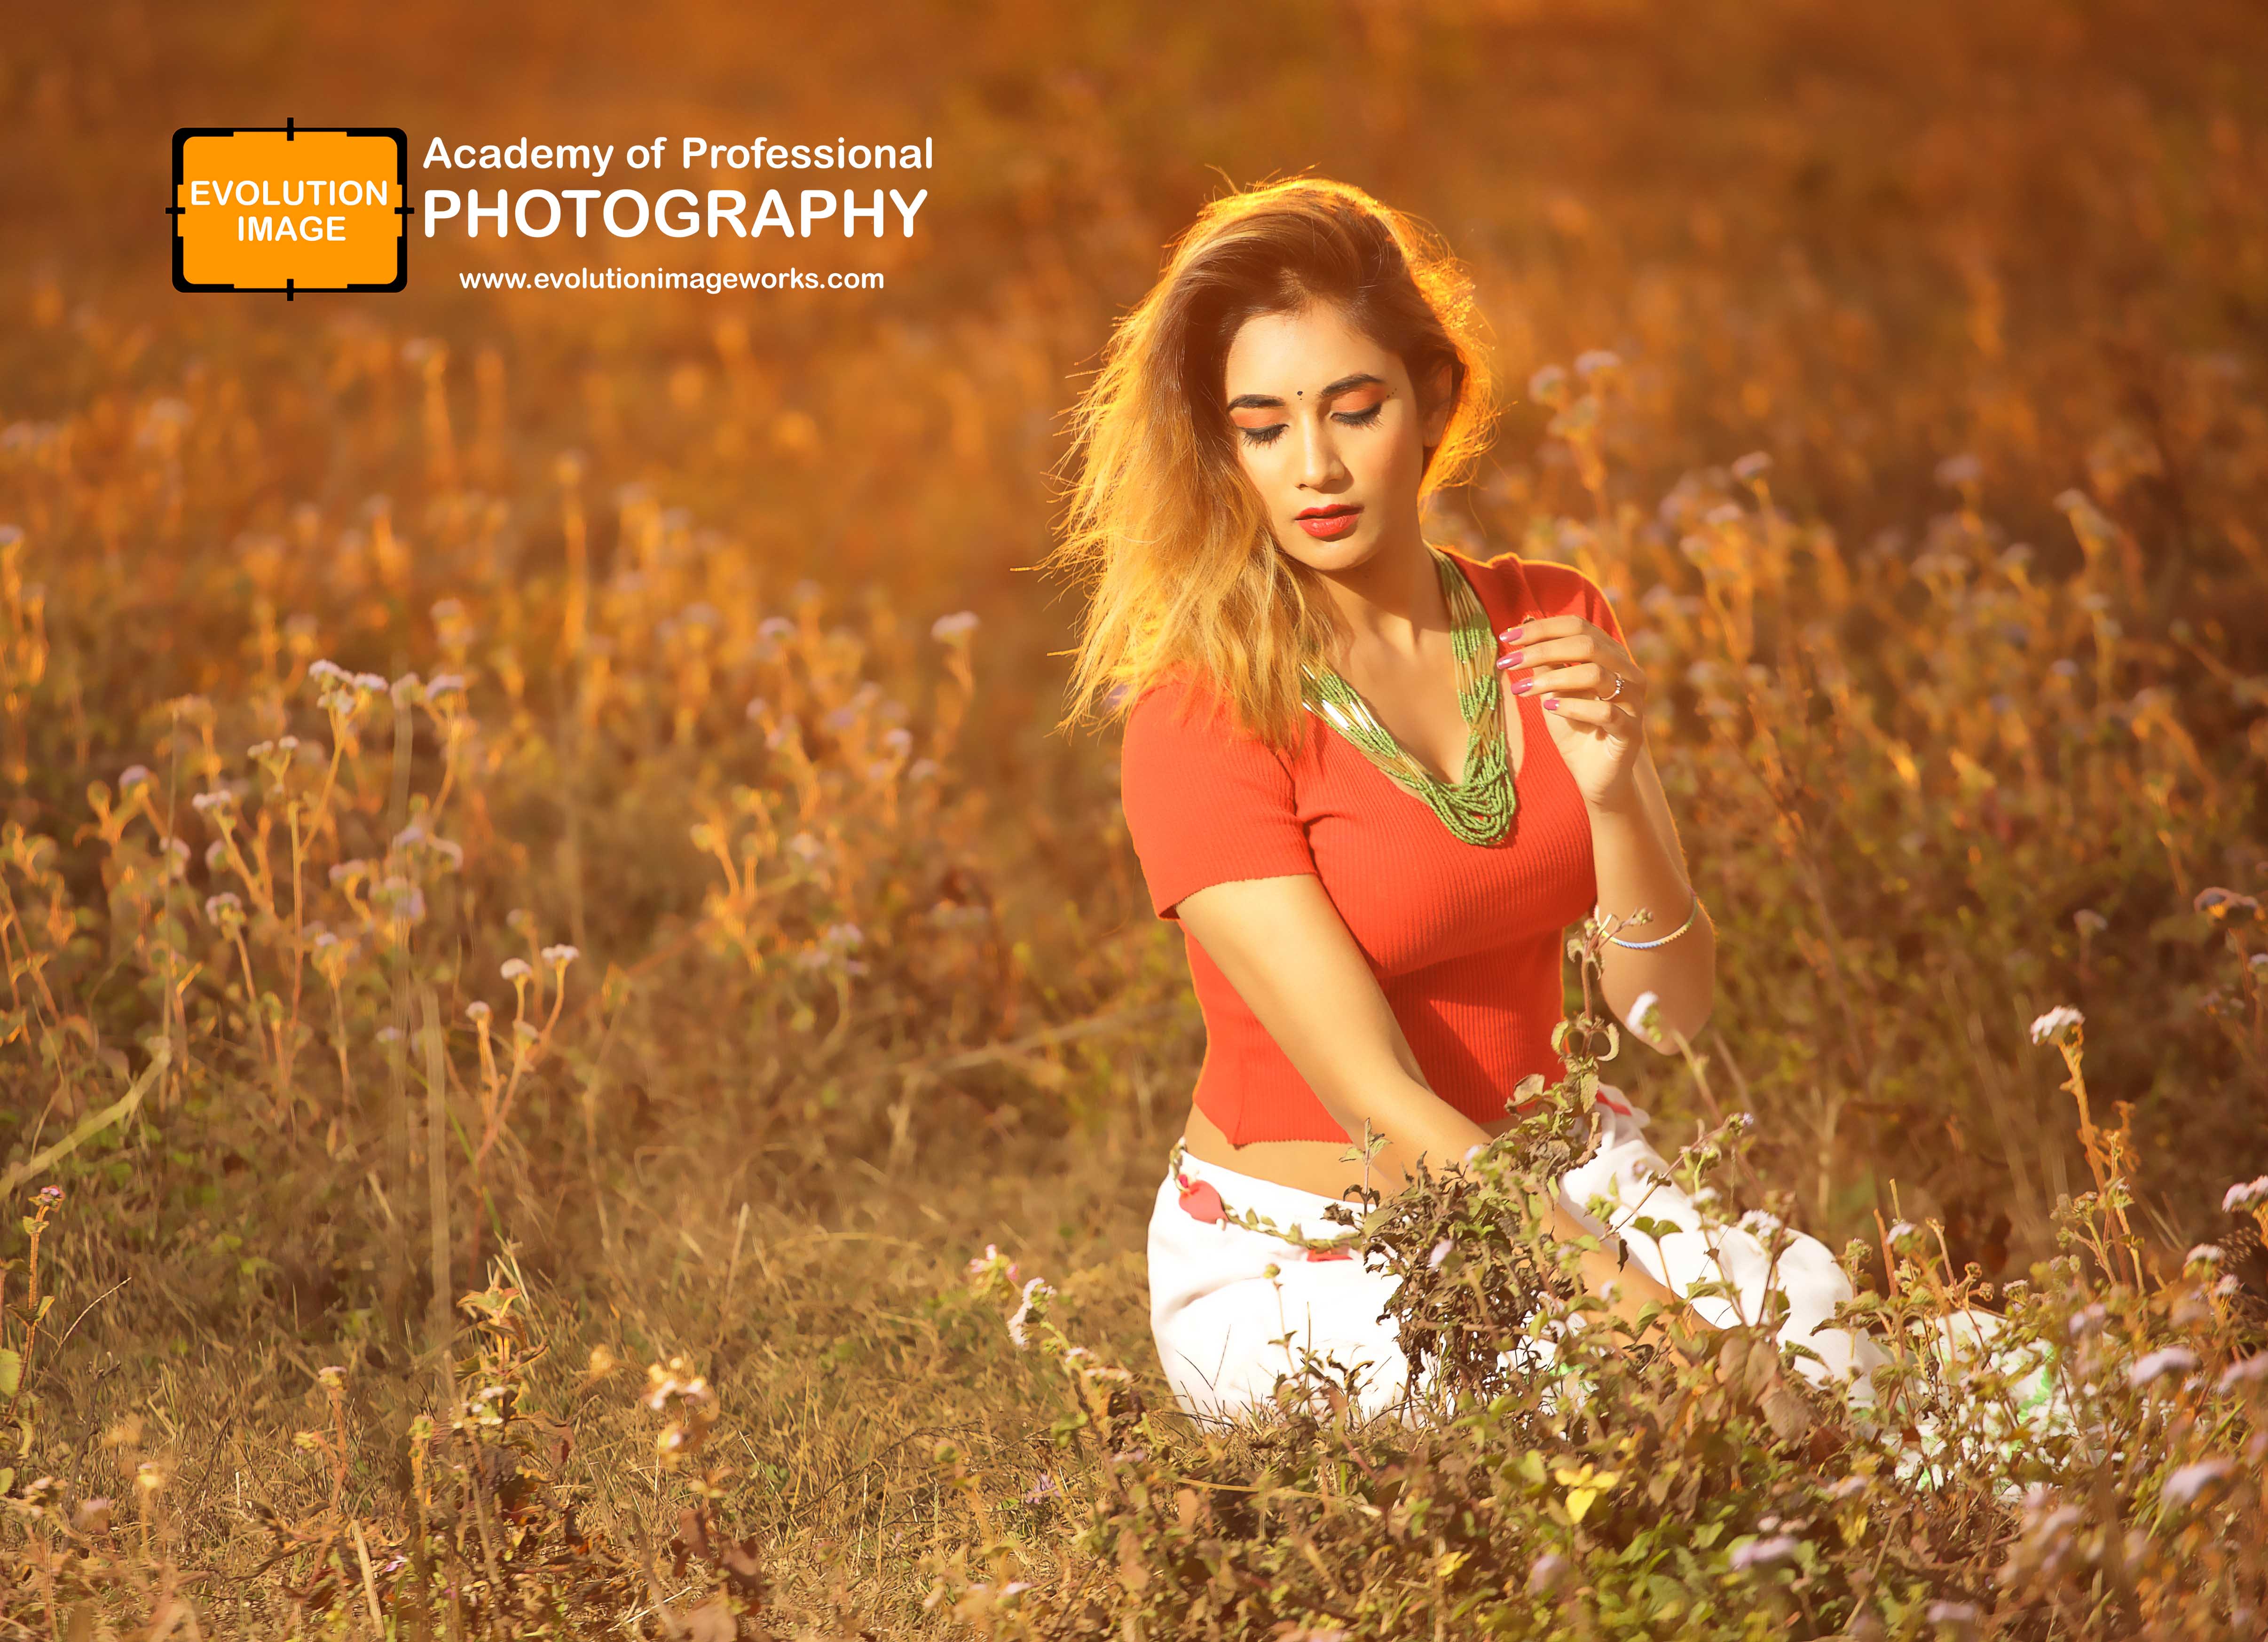
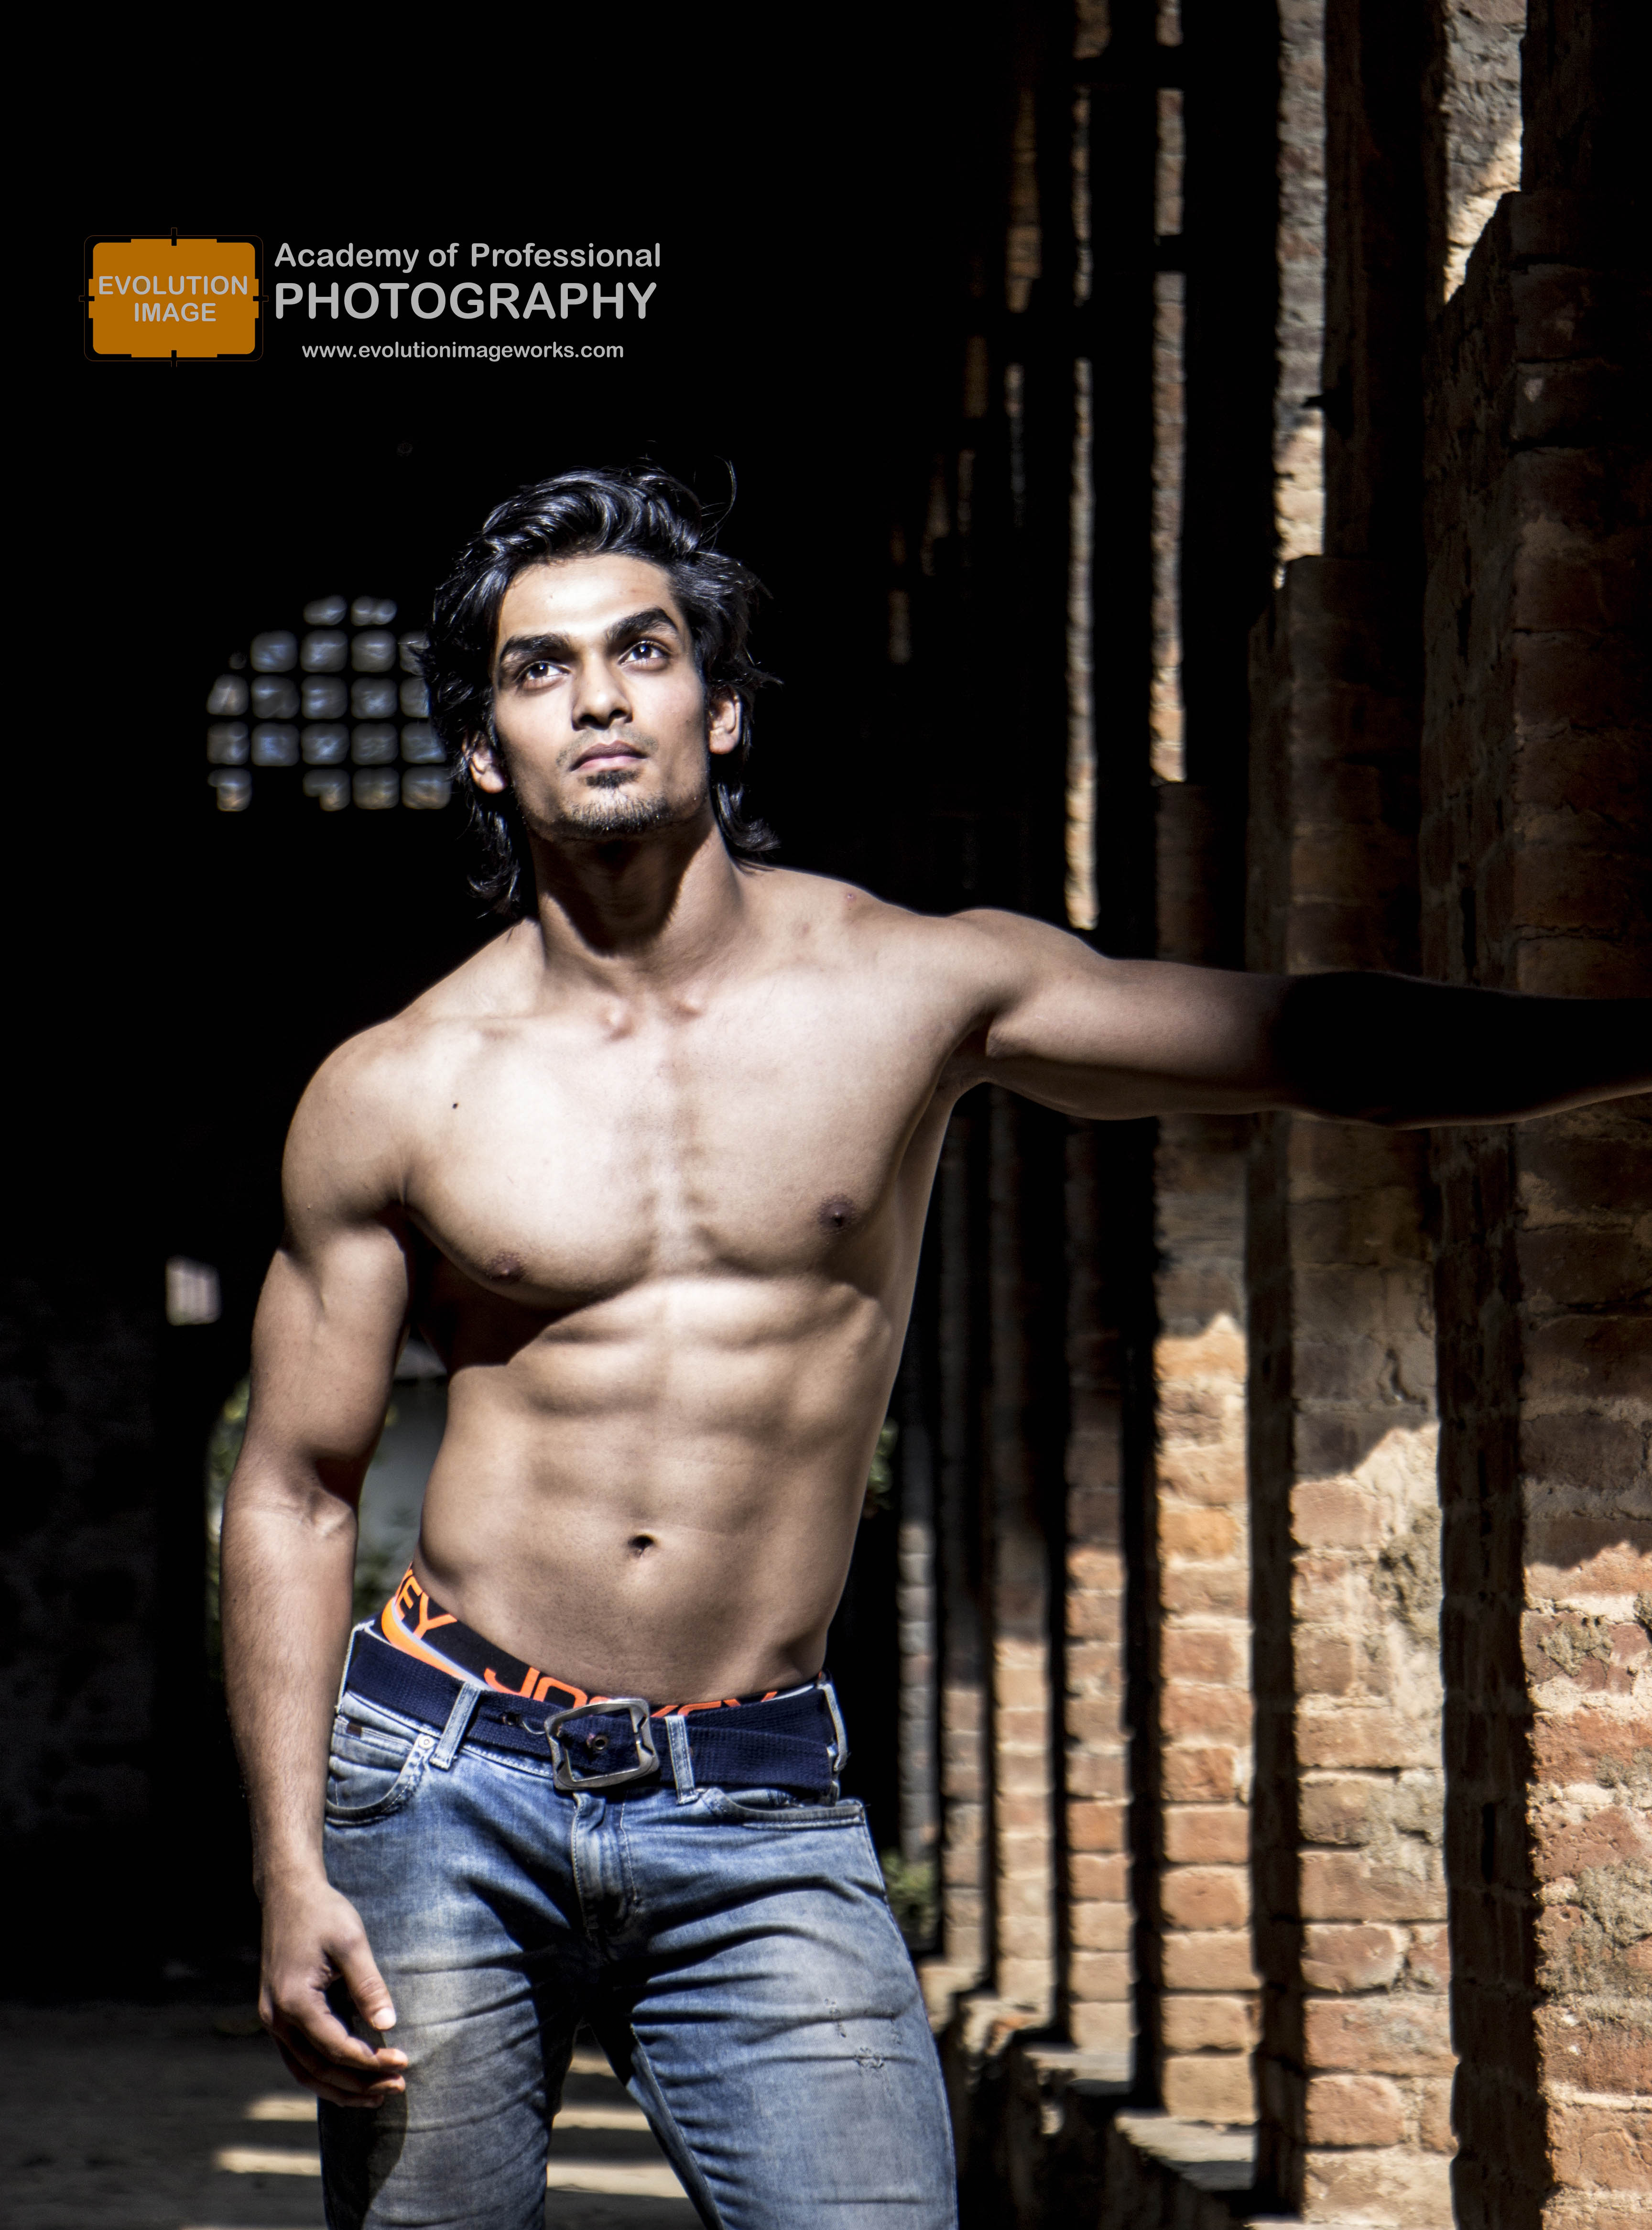
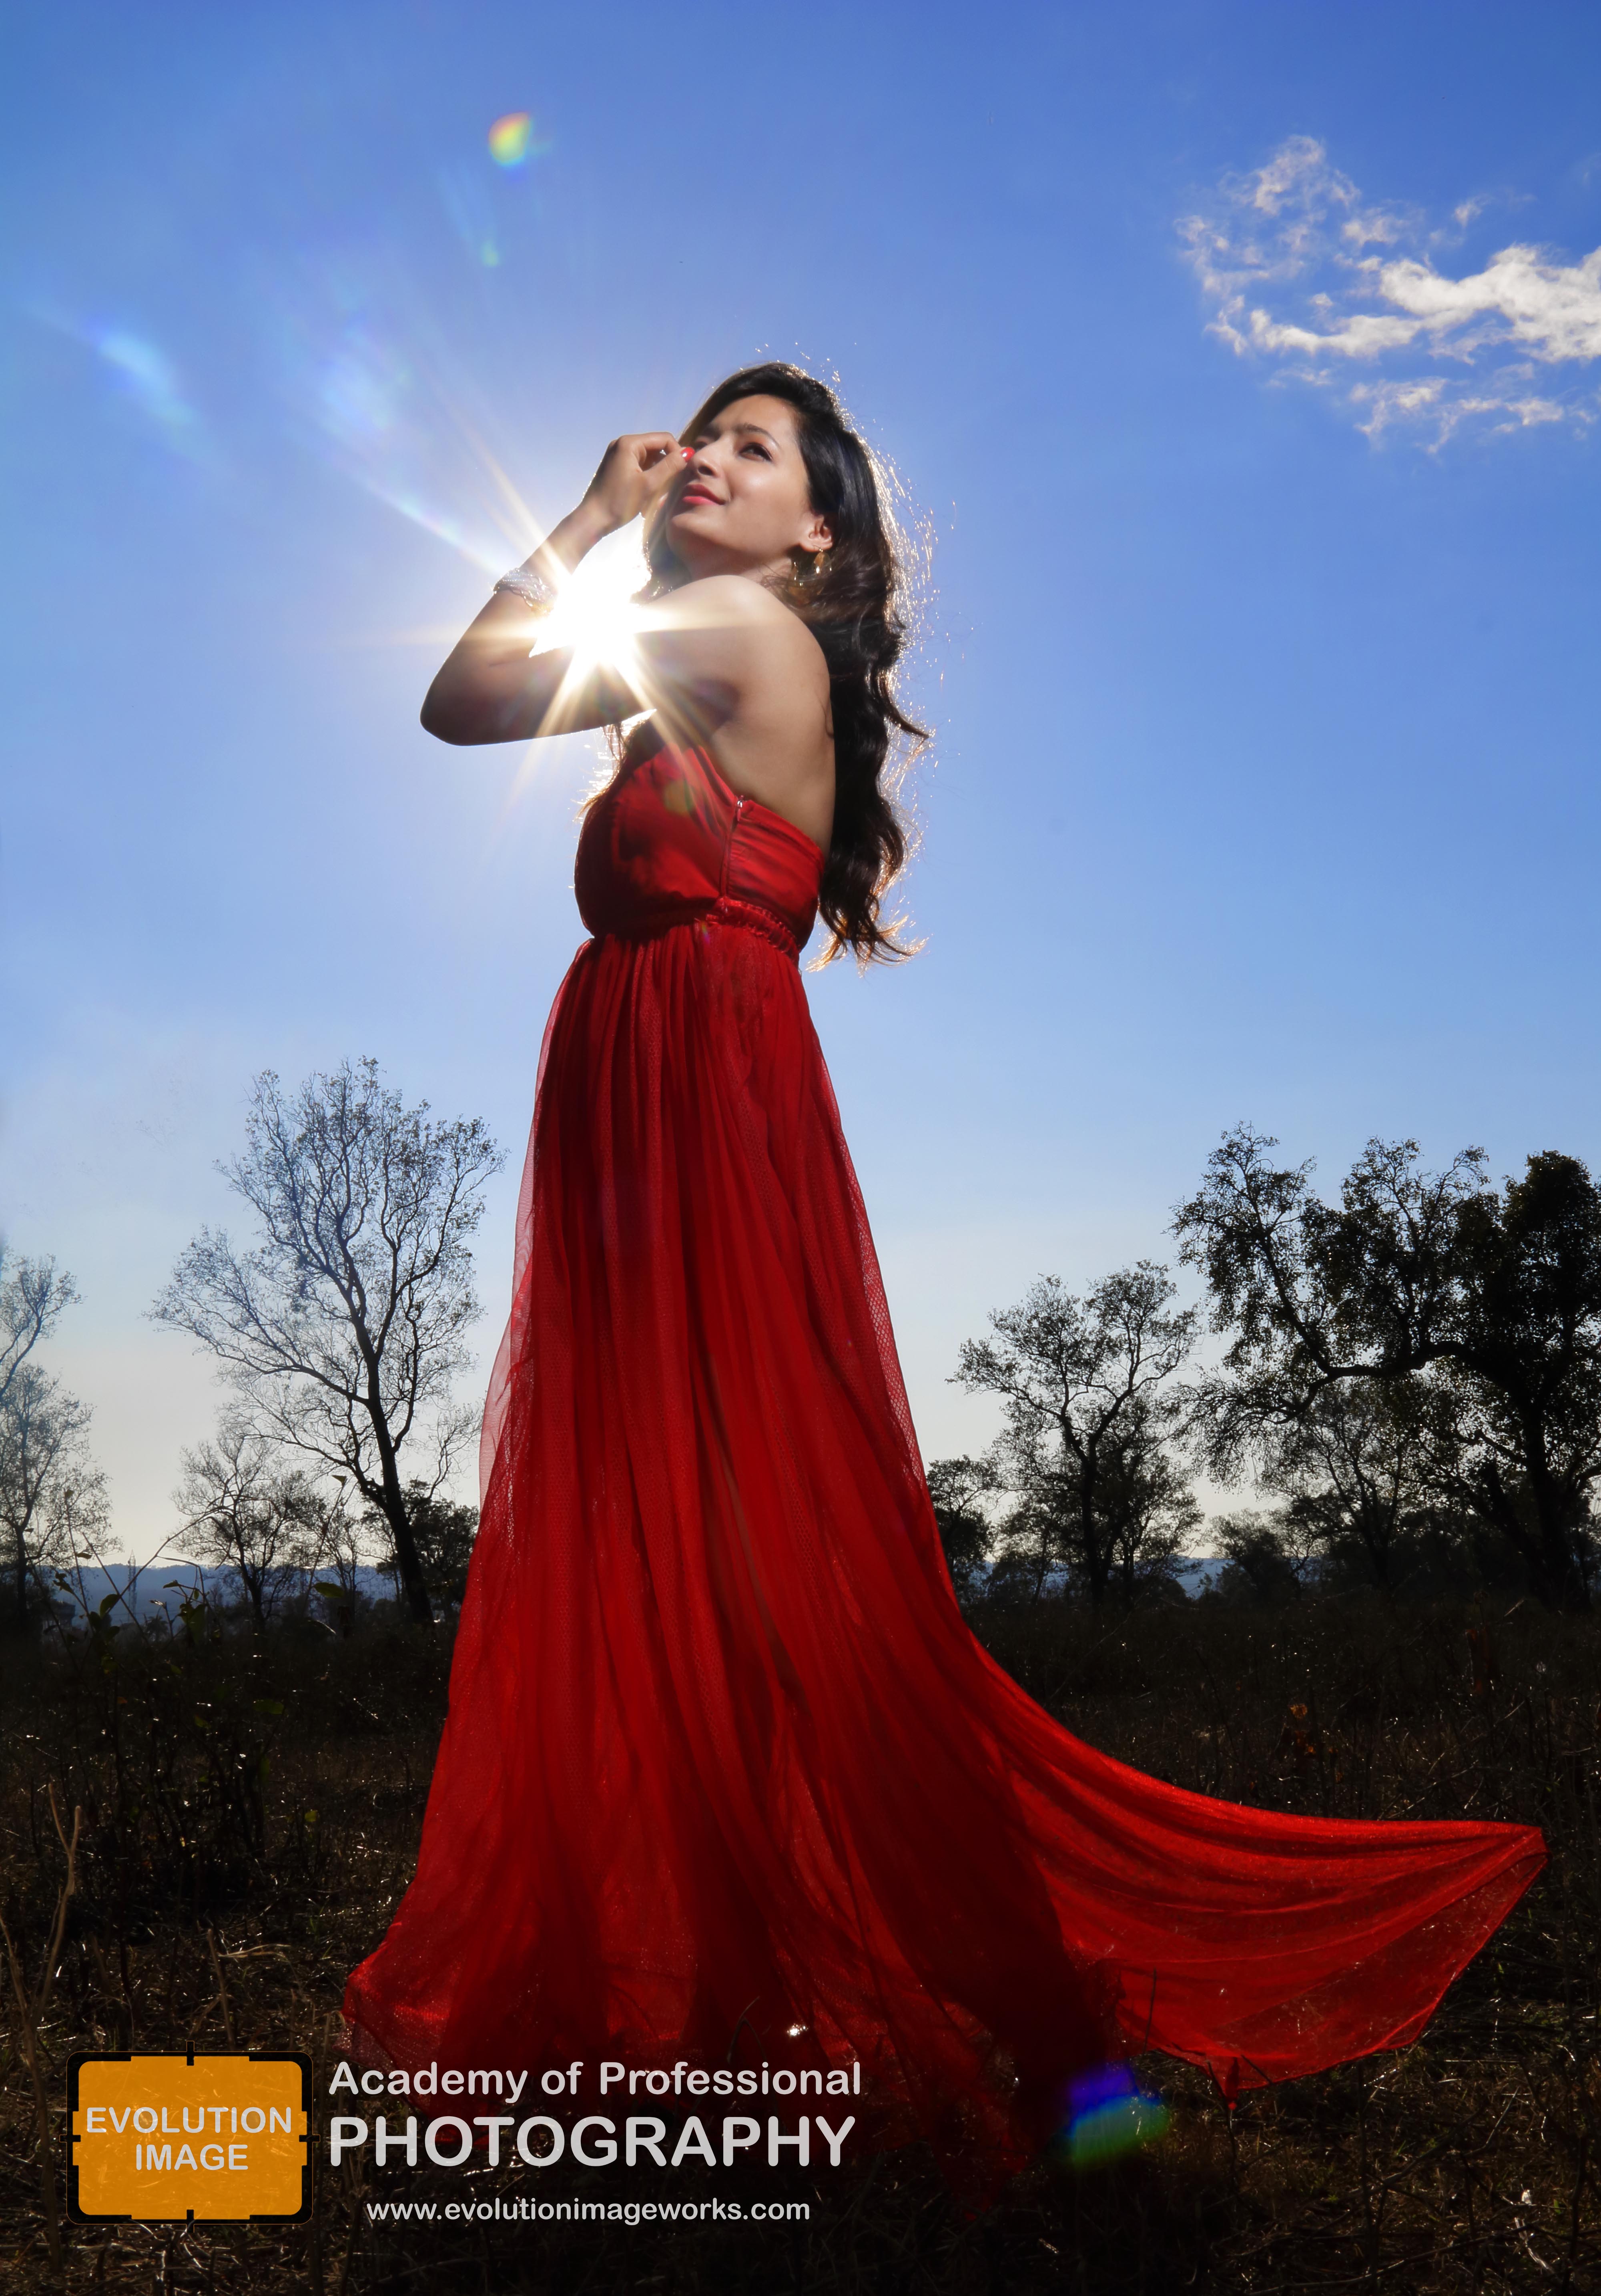
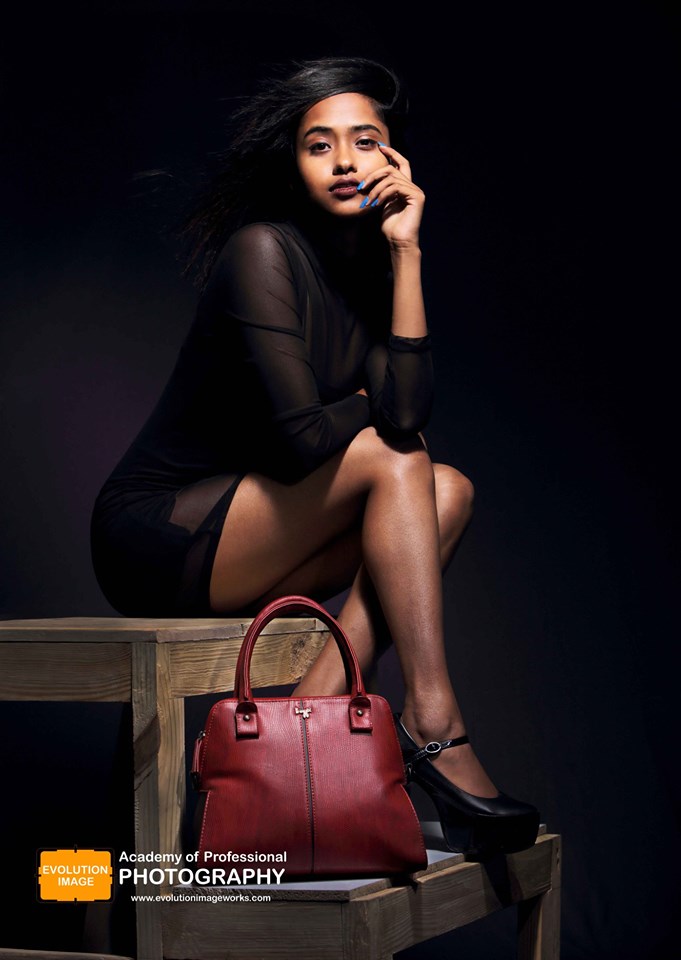
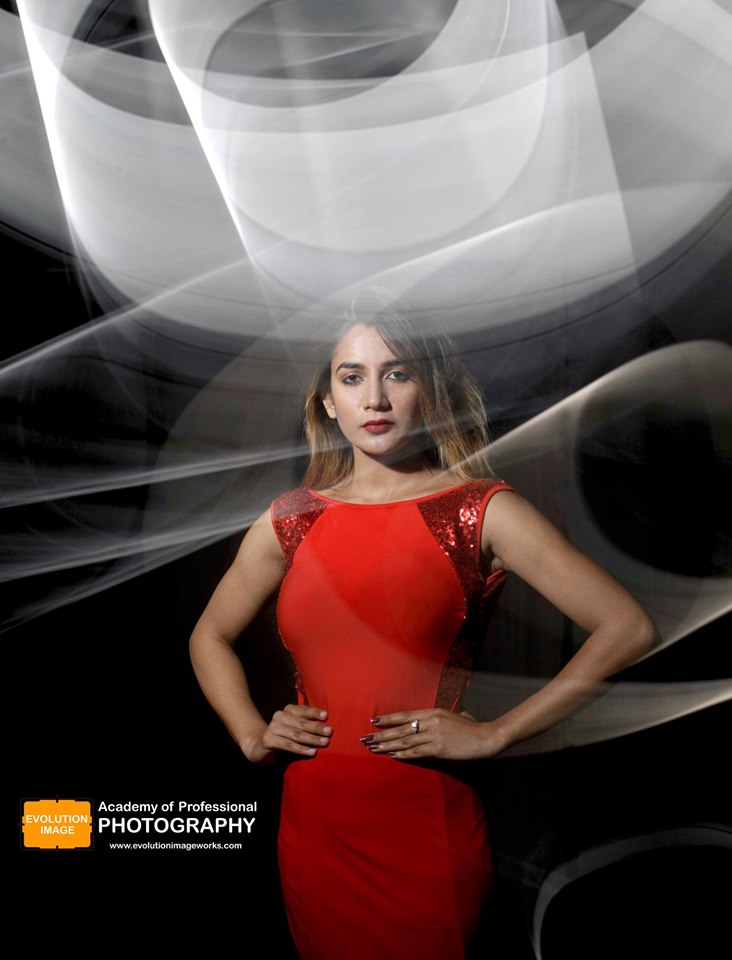
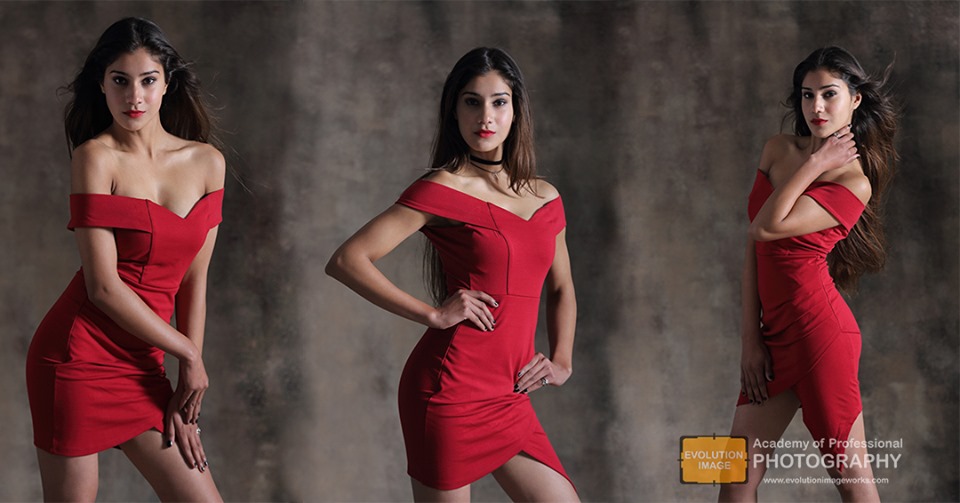
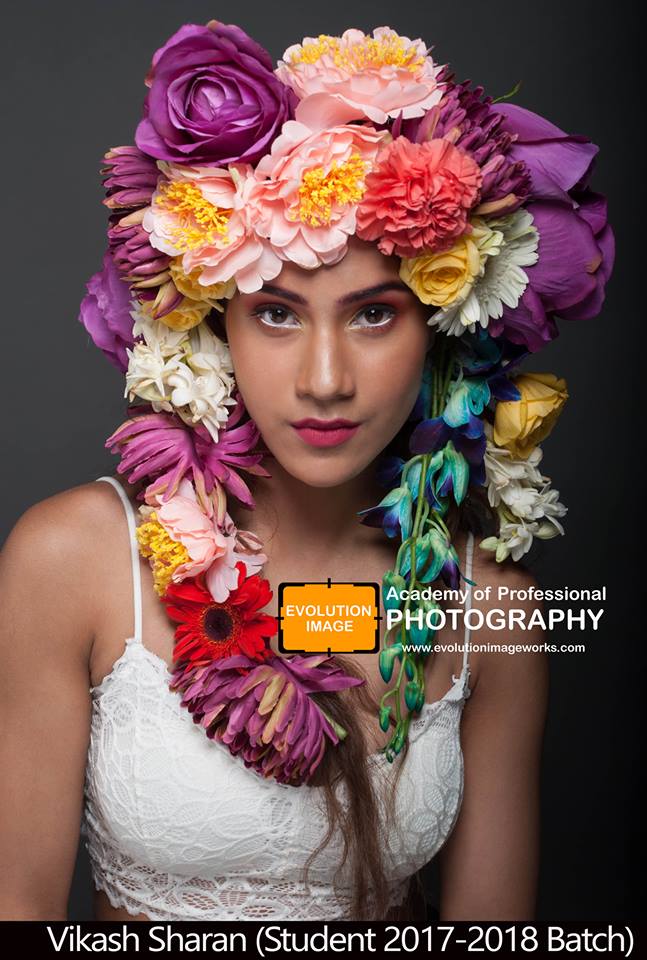
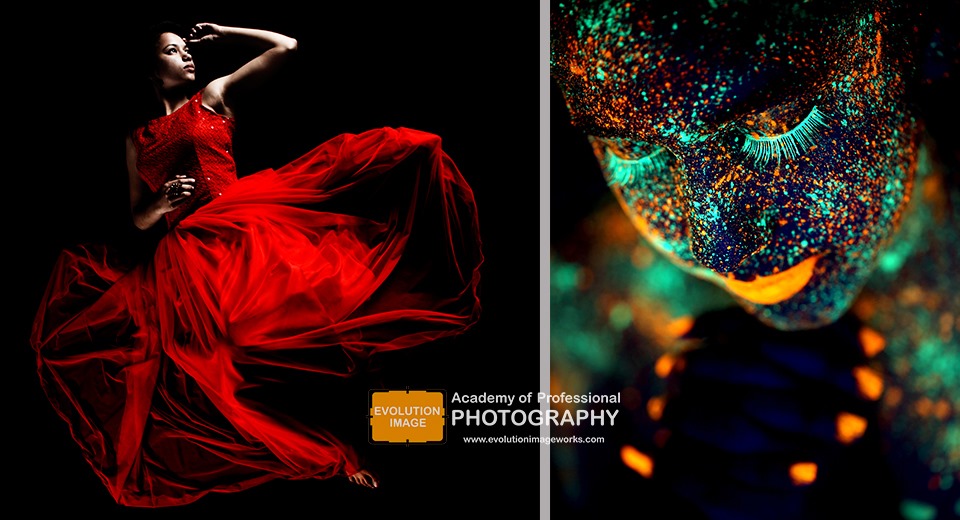
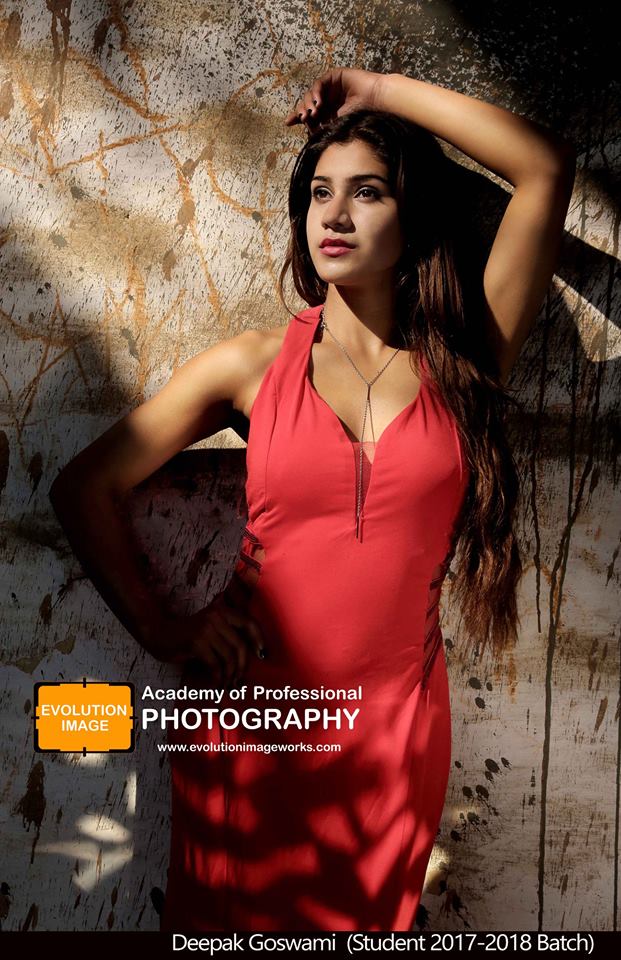
Fashion photography in simple terms to displaying clothing and other fashion items. Fashion photography is most often conducted for advertisements or fashion magazines such as Vogue, Vanity Fair, or Elle.
Editorial Fashion Photography: In this, you have to show the story of model through out the day, morning wardrobe, mid-day wardrobe and finally the evening attire. These shoots depict a theme and the models need to enact the role they are given and emote to convey their story.
Catalog Fashion Photogrpahy : In this, you have to shoot for companies to sell their product to their consumer. It is a information image where model have to stand in front of mostly white or grey background so that the details of product or clothes show easily to their consumer.
High Fashion Photogrpahy : Big companies use this kind of photography to shoot supermodels, famous actors and actresses to advertise their product.
Street Fashion Photography : Photographs of model taken in street to show the clothes which is in trend in society.
What skills are needed to be a fashion photographer?
In order to land good job offers, fashion photographer aspirants must possess the following qualities:
good eye and artistic ability.
strong ability to capture and set a certain mood.
superb artistic detail.
knowledge in photo editing applications.
success-driven and with a credible reputation.
good communication skills.
how to become a Fashion Photographer
Learn Basic Photography Skills. Take some basic courses in photography so you can understand the functions of a camera.
Practice with Models. Go out and take pictures of models. …